Install Kitchen Cabinet Handles can instantly enhance both the elegance and functionality of your kitchen. Whether clean an outdated kitchen or including your private touch to a brand new space, gaining knowledge of the art of putting in cupboard pick up is essential. This comprehensive guide will walk you via each step, from deciding on the best handles to wonderful set up and renovation.
1. Understanding the Basics of How to Install Kitchen Cabinet Handles
Grasping the fundamentals of kitchen cupboard manage set up is the muse for a successful undertaking. Cabinet handles, commonly called pulls or knobs, fulfill both practical and decorative roles. Proper installation ensures ease of use and toughness even as improving the cabinet’s visual appeal. Recognizing the types of hardware and the way they connect to cupboard doors and drawers will help you keep away from commonplace pitfalls.
2. Tools and Materials You’ll Need Before You Start
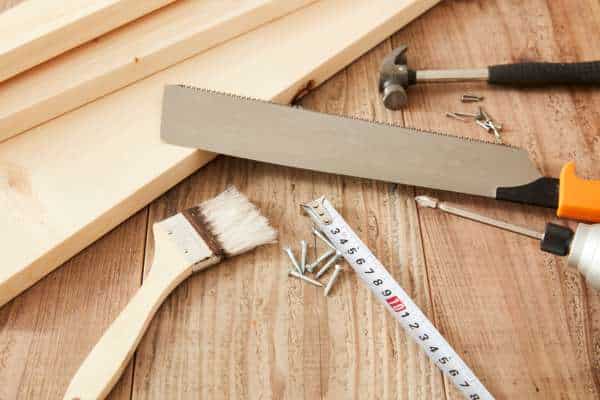
Prior to starting the installation, assemble the necessary tools to ensure accuracy and efficiency.These include:
- Drill with drill bits tailored for wood or laminate
- A measuring tape or ruler with fine increments
- Pencil or marking tool with a fine tip
- Screwdriver (manual or electric)
- Cabinet handles or pulls
- Screws (usually supplied with handles)
- A level or a small square for alignment
- Masking tape to prevent wood splintering
Having these tools at your disposal mitigates frustration and expedites the process, making your kitchen hardware installation seamless.
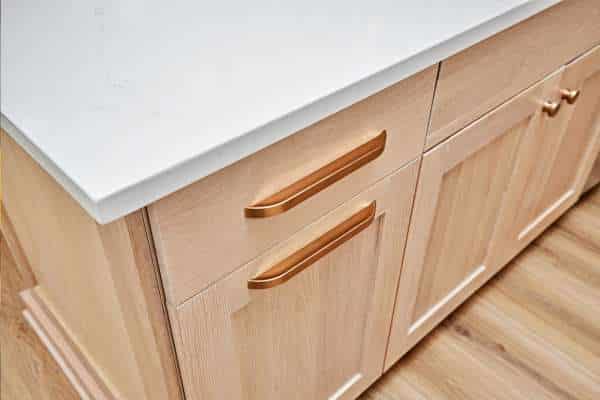
3. Choosing the Right Cabinet Handles for Your Kitchen
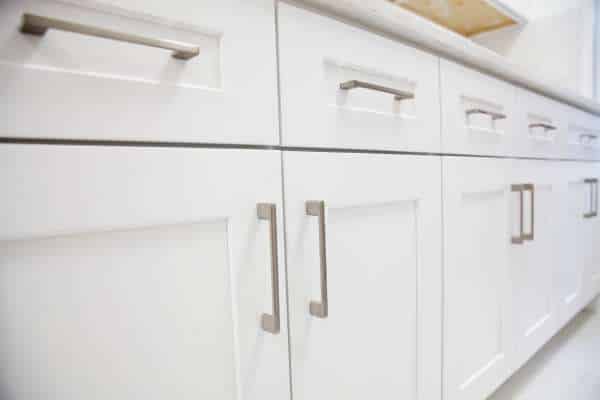
Selecting the perfect handles is more than a classy selection; it influences consolation and usability. Consider the kitchen’s style—modern-day, rustic, conventional, or eclectic—and choose pick up that complement the cabinetry and hardware finishes. Ergonomics depend too; pick up have to in shape easily on your hand and provide a steady grip. Materials range from polished brass to brushed nickel or matte black, each providing awesome textures and durability.
4. Planning Handle Placement for Best Comfort and Look
A meticulous kitchen handle placement guide is paramount for both function and form. Handles on doors are typically positioned vertically, near the edge opposite the hinges, while drawer pulls are installed horizontally, centered or slightly offset. The height and distance from the edges must accommodate ease of reach and symmetry. Thoughtful placement transforms your kitchen’s rhythm and flow.
5. How to Measure and Mark Handle Placement Accurately
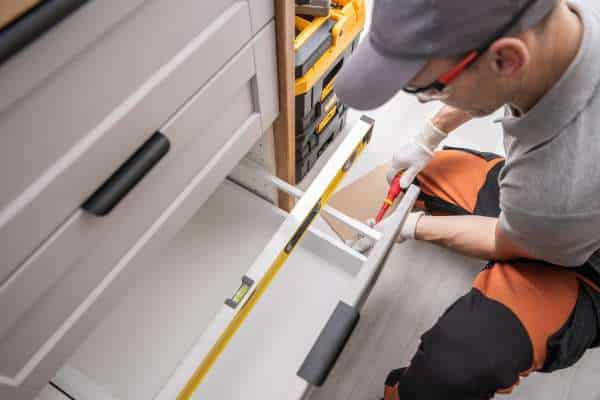
Precision in measuring and marking is crucial. Start by determining a consistent reference point, such as the distance from the cabinet edge or the center of the drawer front. Use a ruler or measuring tape to mark exact spots. Applying masking tape over the area before marking prevents tear-out when drilling. Verify your measurements carefully to ensure consistency across every handle.
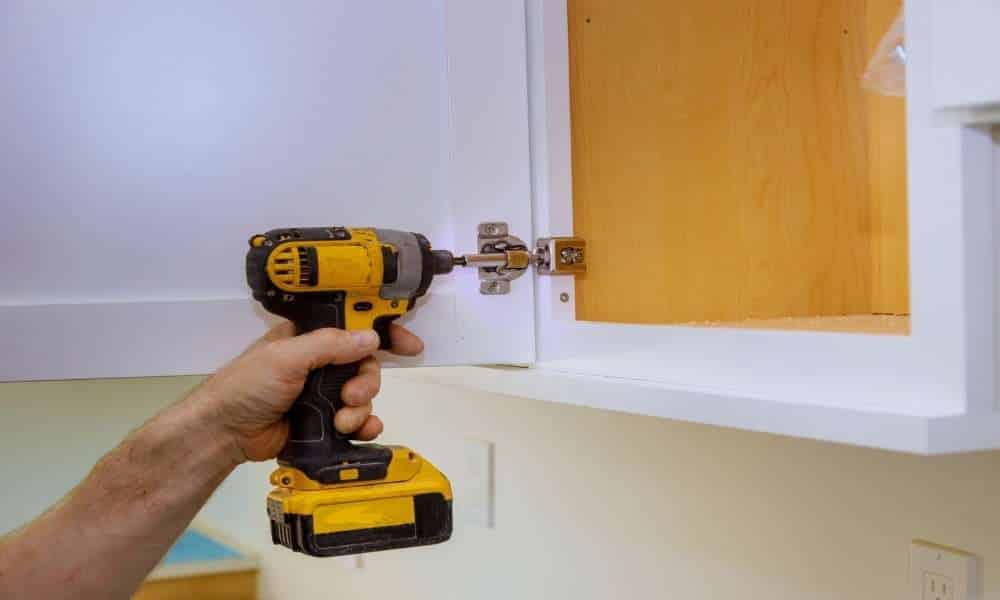
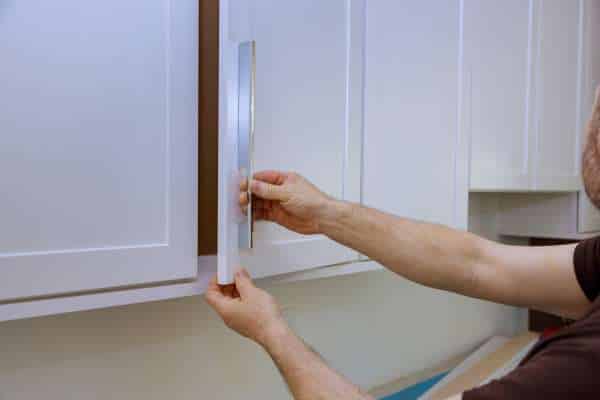
6. Drilling Holes Without Damaging Your Cabinets
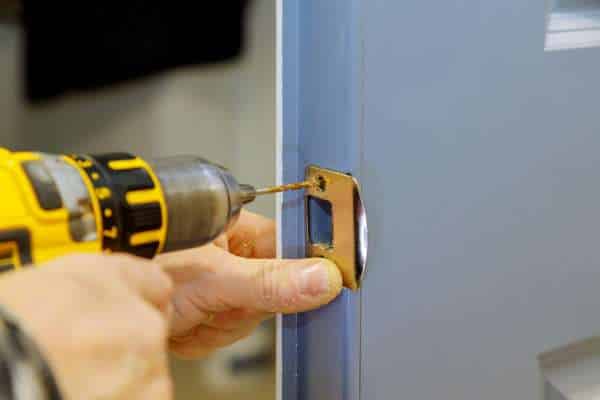
Drilling cabinet doors demands a delicate balance between power and finesse. Select an appropriate drill bit—usually a spade or brad point bit—matching the screw size. Drill slowly to avoid splintering the wood or laminate finish. To safeguard the surface, apply painter’s tape over the drilling spot and support the door with a scrap piece of wood to minimize blowout. Steady hands and measured pressure yield professional results.
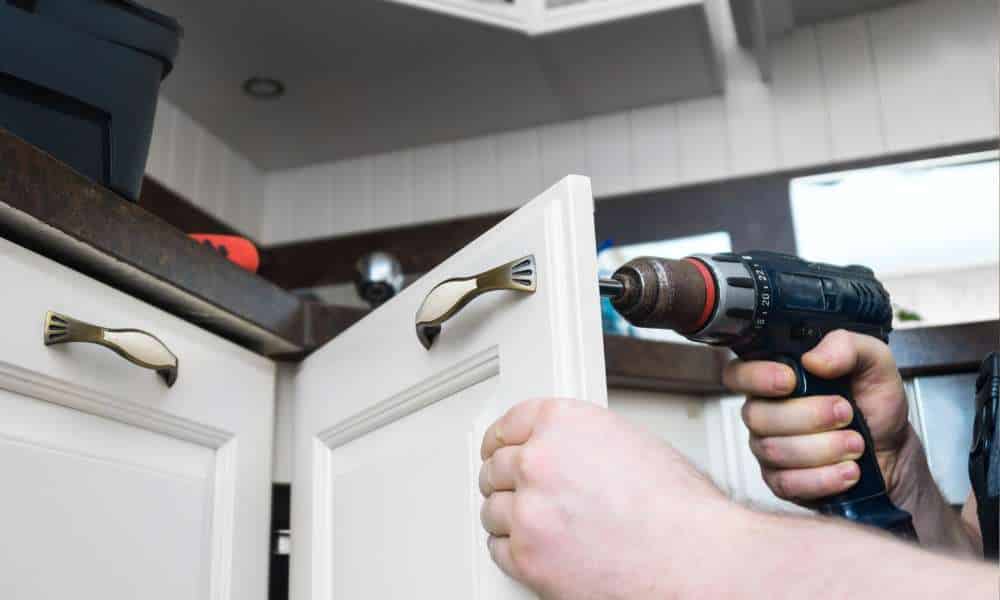
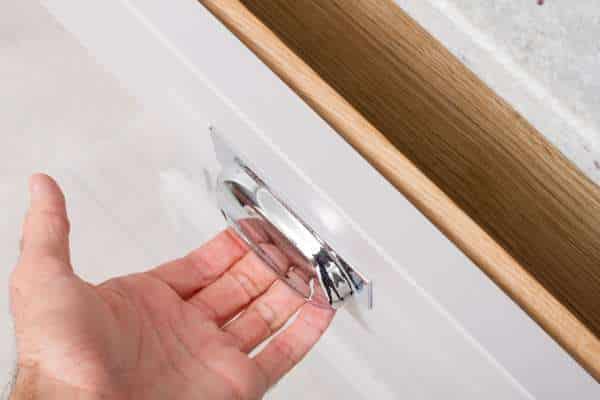
7. Attaching the Handles the Right Way
Once holes are drilled, align the handles with the drilled factors and steady them with screws. Use a screwdriver to tighten screws firmly, but keep away from over-tightening, that could strip the timber or harm the deal with. Confirm every manage is instantly and flush against the cabinet floor. This step completes the transformative manner, bringing both style and feature on your kitchen.
8. Fixing Common Handle Installation Mistakes
Mistakes happen, but they are easily rectified. Misaligned holes can be concealed with wood filler and re-drilled carefully. Stripped screw holes might require larger screws or anchors for reinforcement. Loose handles often indicate that screws need tightening or replacement. Addressing these issues promptly ensures your cabinet hardware installation remains sturdy and visually pleasing.
9. Tips for Installing Handles on Drawers vs Doors
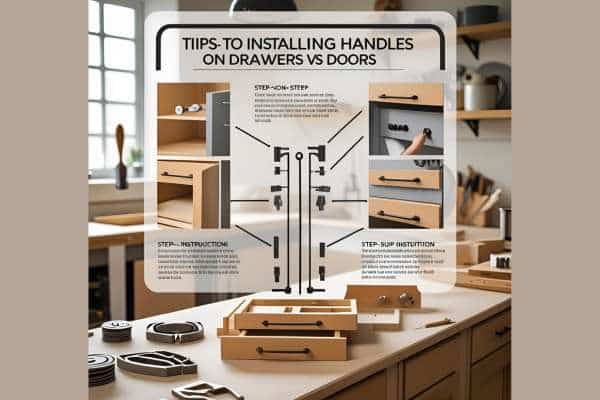
Drawer pulls often differ in size and installation compared to door handles. Drawers usually require two screws per pull for stability, whereas doors might use single knobs or longer pulls. Ensure that pulls on drawers align horizontally for a harmonious look. The weight of drawers and their frequency of use necessitate more robust fastening.
10. How to Install Kitchen Cabinet Handles on New vs Old Cabinets
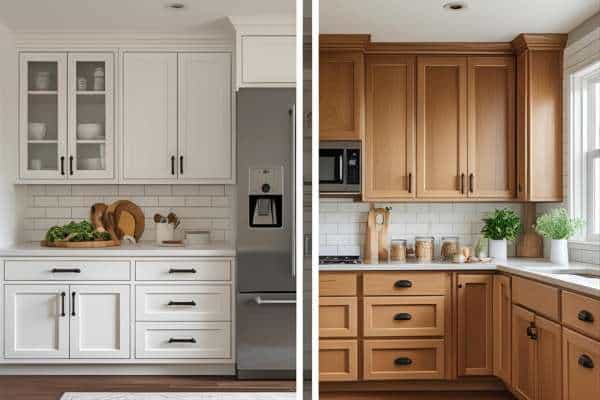
Installing handles on new cabinets is straightforward since the surfaces are pristine and usually pre-drilled. Old cabinets may present challenges such as worn finishes or misaligned holes from previous hardware. Sanding and refinishing might be necessary before installation. When reusing old holes, verify alignment; if not suitable, fill and re-drill with care.
11. Bonus: Cleaning and Maintaining Your Cabinet Handles

To keep the luster and functionality of your cabinet handles, everyday cleaning is important. Use a slight detergent and a gentle material to wipe away grease and filth. Avoid abrasive cleaners that would damage finishes. Periodically check screws to hold tightness, making sure pick up remain stable. Proper renovation prolongs the elegance and value of your kitchen hardware.
Conclusion
Mastering the way to install kitchen cupboard handles transforms your kitchen with a blend of favor and practicality. Armed with the proper gear, thoughtful planning, and cautious execution, even beginners can obtain expert effects. The satisfaction of updating your kitchen shelves with well-positioned, strong pick up will encourage similarly upgrades for your culinary area.