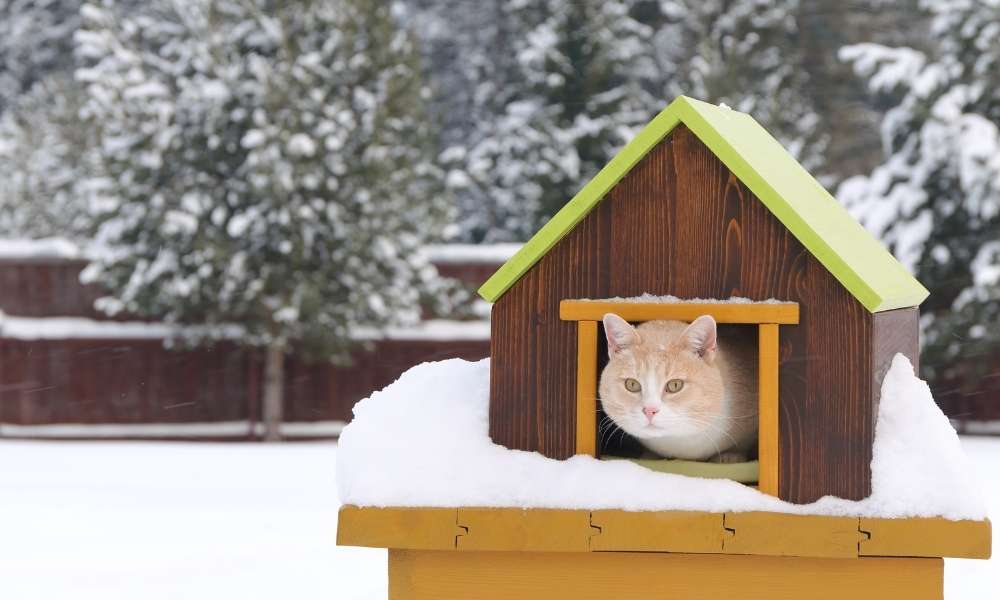
Building a cat house for your feline friend is a fun and easy DIY project. Cats love having an outdoor space to call their own. A cat house gives them the opportunity to explore the outdoors without the risks that come with roaming around on their own. This tutorial will show you how to build an outdoor cat house that your pet will love!
1. What to Include in your Cat House?
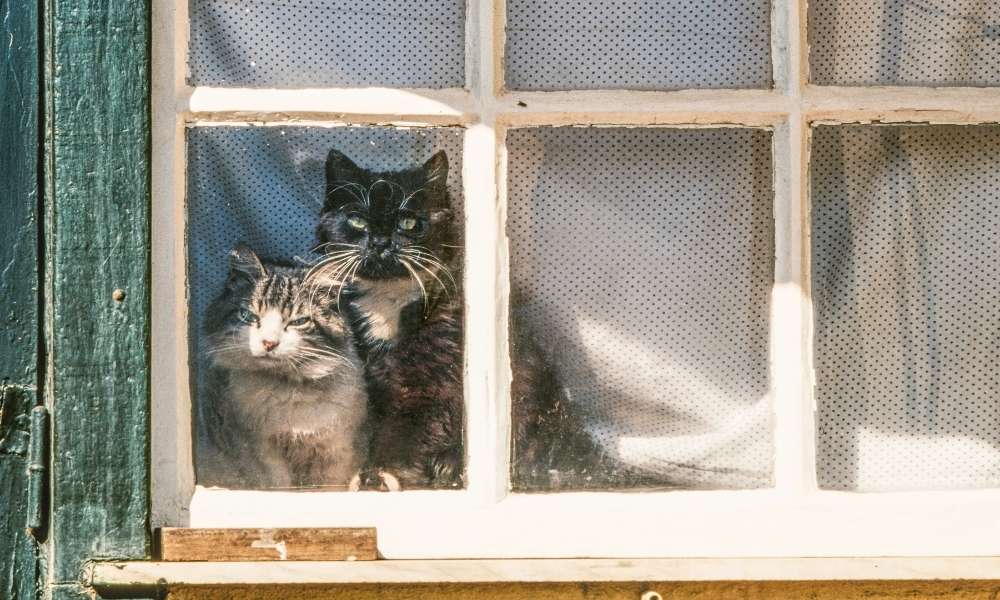
The most important thing to include in your cat house is a window. Cats are naturally curious, and they love looking out windows. They’ll want to see what’s going on outside their home from a safe distance. It’s also important to include an entrance door–a cat won’t want to climb through the window when it gets too hot or cold outside!
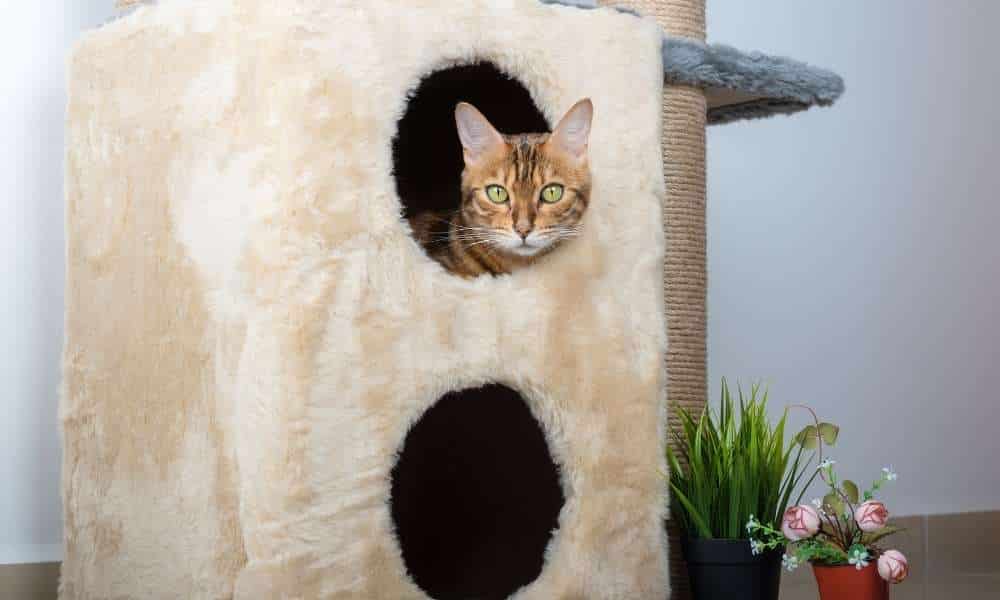
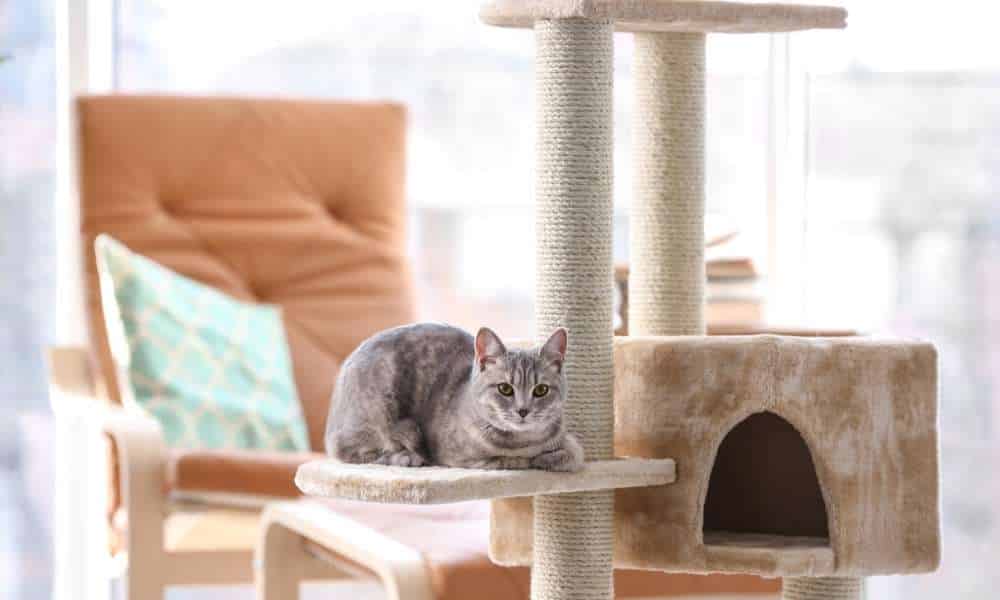
A good idea for your cat house is to build it with multiple levels so your pet has plenty of space. You can also make it out of different materials, like wood or wire mesh, or paint it any color you choose.
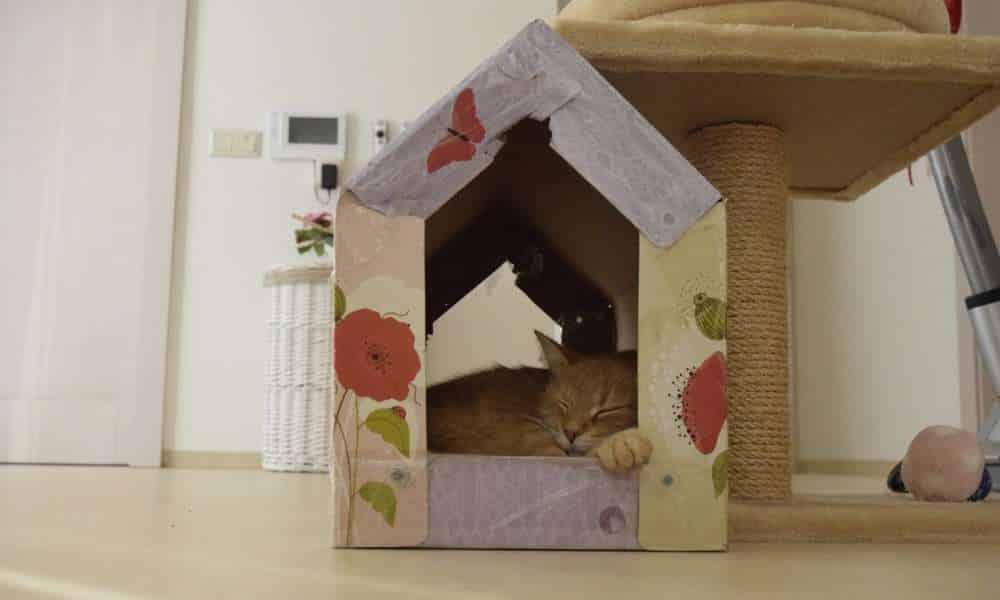
If you don’t have outdoor space, don’t worry; this project would be great for indoor cats as well! You could use materials like cardboard, styrofoam insulation, or carpeting for the flooring and cover the exterior with a waterproof material like plastic sheeting.
2. How to Build a Cat House
The first step in building a cat house is to cut the wood. You will need two pieces of wood that measure six feet by three feet. This will be your door. Next, cut a piece of wood that measures 6 inches wide by 3 feet long. Drill a hole in one end for hanging purposes and then attach it to the back of the house on top of the door opening.
This is where you are going to want to stand and do all your work so you don’t get sawdust all over your floor! Cut two more boards that match this height but are only 4 inches wide. Using your miter saw, bring them up and attach them on either side of the front board with screws at an angle. This will serve as your roof! Make sure to give yourself enough room for easy installation before you start drilling or else it won’t fit anywhere!
3. Adding in the Roof and the Door
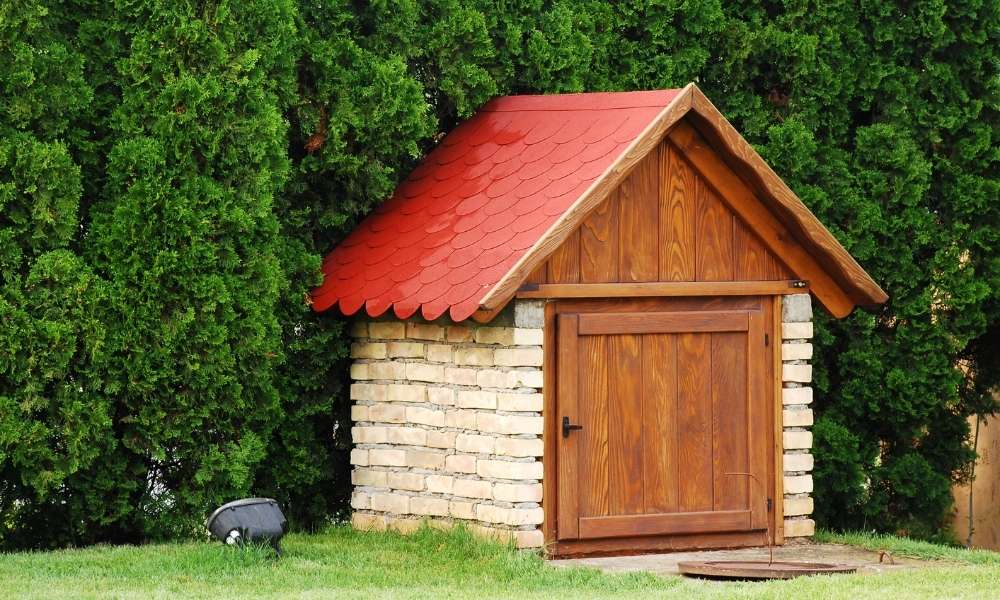
To add in the roof and the door, we need to start by measuring the width of the box. We will then cut out a piece of scrap wood that is approximately 1-2 inches shorter than that measurement.
Next, we will cut a hole in the center of that board for our cat door. The size of your home should be about 3 inches by 5 inches. We now need to cut out some shingles from cardboard or thin wood so that they are about 4 inches wide and 1 inch high. This will help create a pattern for our roofline on our cat house’s roof.
Now take one of your shingles and use it as a template for all others so that your pattern is consistent. If you’re using cardboard and not thin wood, cut out a stack of three shingles at once because they won’t stick together otherwise. Once you have your stack, place them onto your roof piece (the one without hinges) directly next to each other until you reach where you want your last shingle to go – this needs to be at least 2 shingles away from either edge of the board or else you’ll end up with an uneven edge on either side
4. Cutting the Pipes and Connecting Them Together
The first step to making a cat house is cutting the pipes. You’ll need one 4-foot piece of pipe, two 2-foot pieces of pipe, and two 1-foot pieces of pipe. Now, you’ll need to measure the length that is going to be between your 2-foot pipes on either side. The pipes will be sitting at an angle, so it’s important that they are level with each other before connecting them together. Once you have measured the distance, cut off one end of the two 1-foot pieces and slide them in between the angled ends of your 4-foot and 2-foot pipes that are already connected. Next, you’ll need to drill holes in the back ends of your 1-foot lengths so that you can screw them into place with a screwdriver.
5. Finishing Touches and Decoration
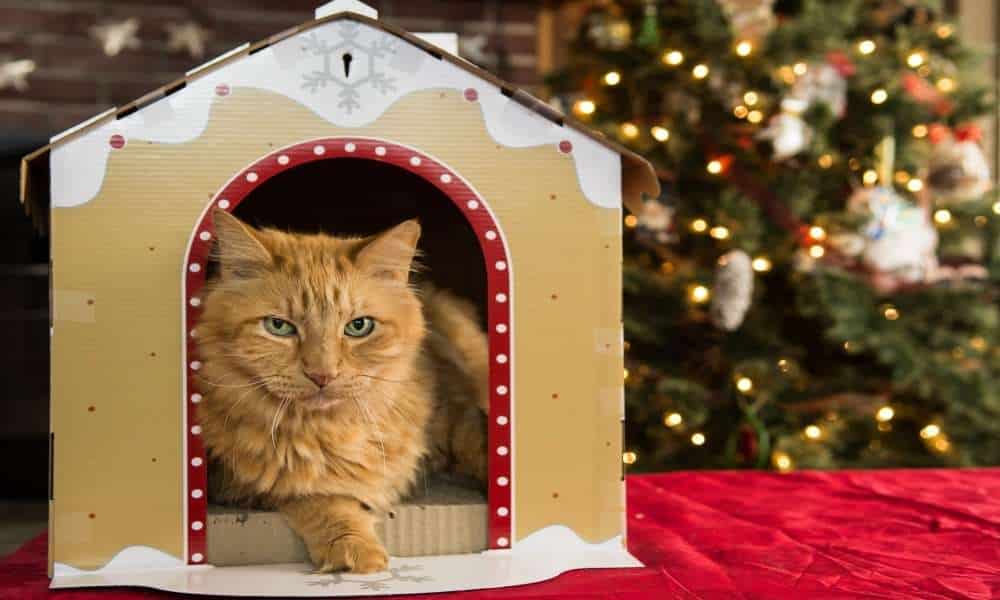
Once you’ve assembled your cat house, it’s time to add finishing touches and a bit of decoration! It’s also a good idea to create a window on the opposite side. You can use clear plastic or cardboard for windows. Add an entrance hole as well by making an opening on one side of the house with scissors.
Finally, decorate your new home! Adding colorful cushions will make it more appealing for your pet, as well as provide them with some much-needed warmth during cold nights. For added protection from rain and sun, you can cut pieces of roofing material and fix them over the top.
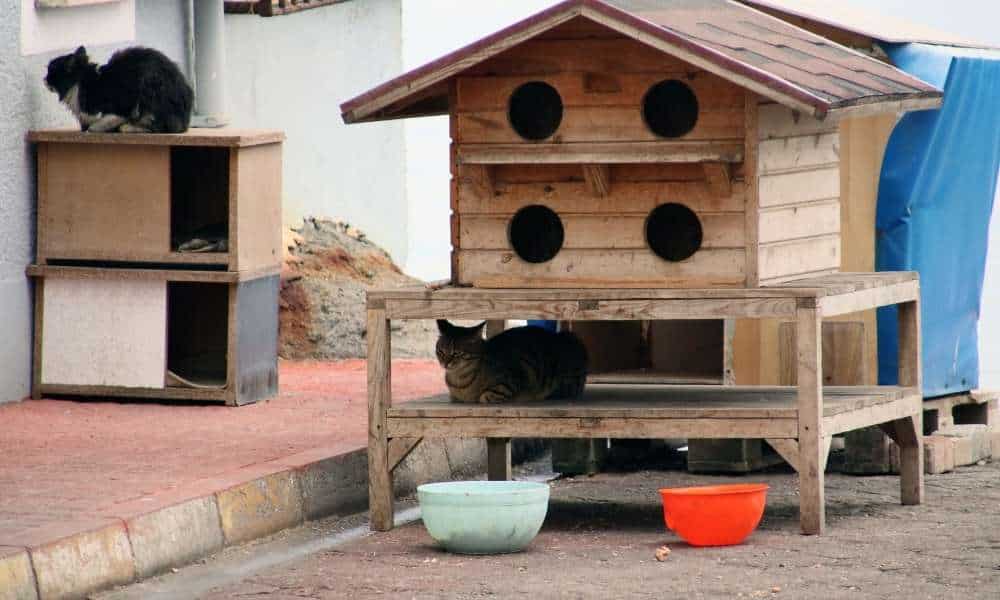
6. Why Build an Outdoor Cat House?
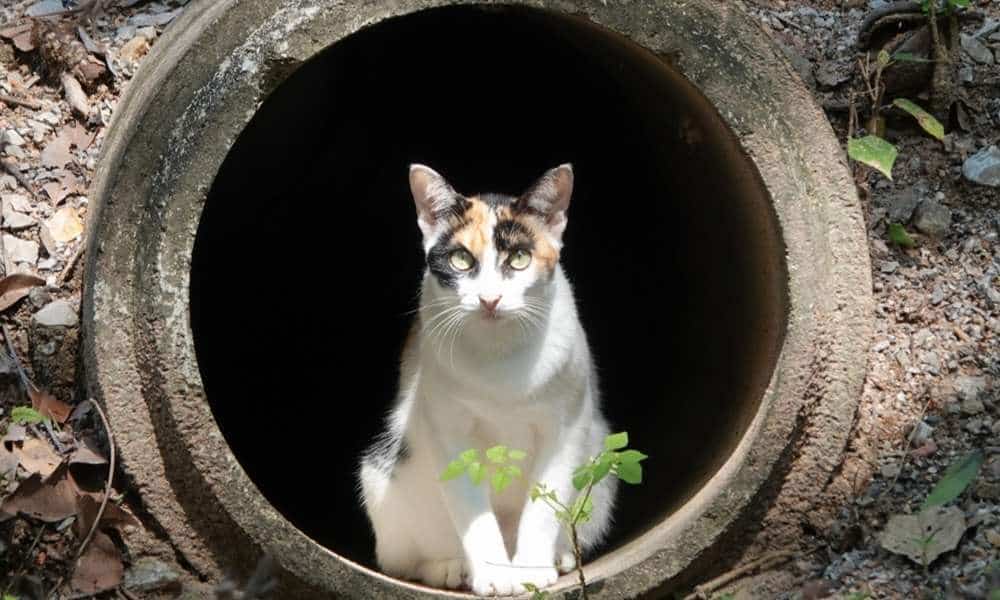
Cats need a little space to call their own, and a cat house is perfect. With an outdoor cat house, your pet can go outside without the risk of roaming around on their own. Cats love exploring the outdoors, but it’s not always safe for them to do so on their own. A cat house gives them the opportunity to go outside without putting themselves in danger.
7. Building a Base for the Cat House
The first step is building a base for your cat house. You’ll want to measure the height and width of your cat and use that information to build the base. Use wood or hard cardboard and attach it to a window sill, deck, or porch using screws and nails. The height of your cat house should be about 2-3 feet off of the ground. This will make it easy for your pet to jump in and out without injuring themselves.
You’ll also want to attach two screens (with mesh) with one screen on either side of the base. This will act as a door so you can easily let your cat in and out of their new home.
8. Materials You Will Need
To make an outdoor cat house, you will need:
- One sheet of plywood, cut in a square size (around 16 x 16 inches)
- Two pieces of wood for the sides and front, cut to the same size (around 16 x 16 inches)
- Four pieces of wood for the roof, cut to the same size as the wood for the sides and front (around 16 x 16 inches)
- Wood screws or nails for mounting on a wall or post
- Hand saw
- Hammer
- Drill with a drill bit that is slightly smaller than your screws or nails
- Screwdriver
- Paintball gun or another tool to help with insulation
- Insulation material–such as Styrofoam balls–enough to fill up every inch of space inside your cat house
Conclusion
Cats are some of the most popular pets in the world. Many cat owners enjoy the companionship of their feline friends, but may not be able to keep them indoors all the time. That’s why building an outdoor cat house is a great idea.
It’s important to find a location that is not too close to any dangers and to make sure that your cat can enter and exit easily. You also want to make sure that your cat has plenty of space to stretch and move around. It’s also important to be sure that the outdoor cat house you build has a thick layer of insulation.
The materials you need for the project can be found at your local hardware store, and you can use a diagram to help guide you through the process of building your own outdoor cat house.