
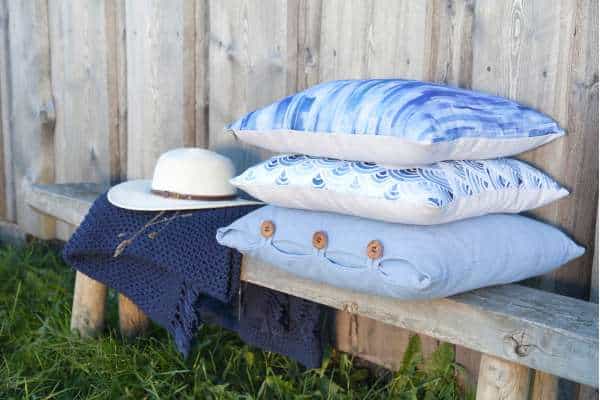
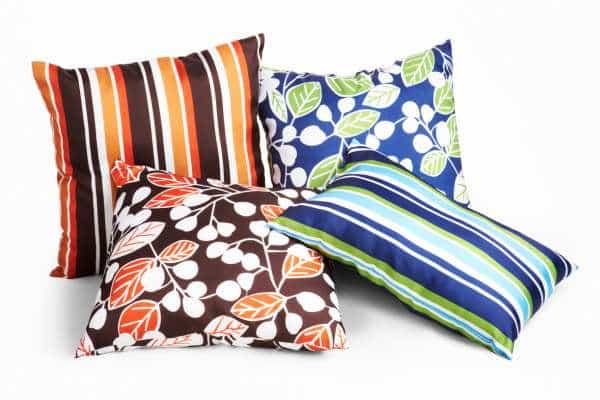
Changing your open-air space into an agreeable and welcoming sanctuary can be accomplished with a basic and compensating Do-It-Yourself project: making your own outside pads. Whether you have porch furniture needing a revival or you need to add an individual touch to your open-airs stylistic layout, making custom outside pads permits you to tailor the plan, How to make outdoor cushions, And texture to match your special style. This bit-by-bit guide will walk you through the most common way of making solid, climate-safe, and in-vogue open-air pads that won’t just endure the components but also lift your outside living experience. Prepare to release your imagination and partake in the fulfillment of relaxing on pads you made with your own hands in the tranquility of your outside retreat. Make Outdoor Cushions:
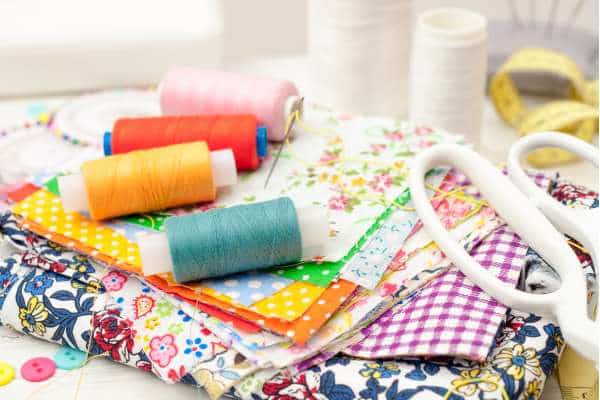
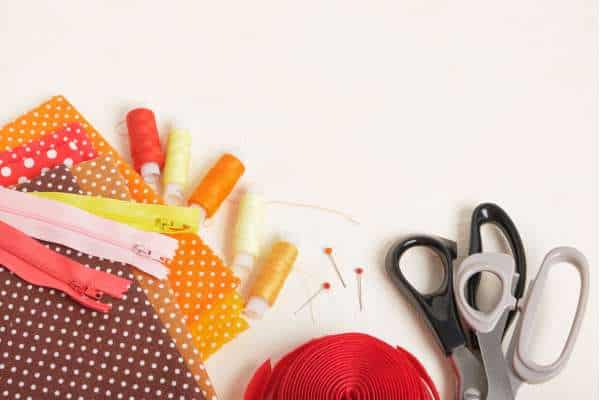
Materials Needed
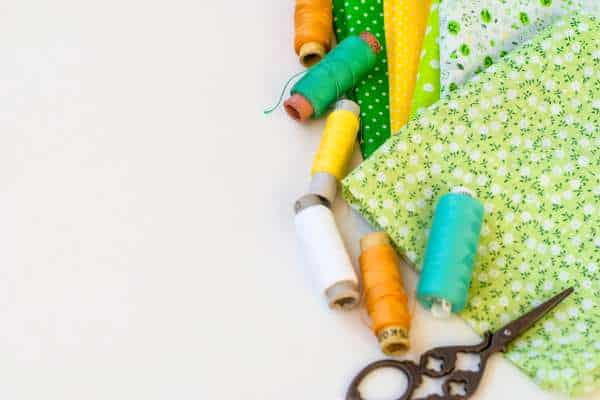
- Open Airs Texture Of Your Decision
- Open Airs String
- Froth Or Open Airs Pad Embeds
- Scissors
- Estimating Tape Or Ruler
- Sewing Machine
- Sewing Pins Or Clasps
- Straight Edge Or Cutting Mat
- Iron And Pressing Board
- Velcro Or Zippers (discretionary For Removable Covers)
1. Measure And Cut The Texture
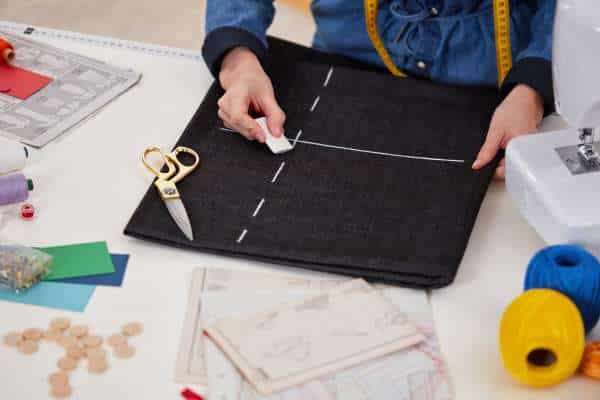
While setting out on the method involved with making open-air pads, one of the vital advances is estimating and cutting the texture. Exact estimations are fundamental to guarantee the pads fit cozily on your porch furniture and give the greatest solace. Start by cautiously estimating your furnishings or existing pads, and observing the aspects required for each pad. Add a half-inch to the estimations to represent crease remittances, taking into consideration a consistent and proficient completion.
Utilizing a straight edge or cutting mat, slice the outside texture to a suitable size, trying to have two pieces for the top and lower part of the pad on the off chance that it’s a container pad. Accuracy at this stage is critical, as it sets the establishment until the end of the pad-making process. With fastidious estimation and cutting, you’ll have the ideal material to make sturdy and appealing outside pads that will lift the vibe of your open-air space.
2. Set Up The Pad Additions
Subsequent to estimating and cutting the outside texture, the following stage in making open-air pads is setting up the cushion augmentations. The cushion, which gives the pad solace and backing, can be produced using froth or outside pad embeds. Utilizing the estimations of your pad covers, cut the froth or pad supplements to the suitable size.
In the event that you can’t find instant additions in the specific aspects, use scissors or an electric blade to slice the froth to fit entirely inside the texture covers. It is critical to guarantee that the froth or embeds fit cozily, neither too close nor excessively free, to keep up with the pad’s shape and solace. Setting up the cushion augmentations precisely is essential for making outside pads that offer ideal unwinding and endure the components effortlessly.
3. Sew The Pad Covers
When you have the texture covers and the cushion augmentations prepared, the subsequent stage in making open-air pads is to sew the Waterproof Outdoor Cushion covers. Place the two texture sorts out with the right sides confronting one another and pin or clasp the edges to hold them set up. In the event that you are making a case pad, likewise, join the side boards to the top and base pieces.
Utilizing a sewing machine and outside string, cautiously sew around the edges, leaving one side open for embedding the froth. Support the corners with extra sewing to guarantee solidness. The sewing system gets the texture as well as gives the pads a clean and proficient appearance. By following this step, you will make consistent and alluring open-air pads that give both style and solace, changing your outside space into a safe house of unwinding and pleasure.
4. Add Velcro Or Zippers (discretionary)
Make Outdoor Cushions To add flexibility and comfort to your outside pads, you can choose Velcro or zippers, an optional move toward the pad-making process. These terminations permit you to make the pad covers removable, working with simple washing and upkeep. In the event that you decide to utilize Velcro, sew one part within the top cover and the matching part within the base cover, guaranteeing a safe connection.
On the other hand, assuming that you favor zippers, adhere to the producer’s guidelines to append them perfectly along the open side of the pad cover. The option of Velcro or zippers not just improves the common sense of your outside pads yet, in addition, adds a dash of impressive skill and refinement to your Do-It-Yourself project. This insightful thought guarantees that your pads stay unblemished and prepared for unwinding, no matter what spills or outside components come their direction.
Learn More: How To Clean Outdoor Cushions Vinegar
5. Turn The Covers Right-Side Out And Embed The Froth
With the sewing and conclusion components set up, the following stage in making open-air pads is to turn the covers right-side out and implant the froth. Cautiously flip the pad covers back to front through the open side, guaranteeing the right sides of the texture are presently confronting outward. Smooth out the texture and adjust the corners for a flawless appearance. Presently, now is the right time to embed the froth or outside pad embeds into the covers.
Tenderly push the cushion increases inside, ensuring they fit cozily inside the texture covers. Appropriately inserting the froth is pivotal for accomplishing a very molded and agreeable open-airs pad. With this step finished, you are nearly encountering the realization of your craftsmanship – alluring, comfortable, and strong outside pads that will change your open-air space into a great desert garden for unwinding and recreation.
6. Close The Pad Covers
To finish the method involved with making outside pads, the last step is to close the cushion covers. Utilizing a needle and outside string, cautiously hand-fasten the open side of the pad covers shut. Try to sew the opening firmly and safely to keep the froth from moving inside the cover. This step gives the pads a clean appearance as well as guarantees that they stay in one piece and are utilitarian for quite a while.
Carve out the opportunity to examine the pad for any free strings or lopsided creases, and trim them conveniently for an expert completion. Furthermore, iron the pad in a low-intensity setting to eliminate any kinks and wrinkles, leaving you with a perfect and welcoming open-airs pad. When this step is finished, you can put your recently made open-air pads on your deck furniture and enjoy the fulfillment of making custom pieces that join style, solace, and strength, raising the climate of your outside safe haven.
7. Add Last Contacts
In the last phase of making outside pads, adding the last contacts and creating the last changes can have a huge effect on the general nature of your pad. Investigate the pads one final time for any free strings, lopsided creases, or defects, and trim them flawlessly for a perfect and expert look. Guarantee that all edges and corners are obvious and adjusted to improve the pad’ stylish allure.
Assuming you are involved in Velcro or zippers for the conclusion, twofold check that they are safely connected, considering simple expulsion and washing if necessary. Ultimately, iron the pads on a low-intensity setting to take out any excess kinks or wrinkles from the sewing system. With these last contacts, your outside pads are presently prepared to give you the highest level of solace and style as you partake in nature. Appreciate your handmade works of art, invest heavily in your Do-It-Yourself abilities, and revel in the delight of having made an outside pad that impeccably supplements your open-airs desert garden.
Conclusion
Make Outdoor Cushions is a satisfying undertaking that empowers you to create customized, strong, and snazzy increments for your outside living space. By following the bit-by-bit guide, you can make a pad that impeccably accommodates your porch furniture, matches your style, and endure the afflictions of open-air components.
The feeling of achievement and pride that comes from handcrafting these pads will without a doubt upgrade your satisfaction in your outside desert garden. Along these lines, focus on, accumulate your materials, and set out on this imaginative excursion. As you luxuriate in the solace and appeal of your hand-crafted pads, you’ll genuinely see the value in the work and love you put into making your outside region an inviting and loosening shelter for yourself, your family, and your visitors. Blissful making. Make Outdoor Cushions.