
If your bathroom sink stopper is stuck, there are a few steps you can take to try and remove it. First, check to see if the stopper is tight by turning it with your fingers. If it feels tight, use a pry bar or a screwdriver to loosen it if possible. If loosening the stopper doesn’t work, you may need to remove the sink itself.
1. How to Remove a Lift-and-Turn Drain Stopper
There are a few ways you can try to remove it. The easiest way is to use a screwdriver or pliers to loosen the screws on the lift-and-turn mechanism. Once the screws are loose, you should be able to lift the drain stopper out of its socket. If the screws are too tight or if they’re missing, you can try using a coat hanger or other metal wire to dislodge the stopper. Be careful not to scratch your sink or damage the drainpipe while doing this.
Remove the Drain Stopper Knob
Removing the Shower Room Sink Stopper is a simple task that can be completed in a few minutes. The first step is to remove the drain stopper knob. This can be done by turning it counterclockwise. Once the knob has been removed, the stopper can be lifted out of the sink. If needed, the stopper can be cleaned by using a mild detergent and water.
Unscrew the Drain Stopper Bolt
When it’s time to clean the sink, the last thing you want to deal with is a stubborn stopper. Many times, all it takes to remove the stopper is unscrewing the bolt on the bottom. This how-to guide will show you how to do just that.
- Find the bolt at the bottom of the drain stopper. It will be a hexagon-shaped screw that can be loosened with a wrench or pliers.
- Gently unscrew the bolt by turning it counterclockwise until it comes loose.
- If needed, use pliers to hold onto the bolt while you turn it with your hand.
- Remove the old drain stopper and replace it with a new one, if desired.
- Screw in the bolt by turning it clockwise until it’s tight.
Inspect, Clean, or Replace
If your washroom sink stopper isn’t functioning as it should, there are three main options: inspect it, clean it, or replace it. Inspecting your sink stopper is a good way to troubleshoot any potential problems and determine whether or not you just need to clean it or if you need to replace it. To inspect the sink stopper, remove it from the sink and take a look at the mechanism that keeps it in place. If there are any obstructions or gunk built up on the mechanism, try cleaning it with a toothbrush before replacing the stopper.
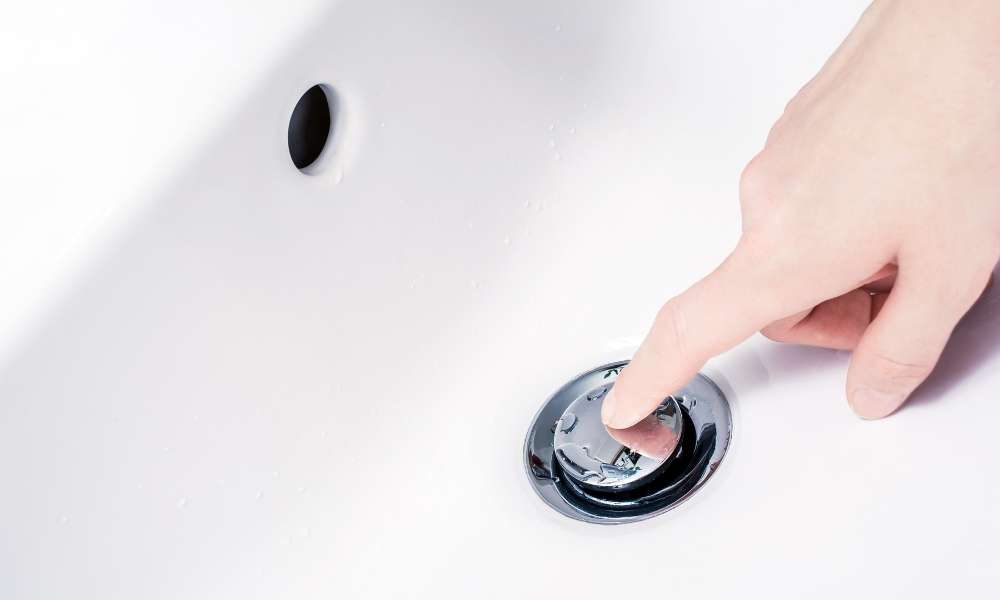
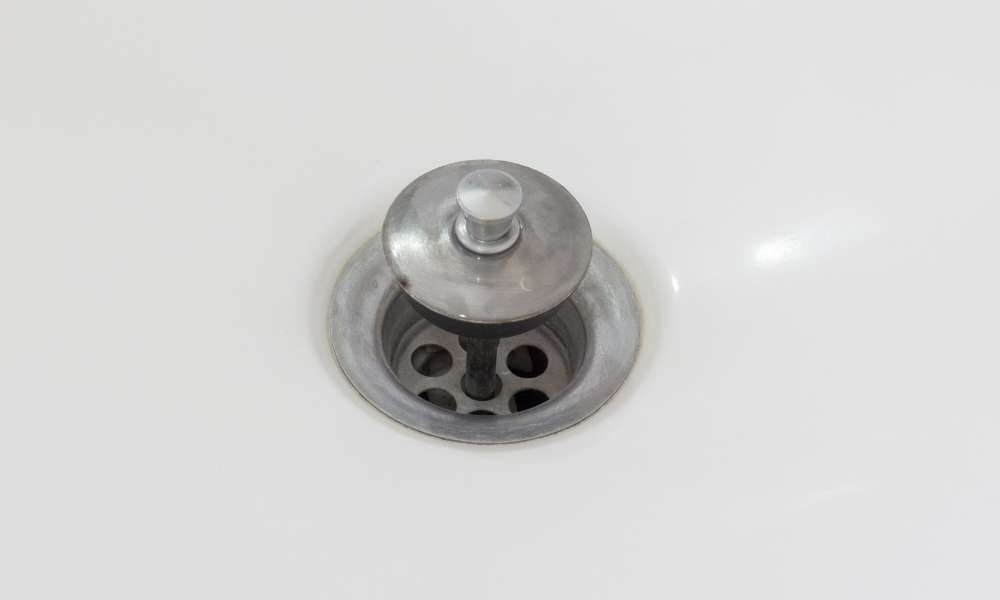
2. How to Remove a Push-and-Pull Drain Stopper
Removing a push-and-pull drain stopper is a simple process that can be completed in just a few minutes. Begin by locating the lift rod on the top of the stopper. Gently pull up on the lift rod to release it from the drain. Then, use your hand to twist the stopper counterclockwise to remove it from the sink. If needed, you can also use a wrench to help loosen the stopper. Be sure to clean any debris or hair from the drain before replacing the stopper.
Remove the Drain Stopper
Instructions on how to remove the drain stopper from a bathroom sink.
- Locate the drain stopper on your bathroom sink. It is usually a metal or plastic plug that fits into the hole in the bottom of the sink.
- Look for a small lever or knob on top of the stopper. This is what you will use to release it from the sink.
- Gently pull up on the lever or knob and lift the stopper out of the sink. If it is stuck, you may have to use a little force to get it moving. Be careful not to damage the plug or your sink.
- Rinse off any debris that may be caught around the stopper and replace it in the sink by reversing these steps.
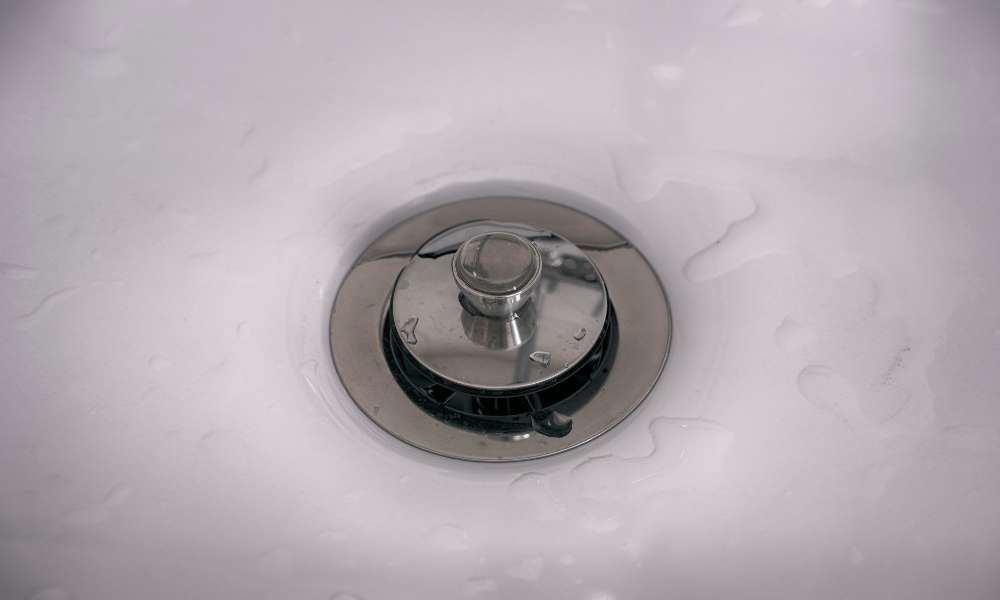
3. How to Remove a Toe-Touch Drain Stopper
If your washroom sink has a toe-touch drain stopper, there will certainly be a small lever on the underside of the sink that you can use to release the stopper. First, make sure that the sink is empty, and then locate the lever. Some levers are hidden behind the faucet, so you may need to move the faucet out of the way to see it.
To release the stopper, lift up on the lever and then pull it out of the drain. If the lever is difficult to move, you can try using a screwdriver or pliers to get a better grip on it. Once the lever is free, pull it straight out of the drain.
Open the Drain Stopper
The Shower Room Sink Stopper is a small, round piece of plastic or metal that sits in the drain of your sink. It has a small hole in the center and a lever on the side. When you lift the lever, the stopper pops up and blocks the drain. This keeps water from flowing down the drain.
If your washroom sink stopper isn’t working properly, you may need to remove it and clean it out. To do this, first, turn off the water to your sink. Then, use a pair of pliers to loosen the nut on top of the stopper. Once it’s loose, pull it straight up and out of the drain. Be careful not to touch the part that goes into the drain, as it may be dirty and wet.
Twist the Drain Stopper Lid
Remove Bathroom Sink Stopper is a simple process that just requires a bit of twisting. The first thing you need to do is remove the drain stopper lid. Just insert the pliers into the opening on the top of the stopper and twist. Once the lid is removed, you can then grab onto the stopper and pull it out. If it’s stuck, you may have to use a little force, but be careful not to damage the sink. Once it’s out, you can clean it and put it back in place by reversing these steps.
Unscrew the Fastening Screw
In some cases, the fastening screw that holds the stopper in place can become corroded, making it even more challenging to get it out. The following steps will show you how to remove a bathroom sink stopper without damaging the sink or the plumbing:
- Use a wrench or pliers to unscrew the fastening screw that holds the stopper in place. If the screw is corroded, spray it with a lubricant like WD-40 to help loosen it up.
- Carefully lift the stopper out of the sink. Some water may spill out, so be prepared for this.
- Rinse off the stopper and inspect it for damage. If it’s in good condition, you can reinstall it by following these same steps in reverse order.
4. How to Remove a Flip-It Drain Stopper
The flip-it drain stopper is a popular choice for bathroom sinks because it’s easy to operate. The stopper is activated by flipping a lever on the side of the drain. If you need to remove the stopper, here’s how:
- Loosen the screw on the top of the flip-it drain stopper with a screwdriver.
- Lift up on the lever to release the stopper from the drain.
- Remove the screw and washer from the bottom of the stopper.
- Gently pull out the stopper from the drain.
Open and Remove the Drain Stopper
The drain stopper is one of the most important pieces of your bathroom sink. It is the part that keeps the water from flowing down the drain. Here are a few steps to help you open and remove your drain stopper:
- Locate the lever that opens and closes the drain stopper. It is usually located on the edge of the sink or on the drain pipe.
- Push down on the lever to close the drain stopper.
- Pry off the cap covering the screw with a small flathead screwdriver.
- Unscrew the screw with a Phillips head screwdriver.
- Lift out the drain stopper.
5. How to Remove a Trip-Lever Drain Stopper
Removing a trip-lever drain stopper is a relatively easy task. The first step is to remove the screws that hold the trip lever in place. There may be two or three screws, so make sure to check carefully.
The next step is to loosen the nut that holds the drain stopper in place. This can usually be done by hand, but it may be tightened with a wrench if needed. Once the nut is loose, the drain stopper can be pulled out of the sink. If needed, the old gasket can be replaced at this time.
Finally, reattach the trip lever and tighten the screws before putting everything back in place. Be sure to test out the new drain stopper to make sure it works properly.
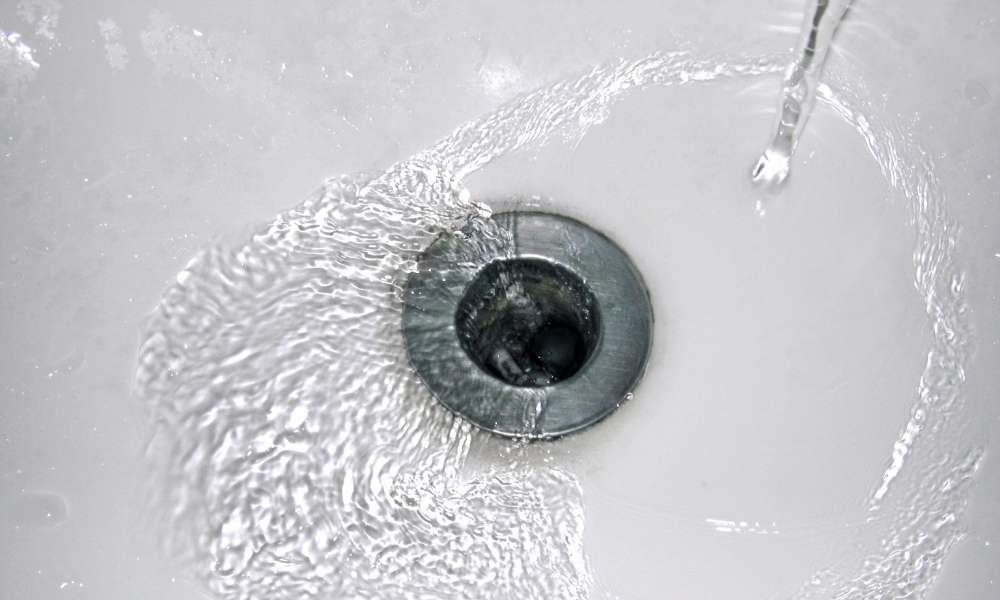
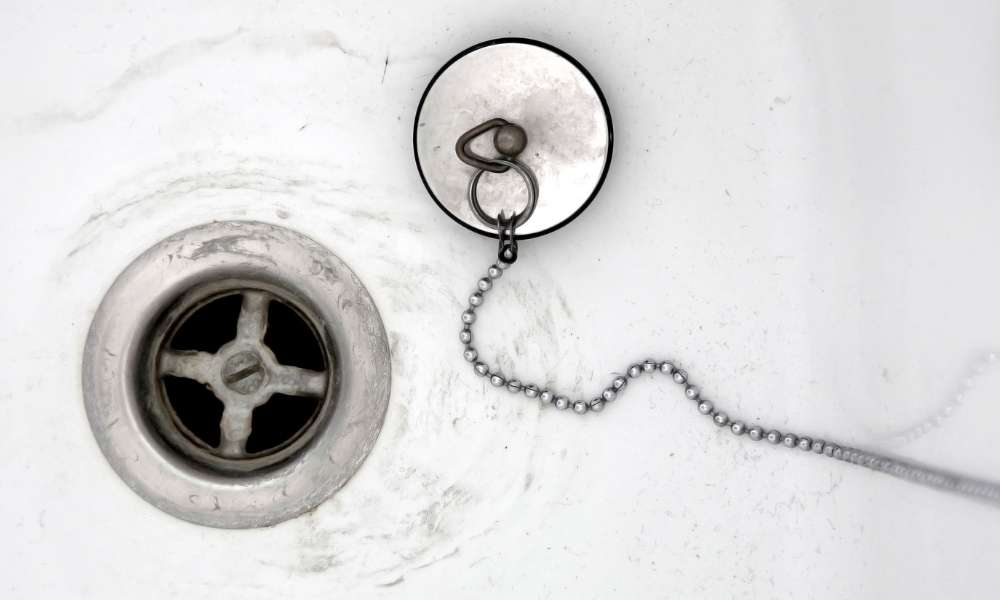
Open the Drain
If your washroom sink is clogged and you can’t remove the stopper to clear the drain, don’t reach for the plunger just yet. There’s an easy way to remove the stopper without having to touch it or get your hands dirty.
All you need is a bucket and a length of wire. Place the bucket under the drain and use the wire to pull out the stopper. It may take a little wiggling, but it’ll come out eventually. Once it’s out, you can clear the clog using a plunger or a plumbing snake.
Remove the Overflow Grate
Many homeowners are unaware of the fact that the overflow grate on their bathroom sink can be removed. This grate is responsible for preventing water from overflowing the sink basin, and it is often clogged with hair and other debris. In order to remove it, you will need a pair of pliers. Start by turning the faucet off and emptying the sink of any water. Next, use the pliers to loosen the screws that hold the grate in place. Once the screws are loose, remove the grate and clean it off with a brush or toothbrush. Be sure to rinse it thoroughly before reinstalling it.
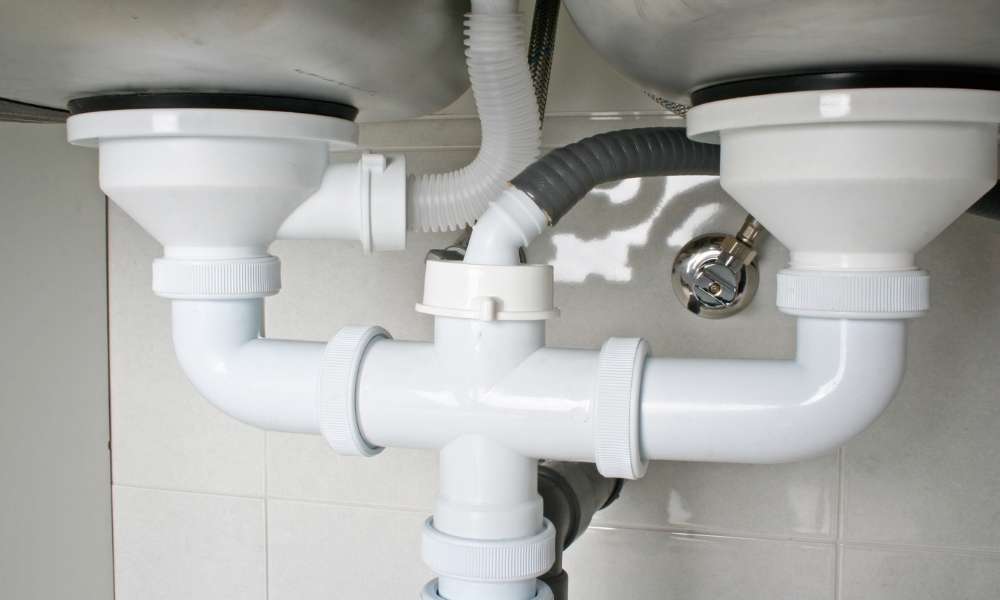
Pull-out Trip-Lever Drain Stopper Assembly
When it comes time to Remove Bathroom Sink Stopper, it’s important to know how the assembly works. The most common type of sink stopper is a trip-lever drain stopper. This type of stopper is activated by a lever on the side of the sink. To remove the bathroom sink stopper, you’ll need to release the lever and then pull out the stopper assembly.
The first step is to release the lever. On most trip-lever drain stoppers, there is a small notch near the end of the lever. You can use a screwdriver or pocket knife to pry up on this notch and release the lever. Next, you’ll need to pull out the stopper assembly.
6. How to Remove a Pop-Up Drain Stopper
The pop-up drain stopper is a common feature in bathroom sinks. It is a metal piece that sits at the bottom of the sink and can be raised and lowered by pressing on it. If the pop-up drain stopper becomes stuck or is difficult to operate, it can be removed and replaced with ease.
To remove the pop-up drain stopper, first, turn off the water to the sink. Next, loosen the screws that hold the drain in place and remove it from the sink. Be sure to keep track of where each screw goes so that you can put everything back together correctly.
Now that the drain is out of the way, you can access the pop-up assembly. This piece is held in place by two screws at either end. Loosen these screws and remove the assembly from the sink.
Remove the Drain Stopper Plug and Rocker Arm
To remove the Shower Room Sink Stopper, you will need to remove the drain stopper plug and rocker arm. The plug is typically a small, round piece of metal that sits in the center of the drain. The rocker’s arm is a lever located on the side of the sink that lifts and lowers the stopper.
Begin by using a screwdriver to remove the screws that hold the drain cover in place. Lift off the cover and set it aside. Use pliers to remove the drain stopper plug.
Next, use a wrench to loosen the nut on the rocker’s arm. Lift up on the arm and pull it out of the hole in the sink. Set it aside.
Unscrew the Overflow Faceplate
If you’re like most people, your bathroom sink has a stopper that lets you control the amount of water that goes down the drain. When it’s time to clean the sink, you have to remove the stopper so that you can get all of the gunk out from under it. Here’s how:
- Turn off the water and unscrew the overflow faceplate.
- Lift up on the stopper and wiggle it back and forth until it comes loose.
- Clean off any gunk that’s built up around the edges of the stopper and replace it by reversing these steps.
Remove the Rod Assembly
Removing the rod assembly from a bathroom sink stopper is a simple task that can be completed in a few minutes. The following steps will show you how to do it:
- Begin by locating the screw on the top of the rod assembly.
- Use a Phillips head screwdriver to remove the screw.
- Carefully pull the assembly out of the drain.
- If needed, use a pair of pliers to remove the stopper from the assembly.
- Reverse these steps to reattach the assembly and replace the screw.
Conclusion
There are a few ways that you can remove a shower room sink stopper. If the stopper is stuck and you are unable to remove it using the methods described above, you can try using a plunger or a plumber’s snake. If you have any questions or concerns, please consult a professional before attempting to remove the sink stopper on your own.