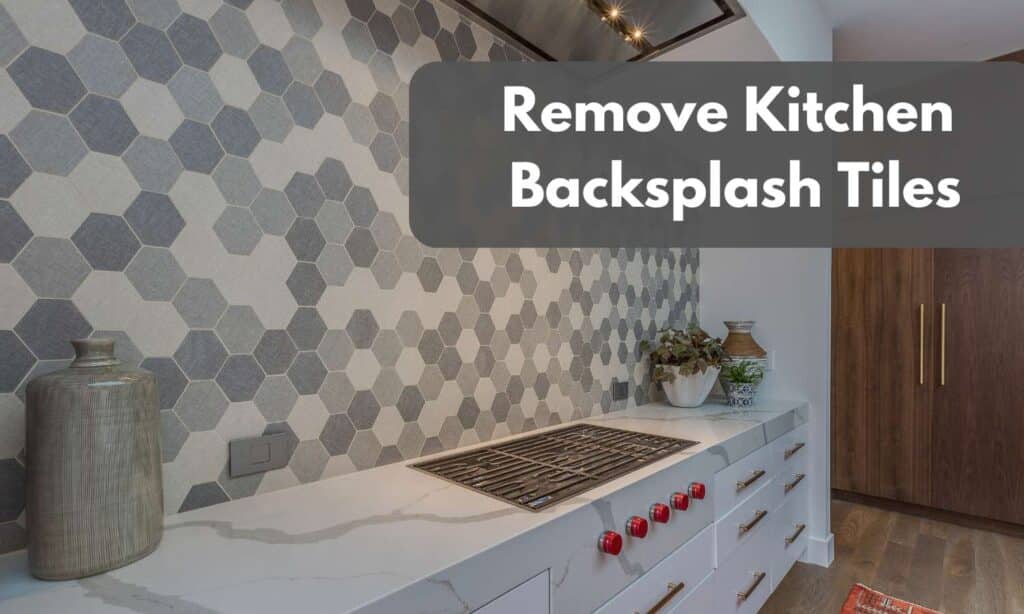
Remove Kitchen Backsplash Tiles may be a game-changer, a transformative act that breathes new life into your culinary location, laying the premise for an elegant improvement. Whether you’re updating a preceding layout or prepping for the set up of sparkling, contemporary-day tiles, getting to know this technique is vital to reaching a seamless and achievement upkeep. This manual will stroll you through each step—from installing area your workspace to coping with cussed adhesives. With those insights, you’ll be fully prepared to address the undertaking successfully, readying your kitchen for a cute new backsplash that elevates both capability and fashion.
1. Gather Your Tools And Materials
Embarking on the journey of getting rid of kitchen backsplash tiles is simpler with the proper arsenal of equipment and substances at your disposal.
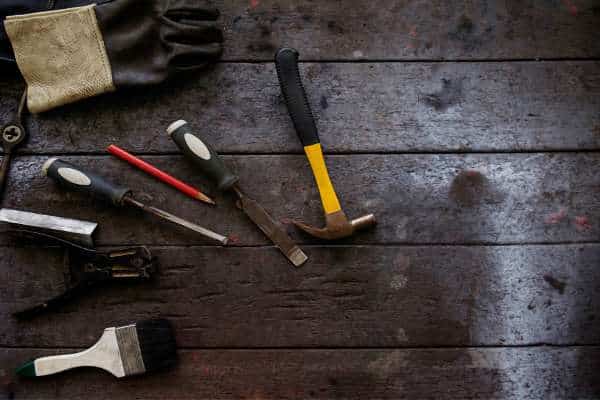
To start, you may want several key items: a putty knife or flat chisel, a hammer, protection goggles, gloves, a drop cloth, and a software knife. Start by safeguarding your countertops and flooring with the drop cloth to prevent any scratches or harm. Prioritize safety—put on your goggles and gloves earlier than commencing the elimination manner. Use the application knife to score the grout strains around the tiles. Then, lightly wedge the putty knife or chisel below the brink of a tile and tap it lightly with the hammer to loosen it. With the right training and equipment, disposing of becomes an achievable DIY undertaking, leaving you with a smooth slate on your subsequent layout.
2. Prepare The Work Area
Before diving into tile elimination, set the degree by getting ready for your workplace meticulously. Start by way of clearing countertops and surrounding surfaces to avoid damage or debris buildup.
Drape drop cloths or plastic sheeting over adjoining areas to defend them from falling tiles and adhesive residue. Gather all important equipment, which includes a software knife, pry bar, and hammer, within easy attain. Proper ventilation is essential, so open home windows or set up fanatics to preserve a properly ventilated space. These steps ensure safe, organized surroundings, putting the degree for a smooth tile elimination endeavor.
Clear The Kitchen Counters And Cover Surfaces
The first step in removing kitchen backsplash tiles is to clear kitchen counters and cowl nearby surfaces. This training not only guarantees a clean and efficient technique but also protects your countertops and appliances from potential harm.
Begin by way of putting off all items out of your counters, which includes decorative portions and small appliances. Next, lay down shielding coverings like drop cloths or plastic sheeting over surfaces uncovered to debris or grout residue. This simplifies cleanup and prevents scratches or stains. Taking those initial steps creates an easy workspace, setting the inspiration for a successful tile elimination task.
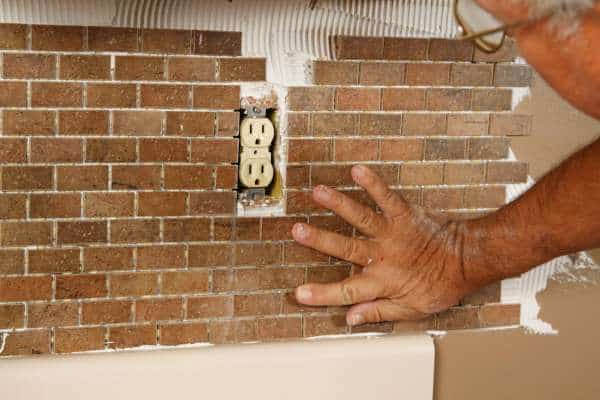
Turn Off Electrical Outlets And Appliances Near the backsplash

When you’re ready to get rid of kitchen tiles, protection needs to be paramount. Before you start, it’s important to turn off all electrical stores and appliances close to the backsplash.
This step removes the danger of electrical shock or damage to your gadgets. Start by locating the circuit breaker that controls the kitchen’s electricity delivery. Switch it off, and double-take a look at it with the aid of testing the outlets with a voltage tester to make certain they’re completely deactivated. With the electricity off, you may correctly cast off the tiles with no electrical hazards. This precaution no longer handiest protects you however also guarantees a smoother and extra secure tile elimination procedure.
Protect Adjacent Areas From Potential Damage
Shielding adjoining areas from ability harm is essential to ensure clean and trouble-free preservation. Cover countertops, shelves, and flooring with protective materials like drop cloths or plastic sheeting to defend against particles or unintentional scratches.

Use painter’s tape to stabilize these coverings in the area to prevent them from shifting in the course of removal. Carefully score grout traces with a software knife to minimize the chance of chipping tiles or damaging surrounding surfaces. These precautions help maintain your kitchen’s integrity and make the tile elimination system greener green.
3. Remove The Caulk And Grout
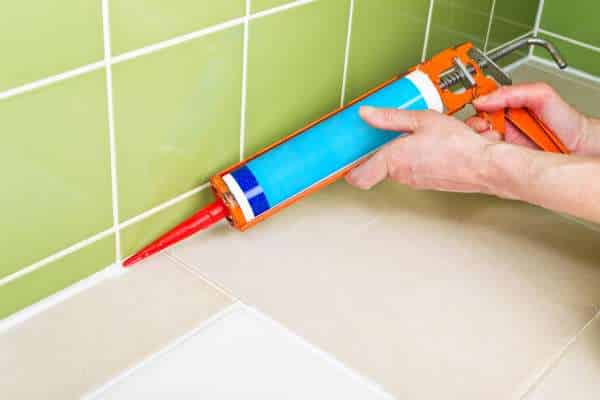
Remove Kitchen Backsplash Tiles can be a workable DIY task in case you observe the proper steps, mainly in relation to doing away with the caulk and grout.
First, you’ll need to soften the caulk by means of applying a caulk softener, which makes it less complicated to scrape off with an application knife or a caulk elimination tool. Once the caulk is eliminated, awareness of the grout. Use a grout saw or a multi-device with a grout removal blade to carefully grind away the grout traces around every tile. This step is essential to avoid negative the encircling tiles or the wall. By taking a while and working methodically, you could effectively put off the caulk and grout, making it easier to boost the tiles off the wall without inflicting unnecessary harm.
4. Loosen And Remove The Tiles
Remove Kitchen Backsplash Tiles is a task that many homeowners can tackle with a bit of patience and the right tools. To start, you’ll want to protect your countertops and surrounding areas by laying down a drop cloth or cardboard.
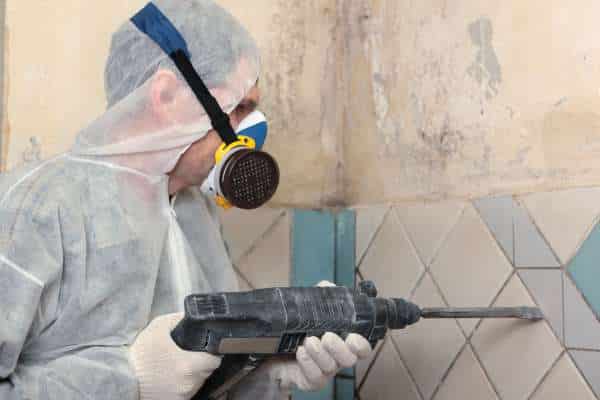
Then, gently insert a putty knife or chisel under the edge of a tile and apply gentle pressure to loosen the adhesive bond. Work slowly, prying the tile away from the wall. If the tiles are particularly stubborn, you may need to use a hammer to tap the chisel or putty knife lightly, being careful not to damage the wall underneath. Once the tiles are loosened, they should come off relatively easily. Repeat this process until all the tiles are removed, and be sure to clean off any remaining adhesive before preparing the surface for new tiles.
5. Clean The Surface

Removing kitchen backsplash tiles and cleaning the surface afterward is a straightforward process that can rejuvenate the look of your kitchen.
Start by carefully prying off the tiles using a putty knife or chisel, working slowly to avoid damaging the underlying wall. Once all the tiles are removed, you’ll likely find remnants of adhesive or grout left behind. To clean the surface, begin by using a scraper to remove any large chunks. Next, apply a mixture of warm water and mild detergent to the wall, allowing it to soak for a few minutes. Gently scrub the area with a sponge or soft brush to remove the remaining adhesive. For stubborn spots, a little vinegar or a commercial adhesive remover can be effective. Finish by wiping down the surface with a damp cloth, ensuring it’s clean and ready for your next project.
6. Dispose Of Old Tiles Properly
Removing kitchen backsplash tiles is an assignment that calls for both staying power and the right technique. Start by protecting your countertops and floors with drop cloths or plastic sheeting to catch particles.
Using a putty knife or chisel, lightly pry off the tiles, beginning at a facet. Be certain to work slowly to avoid negative the drywall beneath. Once all the tiles are removed, it is essential to put off them well. Old tiles may be sharp and unsafe, so place them in a strong, sealable container or bag. Check together with your neighborhood waste control or recycling center to see if they accept creation materials or provide specific recommendations for tile disposal. By following those steps, you may ensure a smooth removal manner and environmentally accountable disposal of antique tiles.
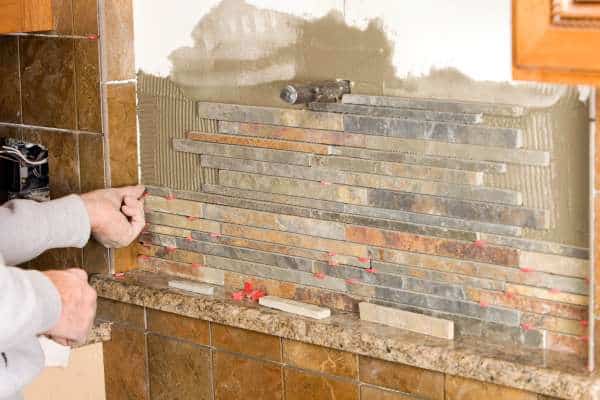
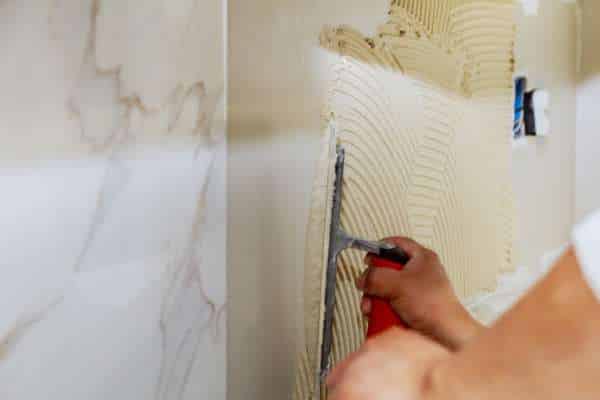
7. Prepare For New Backsplash Installation
Removing antique backsplash tiles is a key step when preparing for a fresh, updated appearance. Gather vital equipment—application knife, hammer, chisel, and gloves. Score grout strains with the knife to loosen tiles. Gently faucet the chisel with the hammer to pry tiles off, averting damage to the underlying surface. Clean off any closing adhesive and grout residue. Inspect the wall for any upkeep wishes before installing the new backsplash. Proper instruction ensures a clean installation and a stunning kitchen upgrade.
Steps for Prepping The Wall For New Tiles
Removing kitchen backsplash tiles is a sincere technique that could deliver your kitchen a clean appearance. To begin, cautiously cast off the old tiles using a chisel and hammer, operating from the rims inward to keep away from destroying the wall under.
Once the tiles are removed, it’s important to prep the wall for new tiles. Begin by scraping off any final adhesive or grout with a putty knife, making sure the surface is easy. Next, clean the wall with a moist sponge to cast off dust and particles. If there are any holes or uneven regions, fill them with spackle or joint compound, then sand the floor once it’s dry. This education ensures that your new tiles will adhere nicely and lay flat, offering an easy and expert end in your kitchen backsplash.
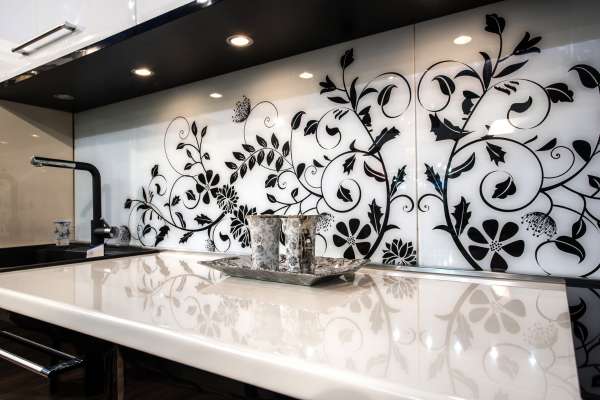
Tips For Selecting New Backsplash Tiles And Planning The Layout
Removing kitchen backsplash tiles can appear to be a frightening task, however, with the right technique, it can be conceivable and profitable. Start by cautiously prying off the antique tiles using a chisel or putty knife, working slowly to keep away from the wall beneath.
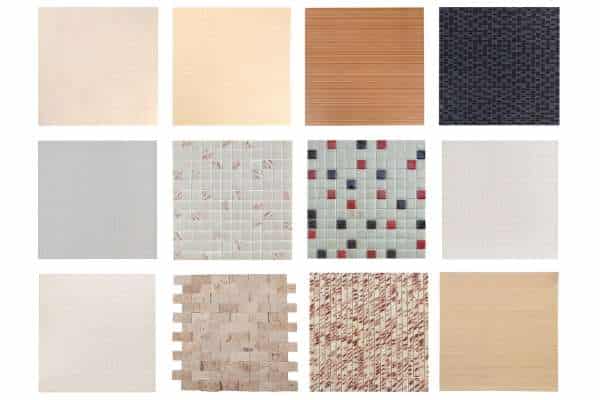
Once the vintage backsplash is removed, it’s vital to take a while to decide on new tiles that complement your kitchen’s style and capability. Consider materials like ceramic, glass, or stone, and reflect on consideration on the color scheme and texture to be able to enhance your kitchen’s universal aesthetic. Planning the layout is equally important—degree the area accurately and create an in-depth blueprint before beginning. This will help you visualize the final look and make certain an easy setup technique. Proper planning and considerate tile selection can remodel your kitchen, making it greater visually appealing and functional. Remove Kitchen Backsplash Tiles.
Read More: How To Update Kitchen Tiles Without Removing Them
Conclusion
Remove Kitchen Backsplash Tiles can be a profitable DIY challenge while performed efficaciously. By cautiously preparing your workspace, following the right strategies for putting off tiles, and properly cleansing and repairing the surface, you could achieve a clean and successful tile removal. Remember to take it slow and use the right equipment to avoid negative partitions or surrounding areas. With those steps, you’re well on your way to updating your kitchen and creating a clean new appearance. For extra home improvement recommendations and advice, be sure to explore our different courses or enroll in our blog. If you have any questions or need additional assistance, sense free to leave a comment beneath!