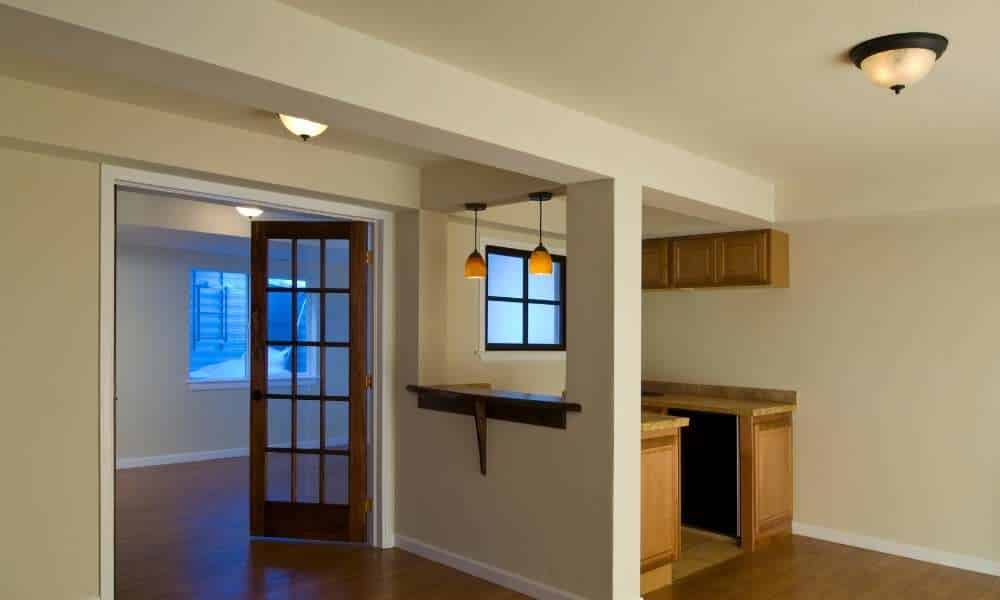
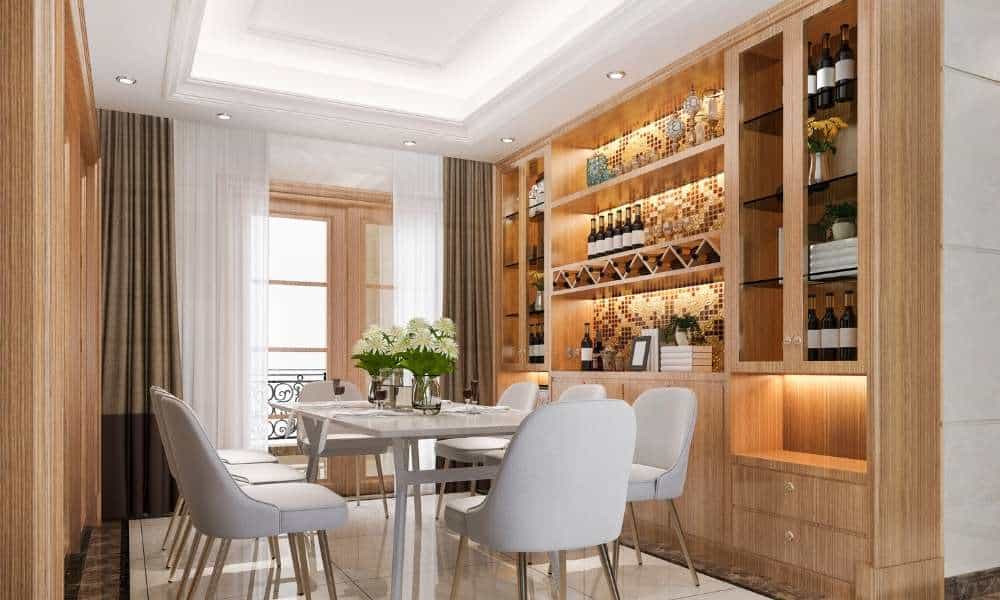
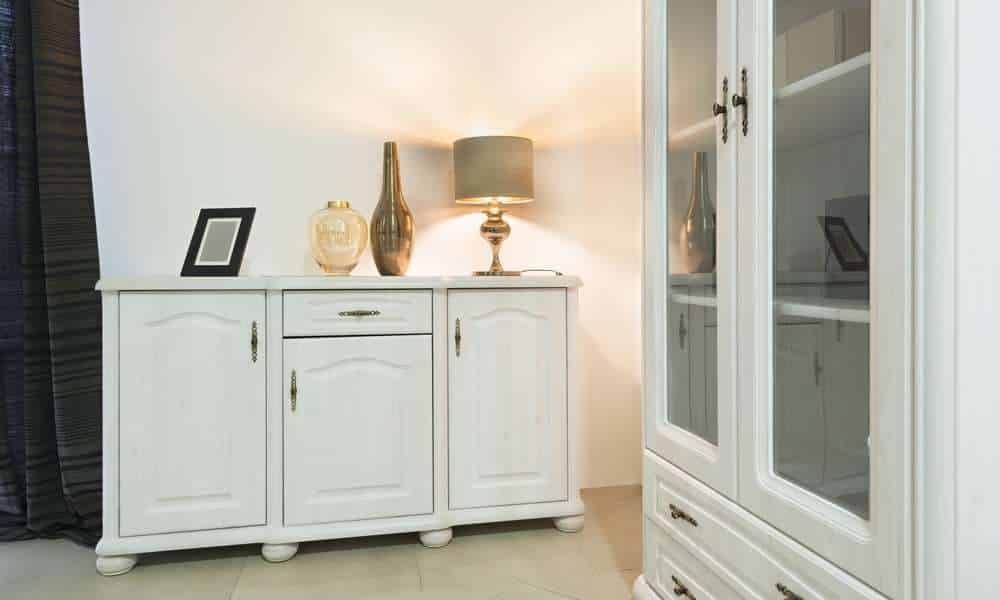
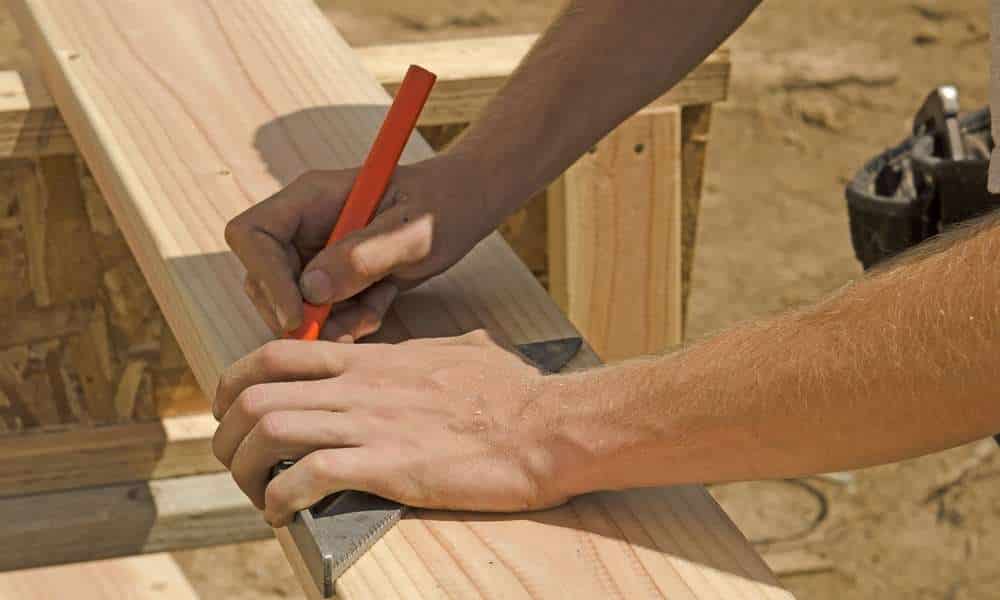
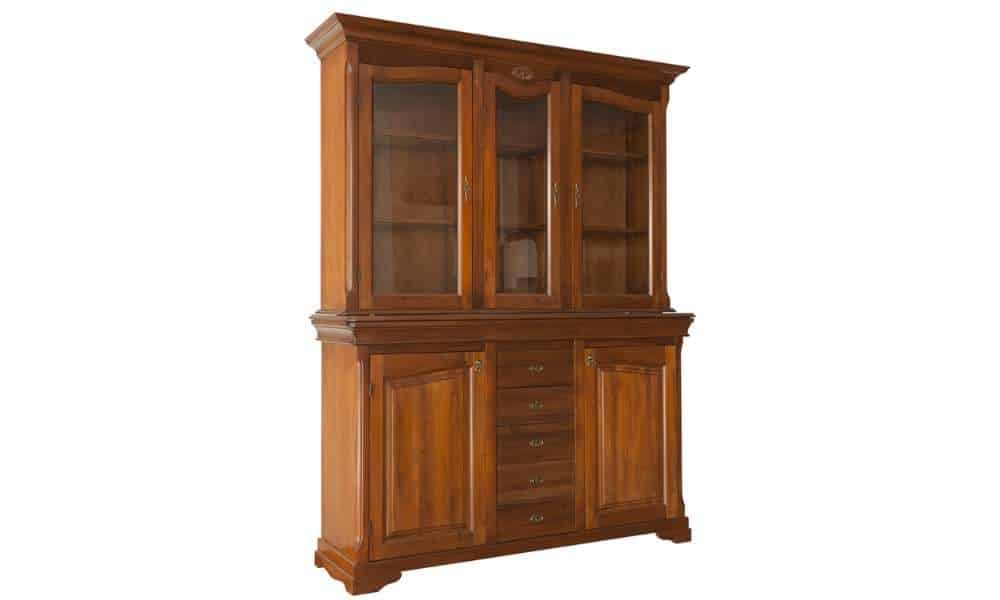
Build A Dining Room Hutch can be a a laugh and pleasing venture for the home DIY fanatic. The Hutch may be used to save dishes, silverware, and different kitchen gadgets. It can also be used as a buffet or aspect desk. There are many exclusive forms of hutch to be had on the market, so deciding on the right one is crucial. In this text, we can provide you with hints on how to construct a primary hutch from scratch.
1. Build the buffet legs

Build A Dining Room Hutch can be a daunting task, but with the right tools and instructions, it can be a breeze. The first step is to measure the space where you will be placing the buffet. This will help you determine the size of the buffet you need to build. Once you have measured the space, it is time to start building!
The legs of the buffet can be built using 2x4s. Cut four pieces of wood that are each 18 inches long. Then, cut two pieces that are each 24 inches long. These will be the legs of your buffet. Next, use a drill to create pilot holes at each end of the shorter boards. These pilot holes will help keep the screws in place later on.
2. Build the buffet sides

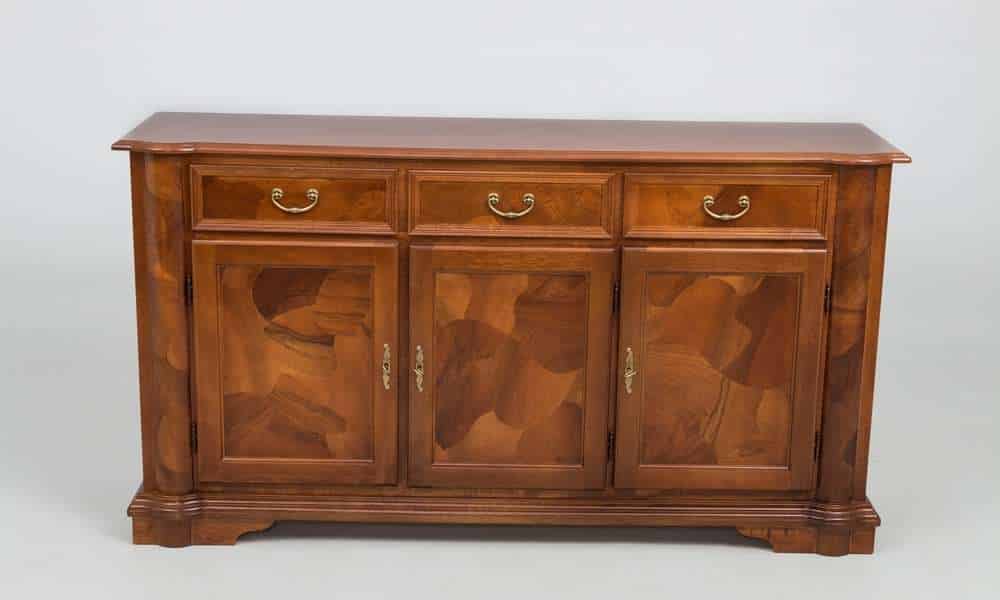
There are many considerations whilst constructing a buffet sideboard. The first choice is the size. Buffet facets can be short and shallow or tall and deep. They also can be as huge as the room permits. The peak of the piece depends on how an awful lot garage is wanted.
A buffet sideboard may have easy strains or more complex details. There also are many different styles of wood to choose from. Maple, oak, and cherry are all popular selections for furniture. A buffet sideboard will have doors, drawers, or both. It also can have a wine rack, a stemware rack, or a built-in slicing board.
3. Attach the buffet face frame

The buffet face frame is attached to the front of the buffet cabinet. The face frame is made from 1×4 lumber. The top and bottom rails are attached to the cabinet side panels. The intermediate rails are attached to the top and bottom rails. The stiles are attached to the intermediate rails. The face frame is glued and nailed to the cabinet.
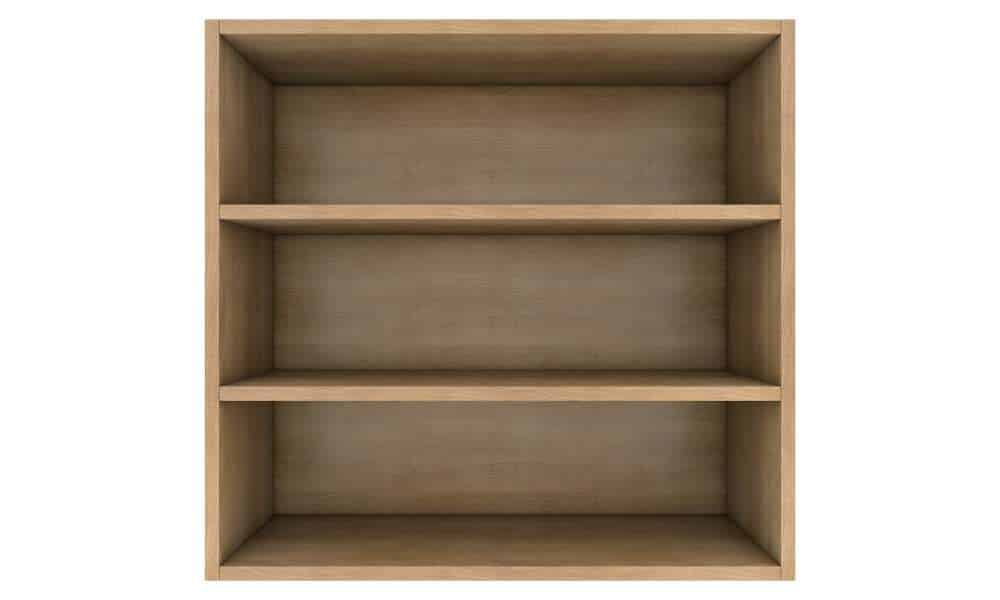
4. Add the buffet shelves

Adding a buffet shelf in your dining room hutch is a tremendous way to growth garage and display space. This simple mission can be completed on a weekend with basic carpentry skills. Follow those steps to add a buffet shelf in your hutch:
- Determine the peak and width of the buffet shelf. The peak ought to be equal to or slightly taller than the peak of the hutch, and the width must be equal to or barely wider than the hutch.
- Cut two portions of wood for the pinnacle and backside of the buffet shelf the use of a miter noticed or desk noticed.
- Drill pocket holes at every give up of the pinnacle and bottom portions the usage of a pocket hollow jig.
- Assemble the pinnacle and bottom portions the use of 1-1/four” pocket screws.
5. Attach the buffet back

Attach the buffet back. This is a project that you can do on a weekend and will give your dining room a new look. The materials you will need are:
- Buffet
- Table saw
- Chisel
- Hammer
- Square
- Level
- Tape measure
- Sandpaper
- Paint or wood stain of your choice
- Polyurethane sealant (optional, but recommended if your buffet will be used as a kitchen cabinet).
The first step is to measure the height, width, and depth of the buffet. You will also need to measure the height of the opening at the back of the buffet. This is where the table saw comes in handy.
6. Build the buffet top
Building a buffet pinnacle is a incredible manner to feature garage and display area for your eating room. The challenge can be finished on a weekend and doesn’t require any superior carpentry abilties. Here’s how to get commenced:
- Measure the width of the buffet cupboard and reduce the plywood to length. If you are not cushty using a round noticed, have the lumberyard try this for you.
- Glue and screw the plywood to the top of the buffet cupboard. Make certain it is flush with the edges and front of the cabinet.
- Sand down any tough edges, then follow a coat of primer and two coats of paint or sealer to suit your décor.
- Install pulls or handles at the front of the buffet pinnacle to make it easy to open.
7. Attach the buffet top
The first step is to connect the buffet top to the buffet base. Use wooden glue and clamps to attach the pinnacle to the bottom. Make sure the edges are flush and the corners are square.
The next step is to construct the frame for the buffet top. The frame ought to be made from 2x4s and 3/4-inch plywood. Cut the portions for the body and then use timber glue and nails or screws to bring together it. The body have to match snugly on pinnacle of the buffet base.
Next, reduce out the portions for the shelf and connect them to the body with wood glue and nails or screws. Make positive the shelf is stage and spaced lightly apart. Finally, sand and end the buffet top consistent with your preference.
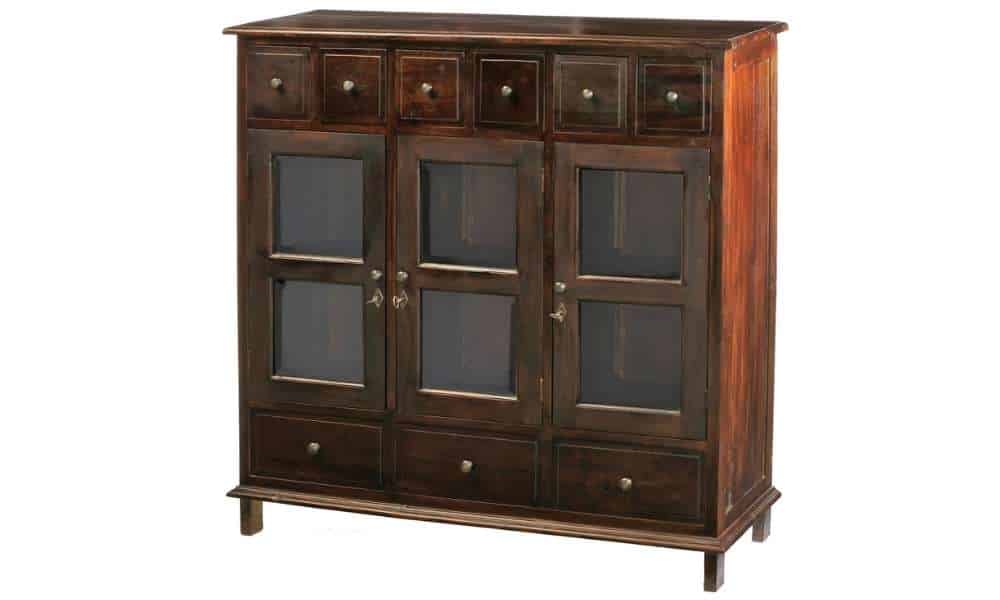
8. Build the buffet doors

Dining room hutches can offer precious storage and display space to your dining room. You can build a hutch from scratch, or you may convert an current cabinet or armoire right into a hutch. This undertaking will display you a way to construct doorways for a hutch the use of fashionable-sized kitchen shelves.
The first step is to measure the peak, width, and depth of the cupboard or armoire that you may be the use of because the hutch. Then, cut two pieces of 1×3 lumber to these measurements. These portions may be the edges of the doorways.
Next, cut 4 portions of 1×2 lumber to the equal measurements as the perimeters. These portions will be the pinnacle and backside rails of the doors.
Lay out one of the aspect portions and one of the pinnacle and backside rails in order that they shape a “T” form.
9. Finish the buffet doors
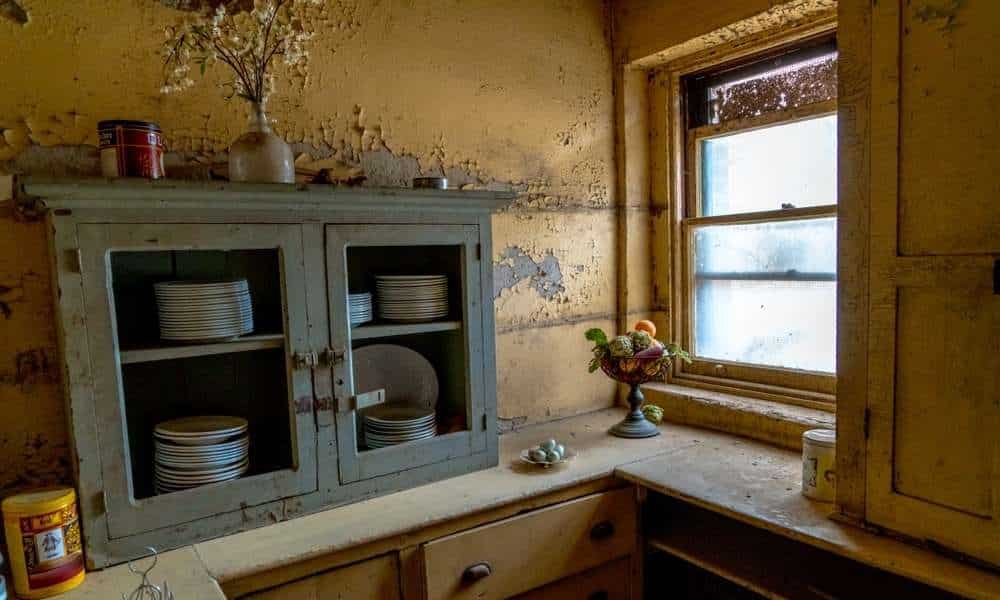
Do you have an old buffet or sideboard in your dining room that you don’t know what to do with? Well, here is a solution for you. By adding some simple construction steps, you can turn that old piece of furniture into a beautiful hutch.
The first step is to remove the doors from the buffet. If they are attached with screws, remove them and set them aside. If the doors are glued on, use a chisel to pry them off.
Next, measure and cut two pieces of plywood to fit the size of the door openings. These will be the new door panels.
Attach one panel to each door opening using hinges. Make sure that the panel covers the entire opening and that there is no space between the panel and the edge of the door.
10. Build the hutch frame
Building a eating room hutch is a extraordinary way to add storage and show space to your house. The frame of the hutch may be built using simple carpentry talents. In this tutorial, we can display you a way to build the frame of a hutch.
The first step is to reduce the pieces for the frame. We could be the usage of 2x4s for this undertaking. Cut two portions for the top and bottom, and 4 portions for the perimeters. The period of the top and bottom pieces will rely upon the dimensions of your hutch, however must be at least 48″ long. The width of the facet portions should be eleven-half of”. Next, drill pocket holes at every give up of the top and backside portions.
11. Build the hutch face frame
In order to build the hutch face frame, you will need to cut the following pieces of wood: two pieces of wood that are 66″ long and two pieces that are 14″ long. You will also need to cut four pieces that are 2″ wide and 66″ long. The final piece you will need is a piece that is 2″ wide and 14″ long.
Once you have all of the pieces cut, you can begin assembling the frame. Start by attaching the two shorter pieces to the top and bottom of the two longer pieces. Make sure that the ends are flush before attaching with screws.
Next, attach the four 2″ wide pieces to create a rectangle. Again, make sure that the ends are flush before attaching with screws. Finally, attach the last piece to create an open space in the middle of the frame.
12. Attach the face frame
Attach face frame:
- Cut the boards for the face frame to length and rip them to width.
- Cut rabbets in the ends of the boards, then assemble the frame with glue and clamps.
- Nail or screw the frame to the cabinet box.
- Bore pilot holes and drive screws through the cabinet box into the face frame.
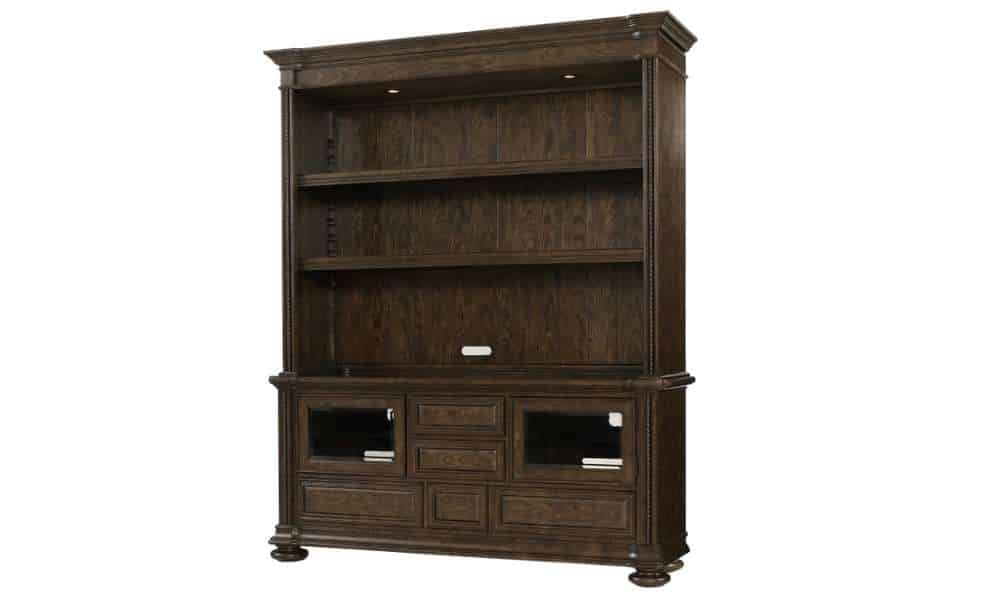
13. Attach hutch shelves
When it comes to storage, the eating room hutch is a splendid alternative. You can use the shelves to shop dishes, glasses, and different items. If you don’t have lots of garage in your dining room, you could without problems build your very own hutch.
The first step is to degree the space wherein you want to put the hutch. Once you’ve got the measurements, you should buy the materials that you need. The next step is to build the frame for the hutch. Make sure that it’s sturdy in order that it may keep all your dishes and glasses.
The subsequent step is to attach the cabinets. You can both use wood or steel shelves. If you’re the usage of timber shelves, make certain that you use a drill and screws to connect them to the body.
14. Add hutch bottom support
Adding a Build A Dining Room Hutch guide is an easy way to make sure that your hutch could be sturdy and final for years. This project can be completed in just a few hours with minimum tools and materials. First, cut portions of timber to the same length. These will be the supports for the lowest of your hutch. Next, use a drill to make pilot holes at each stop of the supports. Then, use screws to attach the helps to the bottom of your hutch. Make positive that the screws are long enough to undergo both the hutch and the helps. Finally, sand and paint or stain the supports to healthy your hutch.
15. Attach hutch back
A dining room hutch is a outstanding way to feature more garage and display area to your eating room. In this article, we are able to show you the way to build a hutch using simple tools and substances.
The first step is to cut the portions for the perimeters and top of the hutch. Cut pieces of three/4″ plywood for the perimeters, and one piece for the top. The dimensions for those portions will vary depending on the scale of your hutch.
Next, attach the sides to the pinnacle the use of wooden glue and 1-1/4″ screws. Make sure the edges are flush earlier than attaching them.
Attach the returned of the hutch using 1-1/four″ screws and wooden glue. Be certain to apply a level while attaching it so that it is immediately.
16. Build hutch doors
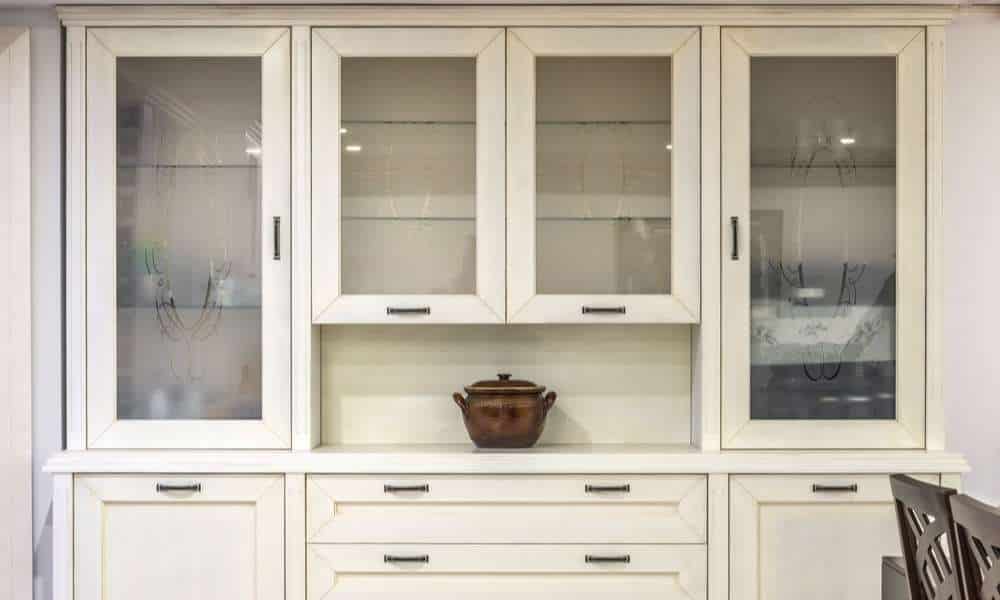
Building hutch doors can be a daunting task, but with the right instructions, it can be a breeze. The first step is to measure the door opening and purchase the appropriate size of wood. Second, cut the wood to size. This can be done with a circular saw or table saw. Third, drill pocket holes at each end of the boards. Fourth, attach the boards together using 1-1/4 inch pocket hole screws. Fifth, sand and finish the door as desired. Finally, hang the door using hinges and a latch
17. Finish the hutch doors
When you finish the hutch doors, you will need to attach the hardware. You will need to drill holes in the door for the knobs or handles. Make sure the holes are in the same spot on both doors. Use a template if necessary. Mark the spots for the screws and drill pilot holes. Attach the hardware using screws that are supplied with it.
18. Cut shelves for the hutch
If you’re searching out extra garage in your dining room, consider constructing a hutch. Build A Dining Room Hutch may be used to keep dishes, glasses, silverware, or every other items you want to preserve reachable. The nice element is that you may construct a hutch to fit any size dining room.
To build a hutch, begin through measuring the gap you have available and drawing a diagram of the cupboard. Plan to leave enough area on the top and backside for doorways to open and near. Next, cut the portions for the cupboard using a noticed. Be certain to apply a straight side when slicing your pieces so they may suit together efficaciously.
Assemble the cupboard using timber glue and screws. If you aren’t comfortable using energy tools, ask a chum or family member that will help you with this step.
19. Attach the hutch to the buffet
If you want to add a hutch to your dining room buffet, there are a few things you need to do. The first step is to measure the height and width of the buffet. The hutch should be slightly narrower than the buffet and the same height or a little taller. You will also need to measure the depth of the buffet. The hutch should be about two inches deeper than the buffet.
The next step is to build the frame for the hutch. Cut four pieces of wood that are each two inches taller and two inches wider than the dimensions of the hutch. These will be the sides of the frame. Cut two more pieces that are two inches shorter and two inches narrower than the dimensions of the hutch. These will be the top and bottom of the frame.
20. Finish the buffet and hutch
Building a dining room hutch is the perfect way to finish your buffet. This project takes a little bit of time, but it is a relatively easy build that you can complete on a weekend. Here are the steps to build your own hutch:
- Cut the pieces for the frame of the hutch using a miter saw. The frame should be made out of two 2x4s and two 1x4s.
- Assemble the frame using wood glue and nails or screws. Make sure that the corners are square.
- Cut the pieces for the top, bottom, and shelves of the hutch using a miter saw. The shelves should be cut at an angle so that they fit into the frame of the hutch.
Learn More: Where To Put Extra Dining Room Chairs
Conclusion
Build A Dining Room Hutch may be a amusing, profitable task so one can offer garage and display space on your eating room. By following the stairs we have mentioned in this article, you have to be capable of build a hutch that meets your wishes and enhances the decor of your dining room