If you have a leaky, don’t despair. There are several things you can do to fix the problem. First, try to unclog the underground Fix Leaky Outdoor Faucet. This may be the cause of the leak. If that doesn’t work, you can try replacing the washer. This is a relatively easy repair that you can do yourself. Finally, if neither of these methods works, you may need to call a plumber.
1. Tips Before You Get Started
Before you try to fix a leaky outdoor faucet, there are a few things you should keep in mind. First, make sure that the water is turned off. You can do this by turning off the valve that controls the water to the outdoors. Once the water is off, take a look at the problem area and see if there are any visible signs of damage. If there is damage, you may need to replace the O-ring or washer inside. If there is no damage, then you can try tightening the packing nut.
2. Steps For Repair
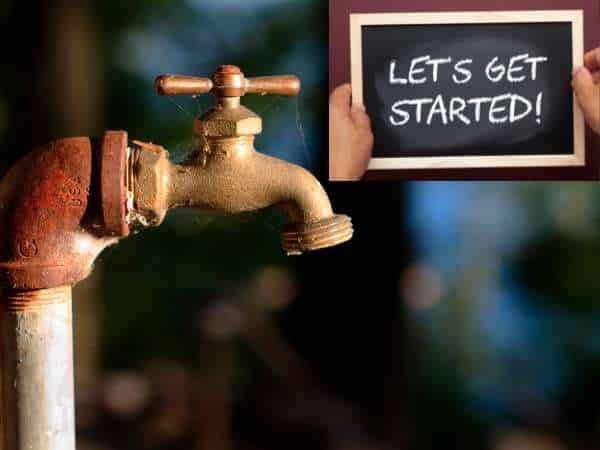
If your outside is leaking, don’t depression! With some easy tools and a little understanding, you can repair that leaky tap very quickly. Here are the stairs to take:
- First, shut off the water. This will save you any in addition harm or leaks whilst you’re working on the repair.
- Next, remove the take care of. This will provide you with get entry to to the internal workings of.
- Once the deal with is off, locate the problem location. If there’s a washing machine that desires replacing, do so now. If there’s a extra critical problem, inclusive of a cracked pipe, you could need to call a professional for help.
3. Identifying The Cause

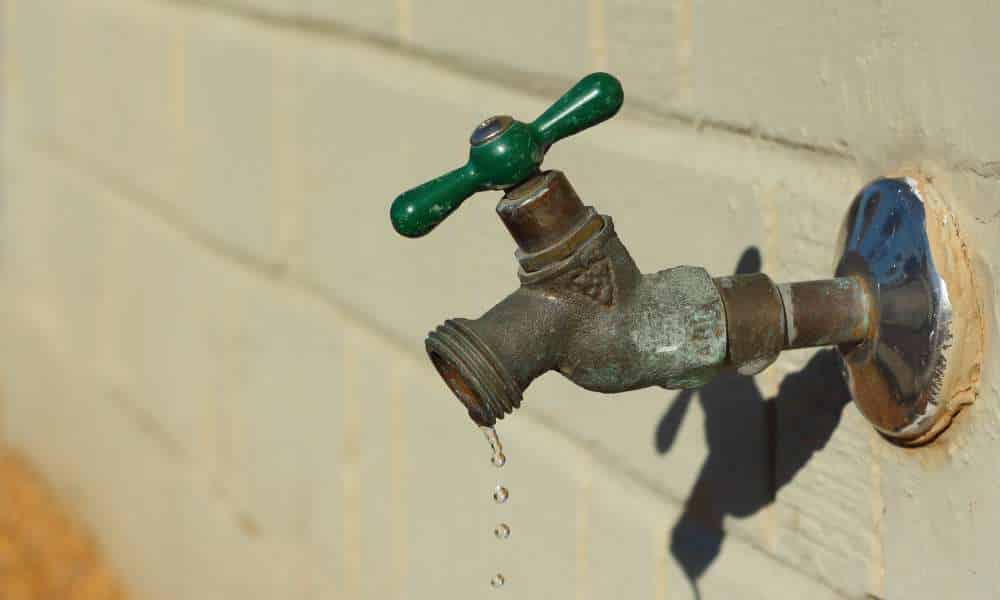
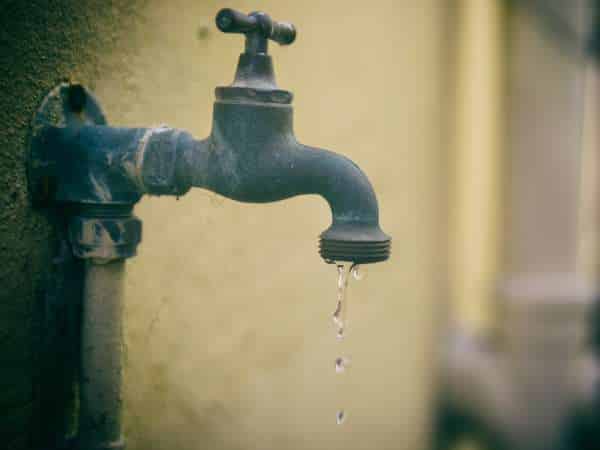
It’s summertime and that means time to break out the sprinklers and hose for some outdoor fun. But what do you do when starts leaking? First, don’t panic. Second, try to identify the cause of the leak.
There are a few common causes of leaks. The most common is a worn washer. Washers are made of rubber and over time they will degrade and break down. This can cause a small drip or a steady stream of water depending on the severity of the problem.
Another common cause of leaks is loose packing nuts. These nuts hold the stem in place and if they become loose, water can start to leak out around them. Finally, a third possible cause is a crack in the pipe itself.
4. What Are The Causes Of A Leaky Outdoor Faucet?
A leaky outdoor can be a nuisance and cause your water bill to go up. Several things can cause a faucet to leak, and some are easy to fix while others may require a plumber. One of the most common causes of this is a washer that needs to be replaced. The washer is located under the handle, and over time it can become worn out or damaged. This can cause water to seep through, and you may need to replace the washer with a new one. Another common problem is corrosion of the valve seat. This can happen if the water in your area is particularly hard or contains a lot of minerals. Corrosion can build up over time and cause the valve seat to become worn, which will allow water to leak through.
5. Replacing The Washer Assembly
It’s easy to take your for granted—that is until you go to use one and it’s dripping water all over the place. A faucet is not only a nuisance, but it can also end up costing you money on your water bill. The good news is that it’s easy to fix yourself, and you don’t need any special tools or skills. All you need is a new washer assembly, which you can get at any hardware store.
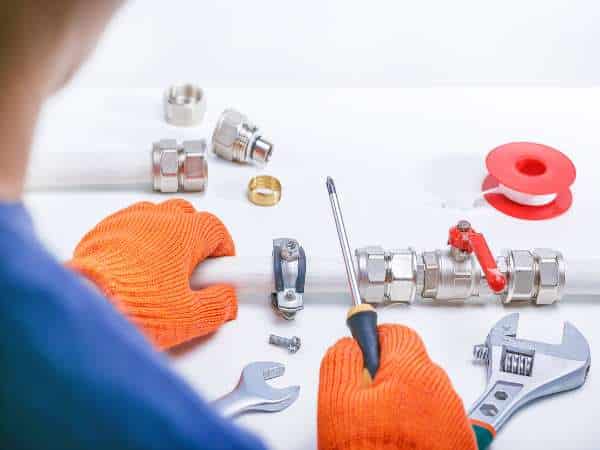
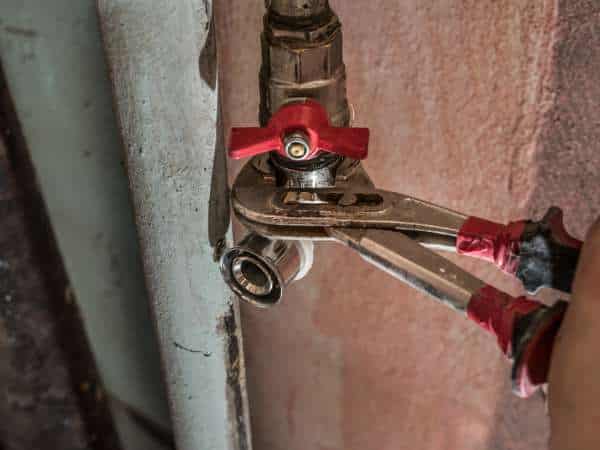
To replace the washer assembly, first, turn off the water using the shut-off valve. Then, remove the handle of the faucet by unscrewing it with a screwdriver. Once the handle is off, you should be able to see the washer assembly.
6. Vacuum Breaker

Assuming you would like tips on fixing a faucet:
- Check the vacuum breaker to see if it is the source of the leak. The vacuum breaker is located on the back of the faucet handle. It may be necessary to remove the handle to access the vacuum breaker.
- If the vacuum breaker is leaking, replace it with a new one. Be sure to match the size and style of the old one.
- If the vacuum breaker is not leaking, check for leaks at any connections in the supply line leading. Use Teflon tape or pipe dope to seal any leaks that are found.
7. Replacing The Faucet
If your outdoor faucet is leaking, don’t despair. With a few tools and a little know-how, you can replace that old faucet with a new one in no time.
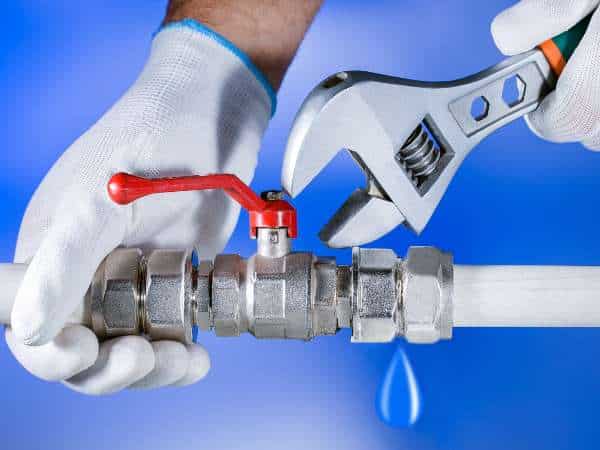
First, shut off the water. Then, remove the handle by unscrewing the retaining nut. Next, use a wrench to remove the packing nut and washer from the stem.
Now it’s time to remove the stem. First, unscrew the bonnet nut. Then, use a wrench to loosen the stem screw and pull out the stem. Finally, remove the O-ring from the valve seat and replace it with a new one.
To install the new stem, simply reverse these steps. Screw in the new stem, then reattach the handle.
8. Associated Costs Of Outdoor Faucet Repair
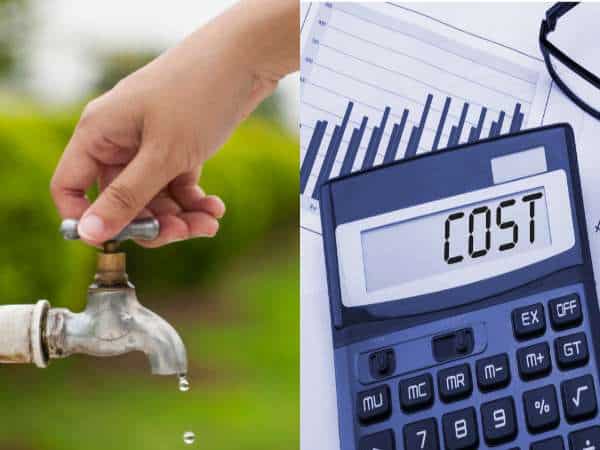
When a faucet starts to drip, it’s easy to assume that all you need to do is tighten up a few bolts and be on your way. However, oftentimes there are associated costs of repair that go beyond the simple tightening of a few screws. In some cases, you may need to replace washers, O-rings, or other seals to stop the leak. If the problem is more serious, you may need to replace the entire faucet.
While it may be tempting to try and fix a leak on your own, it’s important to weigh the costs before taking on such a project. If you’re not sure what you’re doing, you could end up causing more damage which will ultimately cost more money to fix.
9. Outdoor Faucet Repair: Step-By-Step

If you have an outdoor faucet, don’t despair. With a few simple tools and a little know-how, you can easily fix it yourself. Here’s a step-by-step guide to fixing it:
- Shut off the water. This is usually done by turning off the main water valve to your home.
- Remove the handle. This will expose the inner workings.
- Tighten any loose screws or bolts that you see. This may be all that’s needed to stop the leak.
- If tightening the screws doesn’t stop the leak, then you’ll need to replace the washer inside.
Learn More: How to Build an Outdoor Dog Ramp Over Stairs
FAQ To Fix Leaky Outdoor Faucet
What Are The Most Common Causes Of Outdoor Faucet Leakage?
One of the most common causes of leakage is a worn-out washer. Over time, washers can become cracked or damaged, which can cause water to leak out around the handle when they are turned on. Another common cause of leaks is a loose packing nut. The packing nut is located under the handle and helps to seal the area where the stem meets the faucet body.
How Can I Prevent My Outdoor Faucet From Leaking?
There are a few things you can do to prevent your outdoor faucet from leaking:
- Make sure the washer is tight and not worn out
- Replace the packing if it is damaged
- Tighten the screws if they are loose
Conclusion
It is important to fix a leaky outdoor faucet as soon as possible. A small drip can waste a lot of water and money, so it is best to nip the problem in the bud. With a few simple tools and supplies, anyone can easily fix a leak.