Introducing a bathtub drain might appear to be an overwhelming undertaking, yet with the right direction and a touch of persistence, it’s a Do-It-Yourself project that can be achieved effortlessly. A very introduced bath drain guarantees proficient water seepage and forestalls spills, making your washing experience more pleasant. In this aide, How to install a bathtub drain we’ll take you through the step-by-step cycle of how to introduce a bathtub drain, furnishing you with the information and certainty to handle this fundamental home improvement project. Whether you’re a carefully prepared Do-It-Yourself devotee or a fledgling property holder hoping to master new abilities, track, and before long you’ll partake in an entirely useful and release-free bath Install A Bathtub Drain.
1. Assemble Instruments And Materials

Before setting out on the establishment of a bathtub channel, it’s vital to accumulate every one of the important instruments and materials to guarantee a smooth and productive interaction. You’ll require a couple of fundamental devices, including a line wrench, pincers, a hacksaw, a screwdriver, and a clay blade.
Furthermore, have a container, clothes, and a few gloves close by for cleanup and security. Concerning materials, ensure you have another bath drain unit that incorporates the drain rib, gasket, flood pipe, and some other vital parts. You’ll likewise require a handyman’s clay, string sealant tape (Teflon tape), and a silicone caulk for fixing joints and forestalling spills. Having this multitude of instruments and materials prepared and reachable will assist with smoothing out the establishment and guaranteeing an effective result.
2. Eliminate Old Channel Parts

The most important phase during the time spent introducing a bathtub drain is to wipe out the old drain parts. This is a vital undertaking to guarantee that your new drain works accurately and is without release. Start by eliminating the old channel cover, and afterward utilize a line wrench to relax and eliminate the channel spine cautiously.
At times, you might have to utilize a hacksaw or responding saw to slice through the old drain pipe if it’s eroded or harmed. Make Install A Bathtub Drain certain to practice wariness and wear proper well-being gear while working with instruments. When the old parts are eliminated, completely clean the drain region to eliminate any flotsam and jetsam or buildup. Disposing of the old channel parts is an essential beginning stage, making way for an effective bathtub channel establishment.
3. Clean Channel Region
After eliminating the old channel parts during the time spent introducing a bath channel, it’s fundamental to devote an opportunity to clean the drain region completely. Cleaning this locale is crucial for two principal reasons: guaranteeing a protected, watertight seal and forestalling future blockages. Utilize a clay blade or scrubber to eliminate any old handyman’s clay or silicone caulking buildup from the drain opening.
Furthermore, clean within the channel line and flood line to eliminate any trash or development that might have been collected over the long haul. This careful cleaning not only advances a more powerful seal when you introduce the new channel yet in addition ensures a better water stream and forestalls obstructs from here on out. Getting some margin to clean the drain district is a small yet basic move toward accomplishing an effective bathtub channel establishment.
4. Apply Handyman’s Clay
I am sorry for any disarray, yet it’s rare to utilize “jack of all trades’ mud” in the establishment of a bath channel. All things considered, the standard practice is to utilize handyman’s clay or silicone caulking to make a watertight seal. Handyman’s clay is a delicate, flexible substance that is regularly used to seal the region between the bathtub drain spine and the actual bath.
To apply it, fold a modest quantity into a rope-like shape and spot it around the underside of the channel rib before embedding it into the drain opening. Press it immovably into the right spot to make a seal. Silicone caulking, then again, is often used to seal joints and holes between parts. It’s fundamental to utilize the proper fixing material for each piece of the establishment to guarantee a release-free outcome.
5. Embed Drain Rib
Implanting the drain rib is certainly not a standard move toward the establishment of a bathtub channel. The essential concentration in this cycle is to guarantee a protected and watertight association between the channel parts and the actual bath. This normally includes utilizing handyman’s clay or silicone caulking to make a seal between the drain rib and the bath.
Assuming that you have explicit directions or an exceptional bath channel plan that requires installing a channel rib, it’s pivotal to intently observe the producer’s rules and suggestions. Generally speaking, however, a legitimate seal with a handyman’s clay or silicone caulking is adequate to guarantee a release-free bathtub establishment.
6. Fix Locknut
Fixing the locknut is a vital stage in the establishment of a bath channel. After setting the drain rib into the channel opening and applying the handyman’s clay or silicone caulking, the locknut is utilized to get the drain gathering set up. Fix the locknut by hand at first, and afterward utilize a line wrench or pincers to guarantee it’s cozily secured.
Be careful not to overtighten, as this could harm the parts or cause spills. An appropriately fixed locknut makes a firm association between the channel and the bath, fixing it firmly and forestalling any potential water spillage. This step is a basic piece of guaranteeing the life span and usefulness of your Install A Bathtub Drain.
7. Associate Flood Pipe
Partnering with the flood pipe is a fundamental part of the Bathtub Installation Process. The flood pipe, otherwise called the flood pipe, is liable for overseeing overabundance of water in the bath to forestall spilling over. Whenever you’ve got the drain spine and locknut, interface the flood line to the flood opening on the channel gathering.
Guarantee that it fits cozily and safely, and utilize the suitable fittings and connectors depending on the situation. Appropriately partnering the flood pipe guarantees that water is productively coordinated away from the bath, shielding against likely flooding and giving an additional layer of assurance during your washing experience. This step is significant for the legitimate working of your bathtub and keeps a protected and agreeable climate in your restroom.
8. Secure Channel Plug
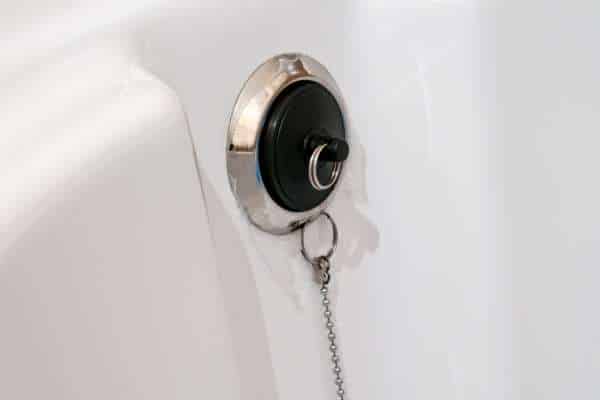
Getting the drain plug is an essential move toward the establishment of a bathtub channel. Whenever you have associated the flood pipe and guaranteed a tight seal with the locknut and handyman’s clay or silicone caulking, the drain plug, otherwise called the channel plug or sifter, ought to be immovably positioned into the channel rib.
This part assumes an essential part in controlling the water stream and keeping garbage from entering the framework. Guarantee that the channel plug fits safely and is an inappropriate arrangement with the channel gathering. A very much-for-channel plug upgrades the usefulness of your bath as well as keeps a spotless and productive drain framework. Adding to a more charming and bother-free washing experience Install A Bathtub Drain.
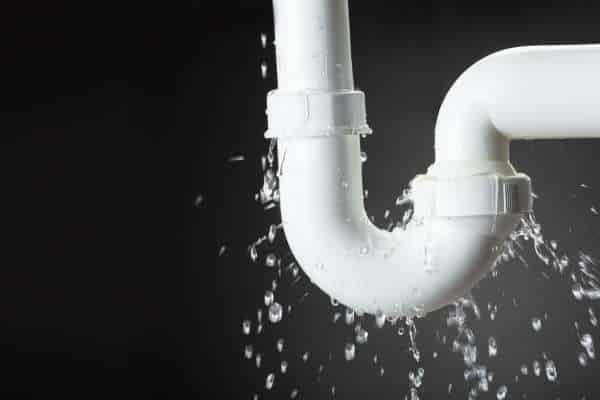
9. Test For Spills
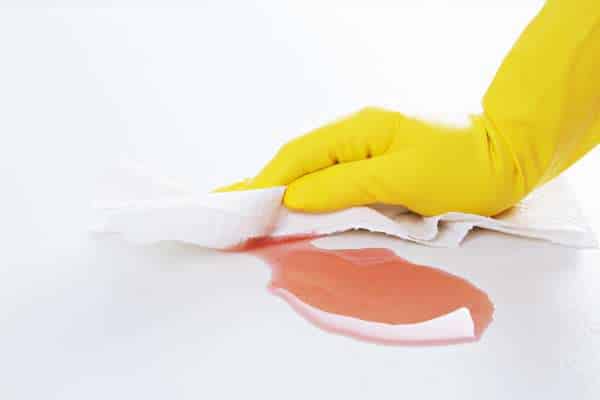
After finishing every one of the fundamental stages in the bath channel establishment process, it’s crucial to test for breaks and spills. Fill the bathtub with water to a level just beneath the flood opening. Allow the water to sit for a couple of moments while intently examining the drain region and the association focuses on any indications of water spillage.
Assuming you notice any dribbles or spills, it’s pivotal to address them instantly by fixing associations or reapplying sealant. An intensive testing process guarantees that your bathtub drain establishment is watertight and release-free. Forestalling possible harm and exorbitant fixes down the line. Getting some margin to test for spills is the last designated spot in. Accomplishing an effective and inconvenience-free bath channel establishment.
10. Partake In Your New Bath
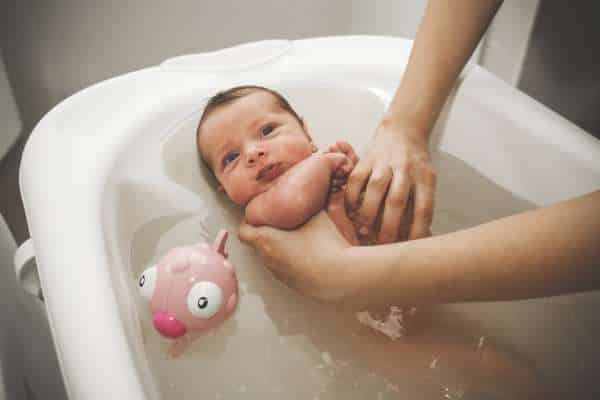
After effectively introducing your bath drain and guaranteeing it’s without release, now is the ideal time to receive the benefits of your. Endeavors and participate in the advantage of your new shower. With trust in the dependability of your bath’s seepage framework. You can unwind and loosen up in the calming waters, partaking in a merited break from the establishment cycle.
Whether it’s a speedy reviving shower or a long, liberal splash. Your recently introduced drain guarantees an effective water stream, making your washing experience agreeable and calm. In this way. Pause for a minute to loll in the fulfillment of a wonderful piece of handiwork and relish the peacefulness of your delightfully working bathtub.
Conclusion
In conclusion, Introducing a bath drain is an important expertise. Enables mortgage holders to keep up with and work on their washrooms. By following the means illustrated in this aide, you can effectively finish the establishment cycle. And partake in the advantages of a well-working bath channel. Make sure to practice alert, and utilize the right instruments and materials. And take as much time as necessary to guarantee a legitimate establishment.
Whether you’re redesigning your washroom or just tending to a channel issue. The information acquired from this undertaking won’t. Just get a good deal on plumbing administrations but additionally improve your trust in handling the future. Do-It-Yourself errands around the house. Thus, go on, dive in, and change your bath into an easily working desert spring of unwinding.