There are some things that homeowners can do as a way to save you freezing and capacity water damage. This includes wrapping the Insulate Outdoor Water Pipe with a layer of insulation, putting in a freeze safety device, and checking the temperature of the water frequently.
1. Pipes Need Insulation
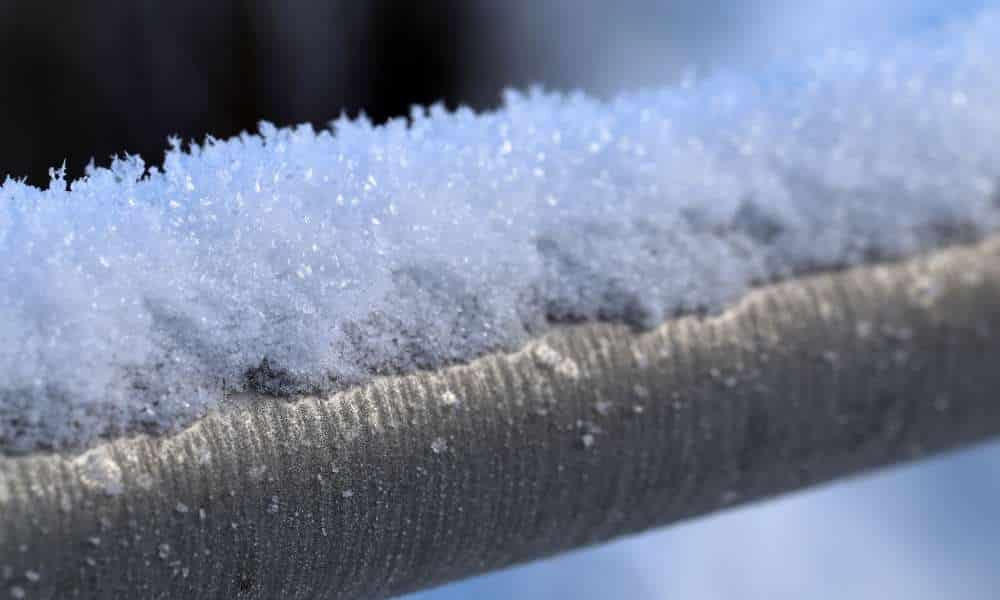
When the weather starts to turn cold, it’s important to take steps to protect your Insulate Outdoor Water Pipe from freezing. One way to do this is by insulating them. Insulation will help keep the water in the pipes from freezing, even if the temperature outside drops below freezing.
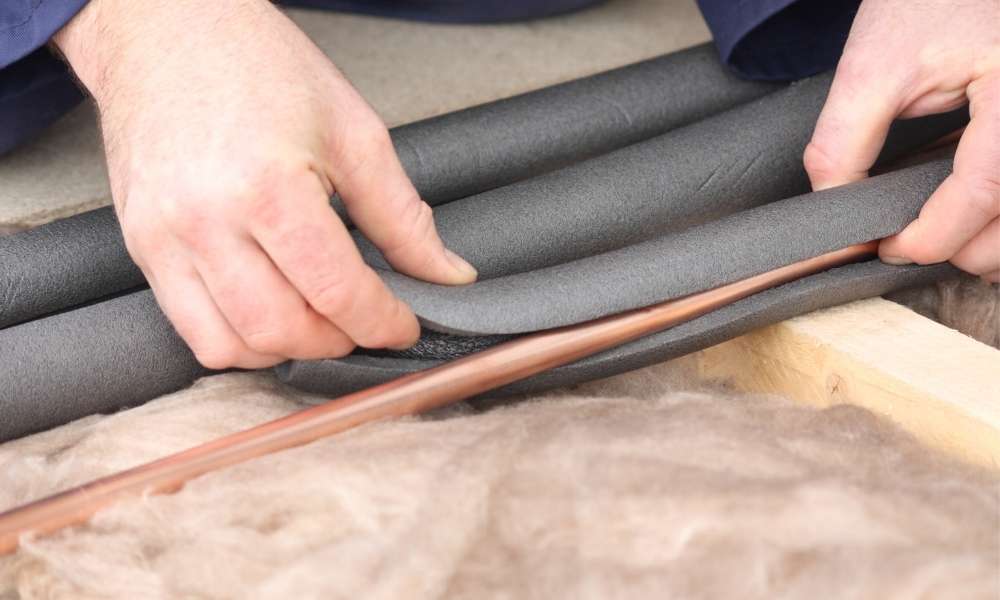
There are a few different ways to insulate. One option is to use foam sleeves. These are available at most hardware stores. Simply cut them to size and slide them over. Another option is to wrap the in batting. If you choose this option, make sure you use enough insulation so that it covers the entire.
You can also buy pre-insulated covers. These are made of foam or rubber and fit tightly over the pipes.
2. Insulation Methods and Materials
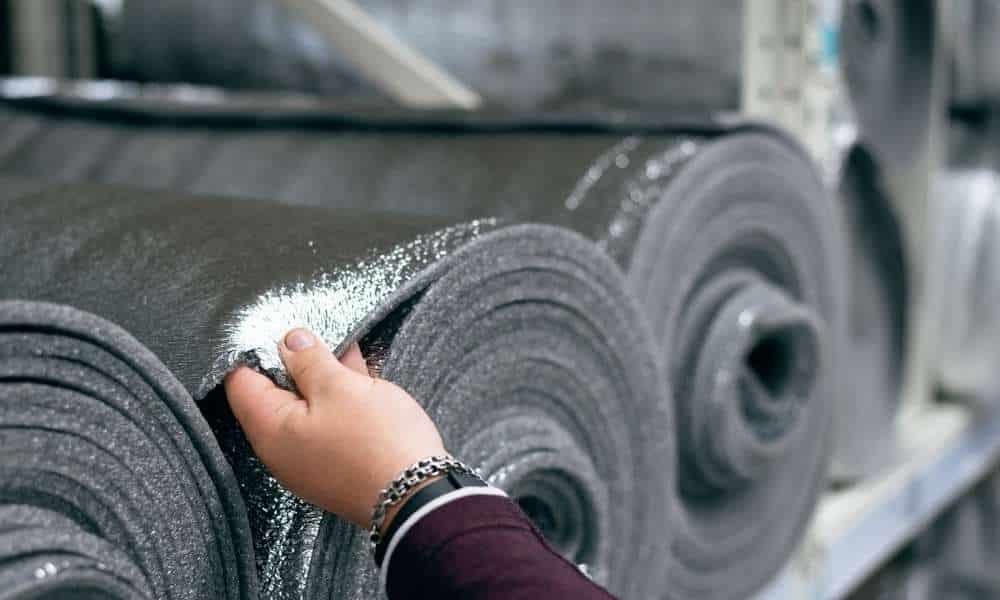
There are a variety of insulation methods and materials that can be used to keep outdoor water pipes from freezing in cold weather. One common method is to wrap in batting, which can be purchased at most hardware stores. This type of insulation is easy to install and can be wrapped around the either by hand or with a wrapper. Another option is to use heat tape, which is a self-adhesive tape that creates heat when plugged into an electrical outlet. Heat tape can be used on both metal and plastic, and comes in both pre-cut lengths and rolls.
Another common method for insulating is to bury them in the ground. By burying underground, they will be protected from the cold weather and will not freeze. However, this method is not always possible or practical, especially if the pipes are located near the house.
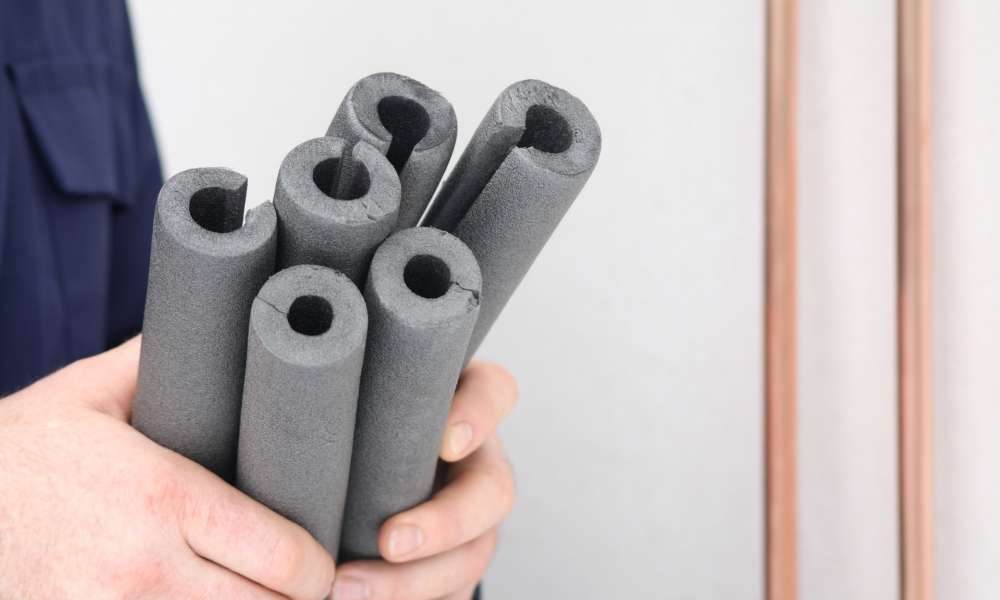
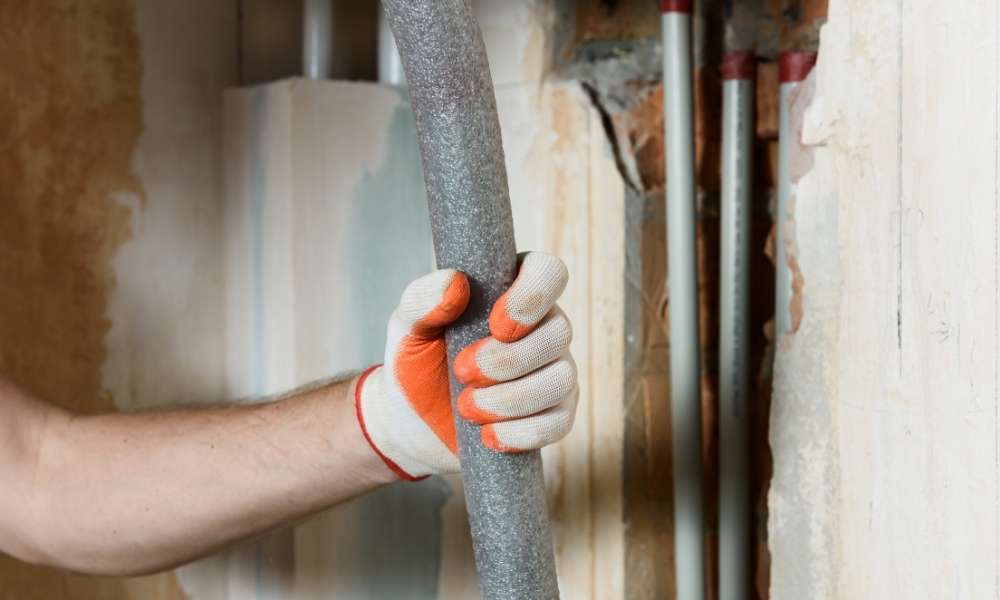
3. Foam Pipe Sleeves
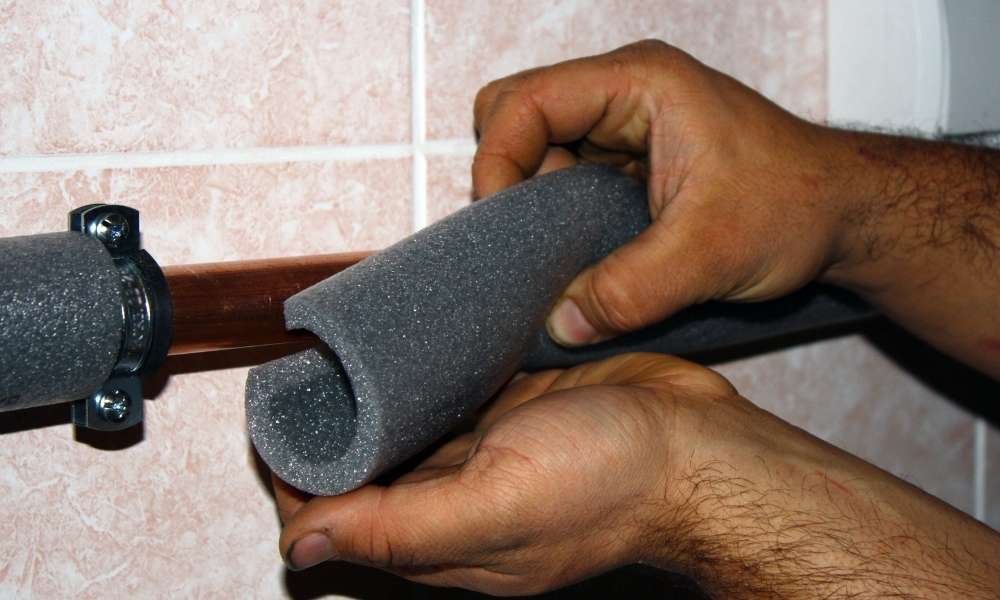
If you’re like most people, you probably don’t think about the weather until it’s too late. And by then, it’s often too cold to take care of the run from your house to the street. This can lead to some costly repair bills if freeze and burst. One way to prevent this is to Insulate Outdoor Water Pipe with foam pipe sleeves.
Foam sleeves are easy to use and inexpensive. You can buy them at most hardware stores or online. To install them, just slip them over the pipes and seal the ends with duct tape or electrical tape. Make sure the insulation is thick enough to cover the entire. If you live in a cold climate, it’s a good idea to insulate your every year.
4. Pipe-wrap Insulation
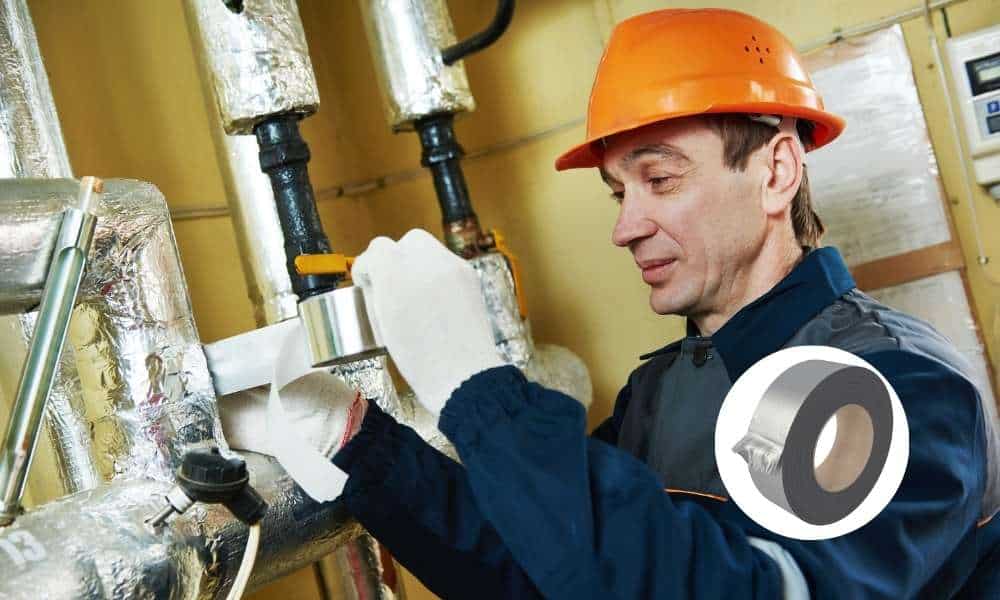
It’s that time of year when the weather starts to cool down and homeowners start to worry about there. Frozen water pipes can be a real problem, especially if you’re not prepared for them. One of the best ways to prevent your outdoors from freezing is to insulate them with pipe wrap.
Pipe-wrap insulation is a type that is made specifically for wrapping around. It is available in both foam and fiberglass versions, and it comes in a variety of thicknesses. The type you choose will depend on the climate where you live and how cold it gets there.
Insulate Outdoor Water Pipe To install the wrap, you’ll need to first remove any old from the pipes. Then, measure the circumference of each and cut the insulation to size.
5. Outdoor Faucet Covers
If you’re like me, you are attempting to preserve the warmth in your property and the bloodless out. One way to do that is to insulate your outdoor water pipes. This may be accomplished by using outside faucet covers. Outdoor faucet covers can be sold at maximum hardware shops. The ones I offered had been about $3 every.
To deploy the duvet, you first need to remove the vintage one. This is usually executed by way of loosening a screw at the top of the tap. Once the antique cowl is off, put the brand new one on in its region. Make positive that it is tightly geared up and that there are no gaps among it and the faucet. If there are any gaps, use some insulation foam to fill them in. Once it’s miles mounted, the cover will assist maintain you from freezing at some stage in bloodless climate.
6. Additional Winter Pipe Protection Tips
With the iciness climate quick coming near, it’s miles critical to take the important precautions to guard your property from the cold. This consists of insulating your outdoor water. Here are some suggestions on how to do so:
If you have plastic pipes, use a sleeve. Make positive to select an insulation this is authorized for outdoor use and fits your size.
If you’ve got metallic pipes, use warmth tape or wrap insulation. Be positive to observe the manufacturer’s commands carefully while using these merchandise.
If you live in a less warm climate, keep in mind including an additional layer of round. This can be executed with the aid of wrapping them in foam rubber or fiberglass.
Keep taps and Outdoor spigots open all through bloodless weather to allow heat water to float thru the pipes.
7. Count on Mr. Rooter Plumbing for All Your Pipe Repair Needs
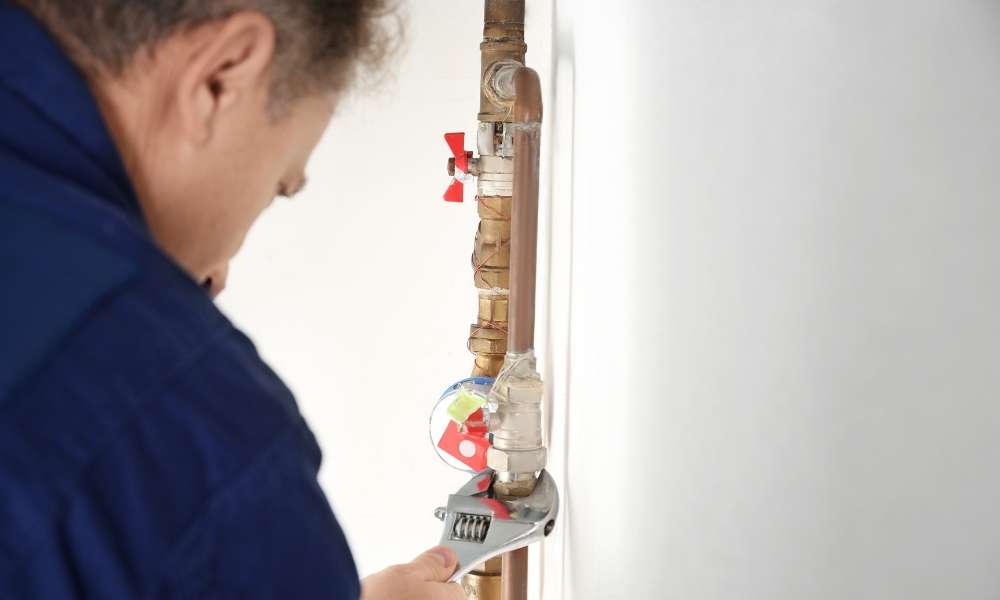
If you’re looking for a plumbing company that you can count on, Mr. Rooter is the one to call. We provide all sorts of pipe repair services, from fixing leaks to replacing entire sections of . In addition, we can help you insulate them to keep them from freezing in the winter.
To insulate your outdoor water pipes, you’ll need some material, some duct tape, and some wire. First, cut a piece of insulation material that’s big enough to fit around the pipe. Next, wrap the material around the and secure it with duct tape. Finally, use wire to hold the insulation in place.
8. Where to Insulate Water Pipes

In cold weather, the outdoors can freeze and burst. One way to prevent this is to insulate. You can buy insulation for water pipes, or you can make your own. If you are going to make your own insulation, you will need fiberglass batting and a waterproof adhesive. First, cut the batting to its size of it, then wrap it around the pipe. Use the adhesive to hold it in place.
9. How to Use Pipe-Wrap Insulation
When the weather starts to cool down, it’s important to take steps to protect your outdoors from freezing. One way to do this is by using pipe-wrap insulation. This type is easy to install and can help keep your water pipes from freezing during cold weather.
To install pipe-wrap insulation, start by wrapping the insulation around the. Make sure to overlap the as you wrap it around. then use a staple gun or duct tape to secure the insulation in place. You can also use a wire hanger to hold them in place until you’re able to staple them or tape them.
If you have any questions about how to insulate Outdoor Water Pipe insulation, be sure to consult with a professional before attempting the installation yourself.
Start the Insulation Strip
Winter is coming, which means colder weather is on the way. Preparing your home for the cooler months is important, and one step is insulating your outdoor water pipes. This can help keep your water from freezing and bursting.
To insulate your, start by measuring how much insulation you will need. You can buy strips in various widths, so measure the circumference of your pipe and add a few inches for overlap. Cut the insulation strip to size and wrap it around snugly. If there are any gaps between the pipe, fill them with spray foam or caulking.
Make sure to cover all of the exposed pipes, from the ground up to where it enters your home. If you have a faucet or spigot on your outdoor water line, be sure to cover that as well.
Wrap the Pipe
When the temperature outside begins to plummet, there are a few things you can do to keep your home warm. One of those things is to wrap. This will help keep the water in the pipes from freezing and bursting.
To wrap the, you will need some insulation and some tape. You can find both of these items at most home improvement stores. The insulation can be either foam or fiberglass, and the tape should be weatherproof.
Start by wrapping the insulation around. Be sure to cover it completely, including any corners or bends in the pipe. Then, use the tape to secure it in place. Make sure to wrap it tightly so that there are no air gaps where cold air can seep in. If you have several outdoor water pipes, you may want to consider wrapping them all at once.
Finish Wrapping
If you’re like most human beings, you’re possibly nevertheless wrapping affords as we communicate (or write). But have you ever finished wrapping your outside water pipes? If no longer, now’s the time!
Here are some recommendations to help you insulate your water pipes:
- Use foam insulation. This is a notable option as it’s clean to use and it is powerful at keeping the bloodless out.
- Make sure the insulation is water-resistant. This is vital, mainly in case your pipes are located in a moist vicinity.
- Be positive to seal all the seams inside the insulation. This will help maintain the cold air out and the warmth in.
- If your pipes are uncovered to the wind, try to defend them with a windbreak. This will help hold them from getting too cold and possibly freezing.
10. How to Use Foam Pipe Sleeves
If you’re looking for an easy, efficient way to protect yourself from the cold this winter, foam pipe sleeves are a great option. Foam sleeves fit over standard-sized and insulate them from the cold weather, helping to keep your water flowing all winter long. To use foam pipe sleeves, follow these simple steps:
- Measure the circumference of each water pipe that you need to insulate.
- Cut pieces of foam pipe sleeves that are slightly larger than the measured circumference of each pipe.
- Slide each piece of foam over the corresponding water pipe.
- Secure the foam in place with zip ties or duct tape.
That’s it! Your pipes will be well-protected against the cold weather and you’ll be able to enjoy worry-free winter plumbing.
Position the Sleeve
Positioning the sleeve on an outdoor water pipe is a fairly easy process that can prevent your pipes from freezing during the winter. Here are the basic steps:
- Determine where you want to place the sleeve on the pipe. It’s best to put it as close to the faucet as possible, but make sure that it’s not in a spot where it will be covered by snow or ice.
- Loosen the screw on top of the sleeve and slide it over the pipe.
- Tighten the screw on top of the sleeve to secure it in place.
- Make sure that there is no gap between the sleeve and the pipe, then fill any gaps with insulation material.
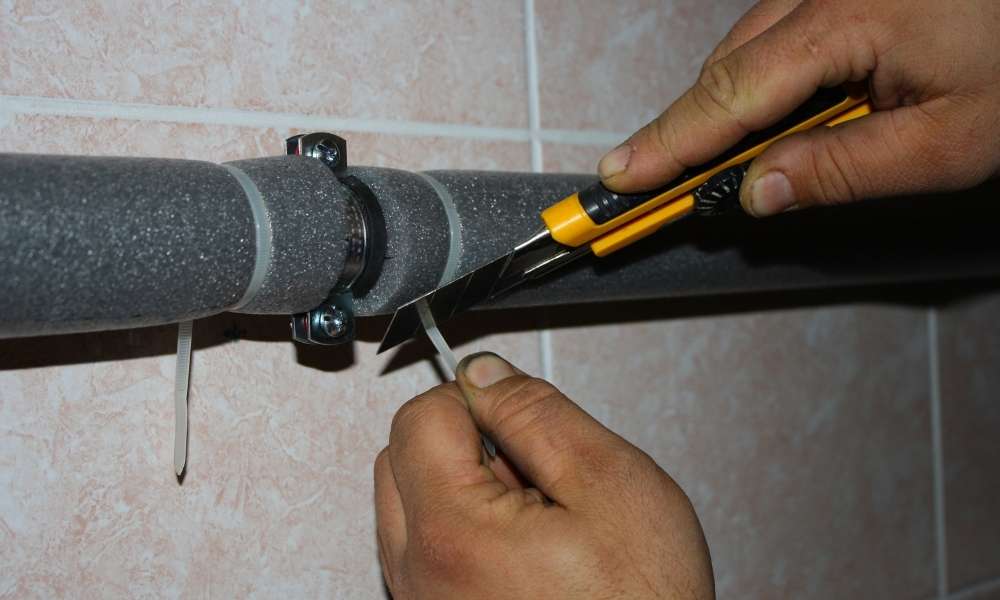
Seal the Seam
The cold weather is coming, and many people are getting ready by insulating their outdoor water pipes. If you have never done this before, it can be a little confusing. Here is how to do it:
- Locate the seam on the pipe where two pieces of pipe meet. This is the weakest point and is where most of the heat will escape.
- Apply insulation to this area using a sealant or tape. Make sure that the insulation is sealed well so that no air can escape.
- Check for leaks and fix them if necessary.
- Enjoy your warm water all winter long!
Finish the Installation
If you’re like most people, you probably forgot to add insulation when you winterized your house. Now that the weather is getting colder, it’s time to finish the job.
To Insulate Outdoor Water Pipe, you’ll need some foam and a utility knife. Measure the length of each and cut a piece of that size. Then, slit the insulation down the middle so that it fits over the pipe snugly.
Push the insulation onto the pipe until it’s fully covering it. If there are any gaps, fill them with expanding foam sealant. Make sure to do this before the temperature drops below freezing, or your pipes could freeze and burst.
11. Consider Frost-Free Faucets for Added Protection
As winter weather sets in, you will want to take some extra precautions to protect your own home from the bloodless. One important vicinity to recognition on. If they’re not properly insulated, they may freeze and burst, causing water damage to your private home.
One manner to help insulate your outdoor water pipes is by means of putting in frost-free faucets. These faucets have a built-in heater that continues the water flowing, even when the temperature drops beneath freezing. They’re a piece more expensive than traditional taps, however they could save you from having to repair or update burst pipes.
If you’re not positive whether or not your present day faucet is frost-loose, there’s an smooth way to discover. Just unscrew the cap on the faucet and search for a small hole close to the base of the valve stem.
12. What You’ll Need
When the temperature outside begins to drop, you’ll need to take some extra steps in order to keep your outdoor water pipes from freezing. Here’s what you need to do:
- Insulate with foam or fiberglass insulation. This will help keep them warm and prevent them from freezing.
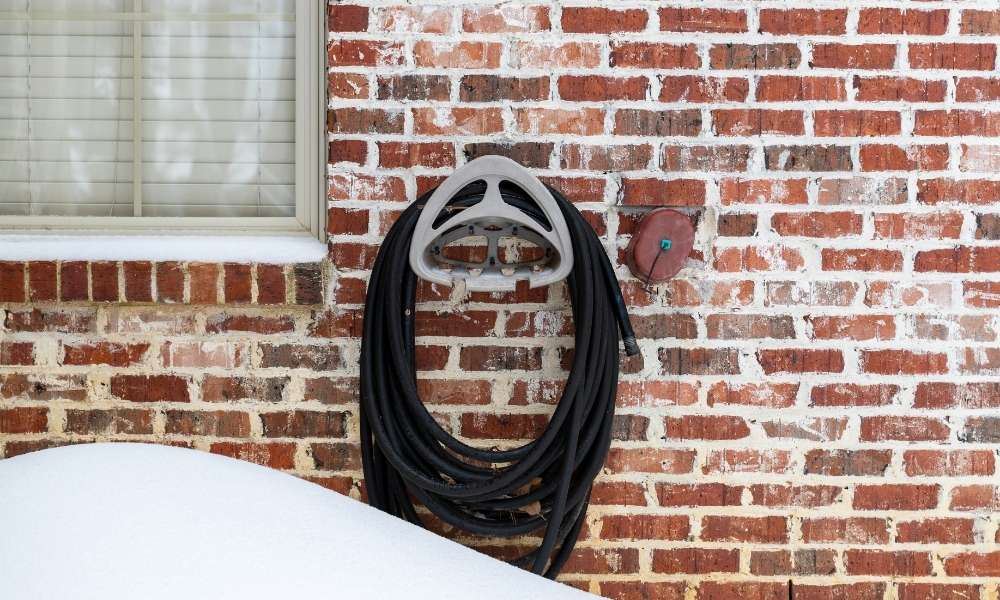
- Disconnect hoses from the faucet and drain any remaining water from the system. This will help reduce the chances of the pipes freezing.
- Apply heat tape or thermostat-controlled heat cables. This will help keep them warm and protected from the cold weather.
- If possible, move any outdoor faucets inside your home or garage. This will protect them from the cold weather and reduce the chances of them freezing up.
Conclusion
It is critical to pipes to shield them from cold climate. Not simplest will this prevent money to your energy invoice, however it will also assist to prevent the pipes from freezing and bursting. If you’ve got any questions about the way to insulate your pipes, be sure to touch a professional.