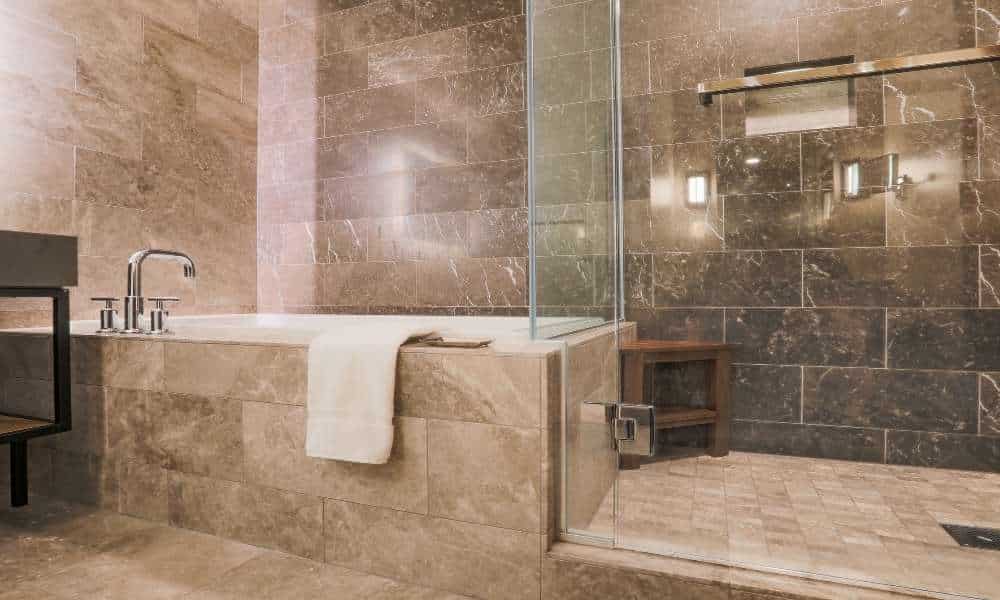
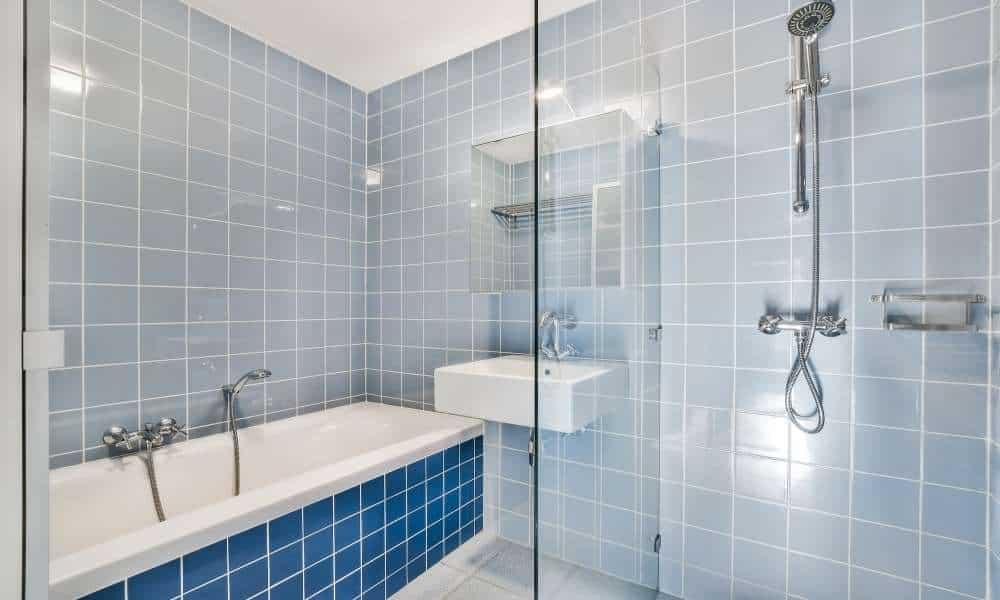
How To Lay Vinyl Tiles In A Bathroom Wall. If you’re looking to update your bathroom with some new vinyl tiles, there are a few things to keep in mind. First, make sure the space is large enough to fit the tiles. Second, be sure to measure the wall correctly before purchasing the tiles so that they’ll fit properly. Finally, follow the installation instructions to ensure a perfect finish.
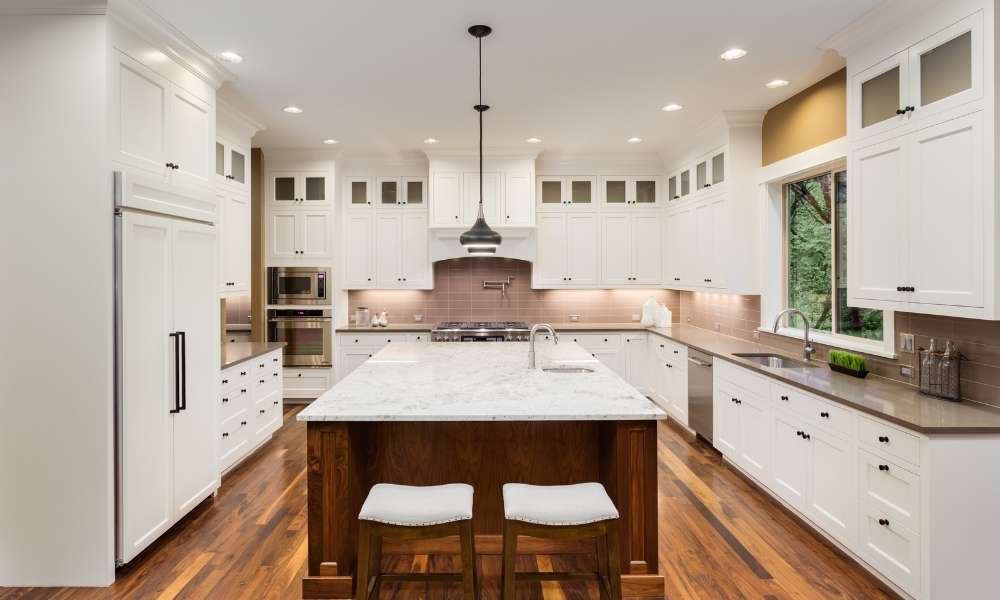
What is vinyl flooring?
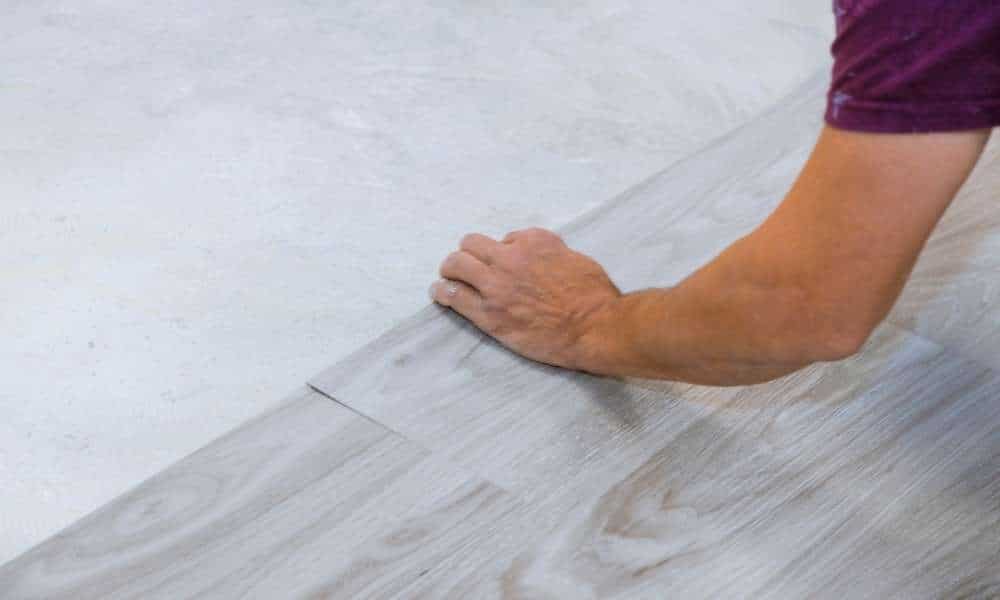
Vinyl flooring is a man-made flooring material made from polyvinyl chloride (PVC) resins. flooring is durable, easy to clean, and resists staining and fading. It is available in a wide variety of colors and styles, making it a popular choice for both residential and commercial applications.
Two main Vinyl flooring: sheet Vinyl tiles. Vinyl is a large sheet of vinyl that is installed over the entire floor surface. Tiles are small squares or rectangles that are installed in a checkerboard pattern or other design. Vinyl flooring can be installed over most existing floors, including concrete, wood, and tile. It can also be installed in kitchens, bathrooms, and other areas where moisture may be present.
16 Best Ways To Lay Vinyl Tiles In A Bathroom Wall
1. Benefits of vinyl flooring
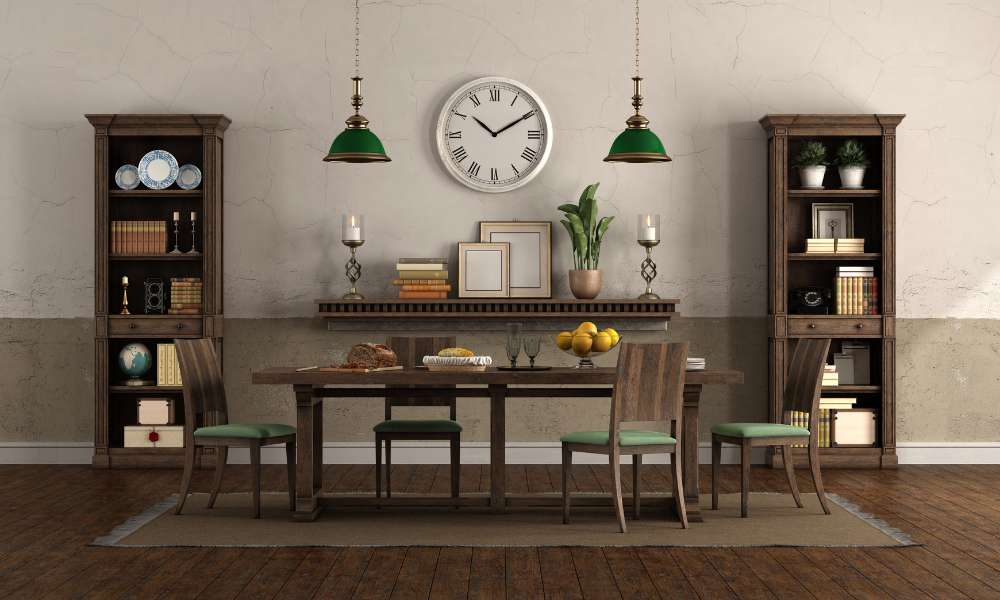
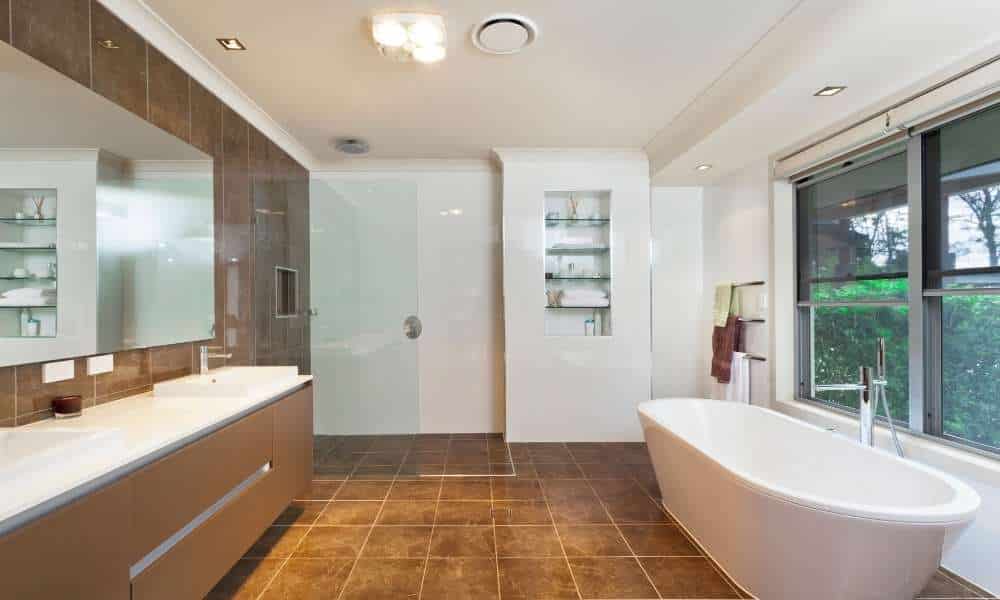
When it comes to flooring, there are a variety of materials to choose from. Each material has its own unique benefits and drawbacks. Vinyl is a type of flooring that has been increasing in popularity in recent years. There are many reasons for this, but one of the main benefits of vinyl is that it is affordable and versatile.
Another benefit of vinyl is that it is easy to clean. Unlike some other types of flooring, such as wood, vinyl does not require a lot of maintenance. All you need to do is sweep or vacuum it regularly and mop it with water and a mild detergent once in a while. Vinyl is also resistant to scratches and stains, so it will look good for many years with minimal care. Finally, vinyl is very versatile and can be used in many different settings.
2. Disadvantages of vinyl flooring
The disadvantages of vinyl flooring are that it can be slippery, especially when wet, and it can be difficult to clean. Vinyl flooring can also fade in direct sunlight. How To Lay Vinyl Tiles In A Bathroom Wall.
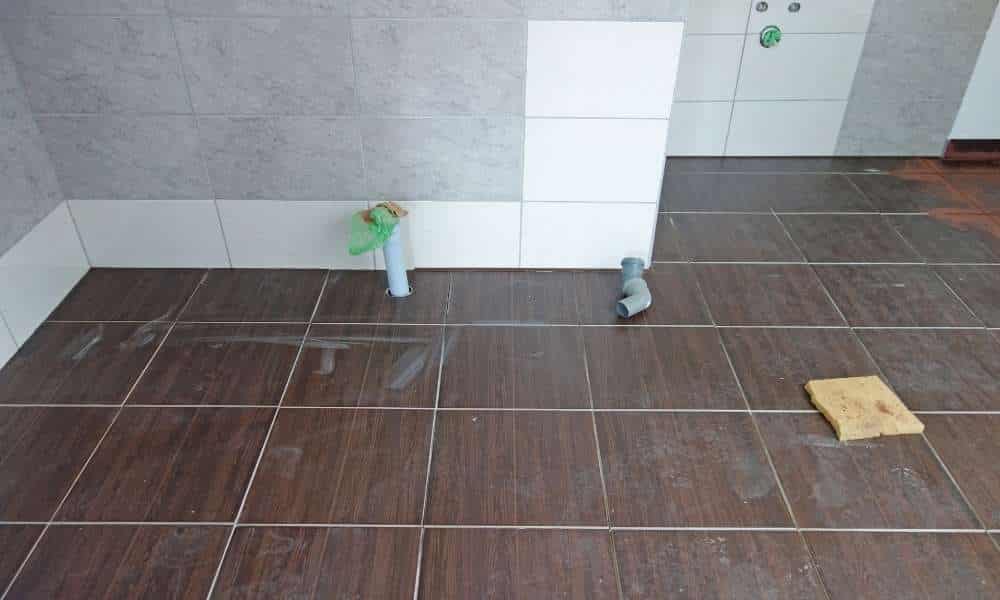
3. Clean Wall
Installing vinyl tiles on a bathroom wall is a simple project that can be completed in a few hours. The most important part process is to make sure the surface is clean and free of dust and dirt. If the surface is not clean, the adhesive will not stick to the wall and the tiles will eventually fall off.
To begin, remove all of the outlet covers and light switches from the wall. Next, use a vacuum cleaner to remove all of the dust and dirt from the surface. If there are any cracks or holes in the surface, use a caulk gun to fill them in with caulk. Once the surface is clean, it is time to start installing the tiles. Begin by measuring the width and height of the wall. Cut a piece of vinyl tile to these measurements using a sharp utility knife.
4. Find the Center of The Wall
There are a few things to consider when installing vinyl tiles on a bathroom wall. The first is finding the center of the wall. This can be done by measuring the width and height of the wall and dividing it by two. Mark the center point on the wall with a pencil. The second thing to consider is how much of an overlap to allow for each tile. Generally, 1/4 inch is enough. Begin by measuring and cutting the first vinyl tile to size. Place it in the center of the wall, with its long side facing up. Hold it in place and use a level to ensure that it is straight. Next, use a pencil to mark where each end of the tile intersects with the wall. Then, use a straight edge to draw a line between these marks.
5. Continue Setting Vinyl Tiling
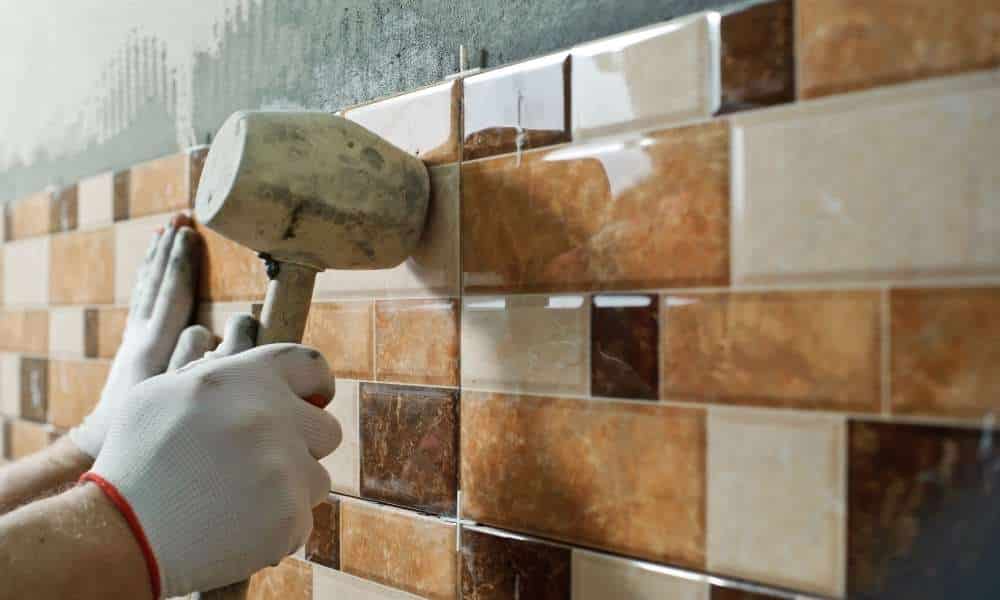
If you are confident in your abilities and would like to complete the vinyl tile installation on your own, continue reading. The following instructions will show you how to lay vinyl tiles on a bathroom wall. First, remove the existing wall tile and adhesive using a chisel and hammer. Be sure to wear safety glasses and gloves during this process.
Next, use a level to ensure that the surface is even before applying any adhesive. If there are any bumps or ridges, use sandpaper to smooth them out. Once the surface is smooth, apply a thin layer of adhesive to the wall using a trowel. Then, press the vinyl tiles into place and use a rubber mallet to secure them fully. Allow the adhesive to dry for 24 hours before using the bathroom again.
6. Trim Vinyl Tiling
If you’re looking to tile your bathroom wall but don’t want the hassle or expense of real tiles, vinyl tiles are a great option. They come in a range of colors and styles and are easy to install. Here’s how to do it:
- 1Measure the area you want to tile, and purchase enough tiles to cover it.
- Spread adhesive on the wall where the tiles will go, using a trowel.
- Place the tiles in position on the adhesive, and press down firmly to secure them.
- If necessary, use a sharp blade to trim any excess tiles around the edges.
- Allow the adhesive to dry completely before using the bathroom.
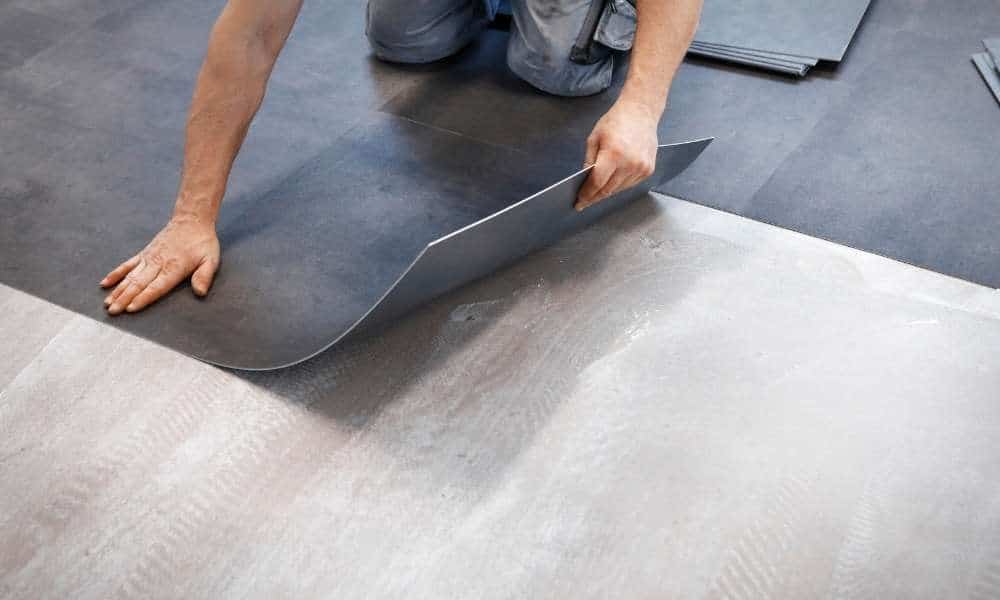
7. Roll Out Vinyl Tiling

One of the most popular flooring choices for bathrooms is vinyl tiles. They come in various colors and styles and are easy to install. Here’s how to do it:
1. Decide where you want to install the tiles. You may want to start by measuring the space and sketching out a plan on paper.
2. Remove any existing flooring or coverings. If you’re replacing an existing floor, make sure you remove all the old adhesive or sealant before installing the new vinyl tiles.
3. Clean the surface where the tiles will be installed using a degreaser or cleaner designed for use on bathroom floors. Allow it to dry completely.
4. Cut the tiles to fit if necessary using a sharp utility knife or scissors. Be careful not to cut yourself!
8. So can you use it on your bathroom wall?
Laying vinyl tiles on a bathroom wall is a great way to add some personality and new life to the room. It’s also a relatively easy project that can be completed on a weekend. Here are some tips on how to do it:
1. Remove the old tile and any adhesive residue with a chisel and hammer or a pry bar.
2. Clean the surface of the wall with denatured alcohol or another degreasing agent to remove any dirt or grease.
3. Measure the area you will be tiling and purchase enough vinyl tiles to cover it.
4. Cut tiles as needed using a utility knife or scissors.
5. Apply adhesive to the back of each tile using a notched trowel and press them into place on the wall, making sure they are straight and level.
9. Hints and tips for successful installation
If you are looking to install vinyl tiles in your bathroom, there are a few things you should keep in mind. Here are some hints and tips to help ensure a successful installation:
1. Measure the area where you will be installing the tiles, and purchase enough tiles to cover the surface.
2. Check that the subfloor is level and clean, and then use adhesive to attach the vinyl tiles to the subfloor.
3. Leave a small grout line between each tile, and make sure that the grout is fully dry before walking on it.
4. If you are using vinyl tiles on a bathroom wall, make sure that the wall is completely smooth and free of bumps or cracks.
10. Set First Tiles
Laying vinyl tiles on a bathroom wall is a fairly easy process that can be completed in a few hours. Here are the steps to take:
1. Decide on the layout of your tiles. You will want to make sure that the tiles are evenly spaced and that there is no grout line between them.
2. Use a level to make sure your walls are straight and then mark where each tile will go with a pencil.
3. Apply adhesive to the back of each tile using a notched trowel. Make sure you spread the adhesive evenly and press the tiles firmly into place.
4. Let the adhesive dry for 24 hours before grouting.
11. Measure the Tiled Area
Are you looking to add a new look to your bathroom on a budget? One option is to lay vinyl tiles on the wall. This is a job that can be completed on a weekend by most do-it-yourselfers. Here are the steps you need to take:
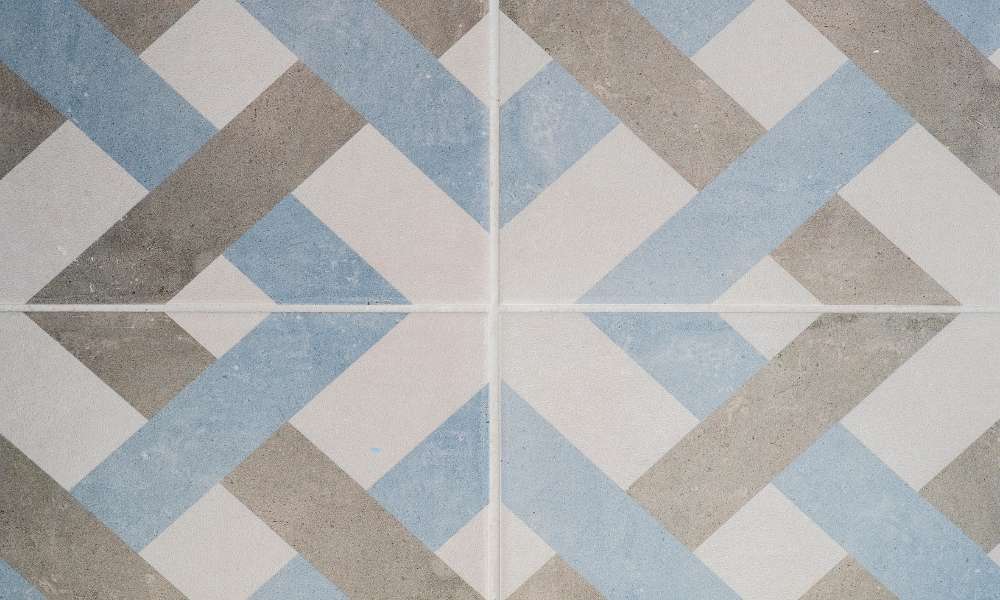
1. Measure the area you want to tile. You’ll need to purchase enough tiles to cover this area.
2. Decide how you want to lay out the tiles. You can create a checkerboard pattern, or diagonally, for example.
3. Peel and stick the tiles in place according to your chosen layout.
4. Smooth out any air bubbles or wrinkles in the vinyl tile with your fingers or a credit card.
5. Cut any excess tile around the edges with a sharp blade or scissors.
12. Check for Smoothness and Level
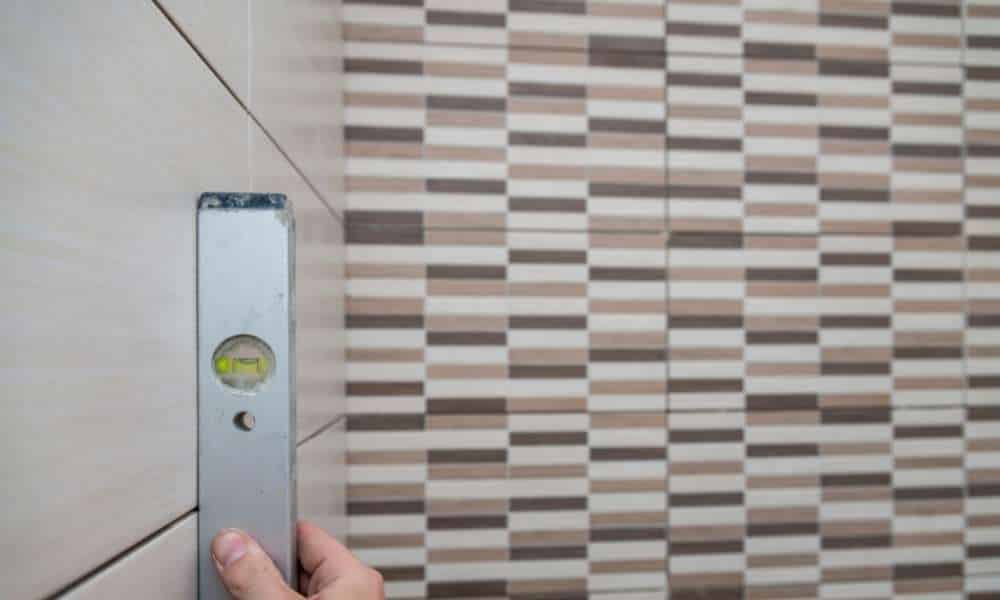
When you are installing vinyl tiles on a bathroom wall, it is important to check for smoothness and level. If the surface is not smooth, the tiles will not be level, and this can lead to problems with the appearance of the finished product. To ensure that your tiles look their best, use a leveling compound to create a smooth surface before installation.
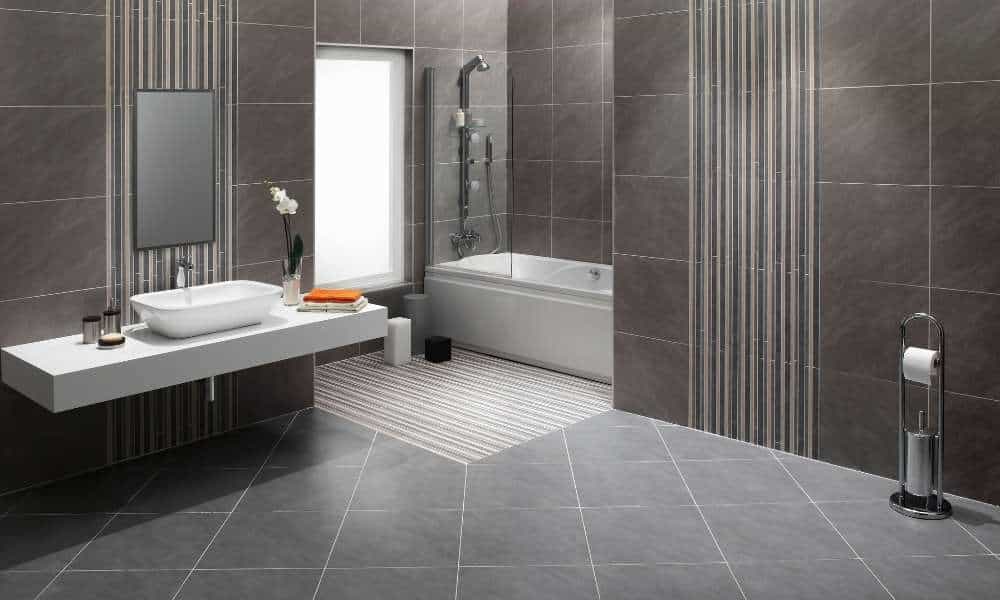
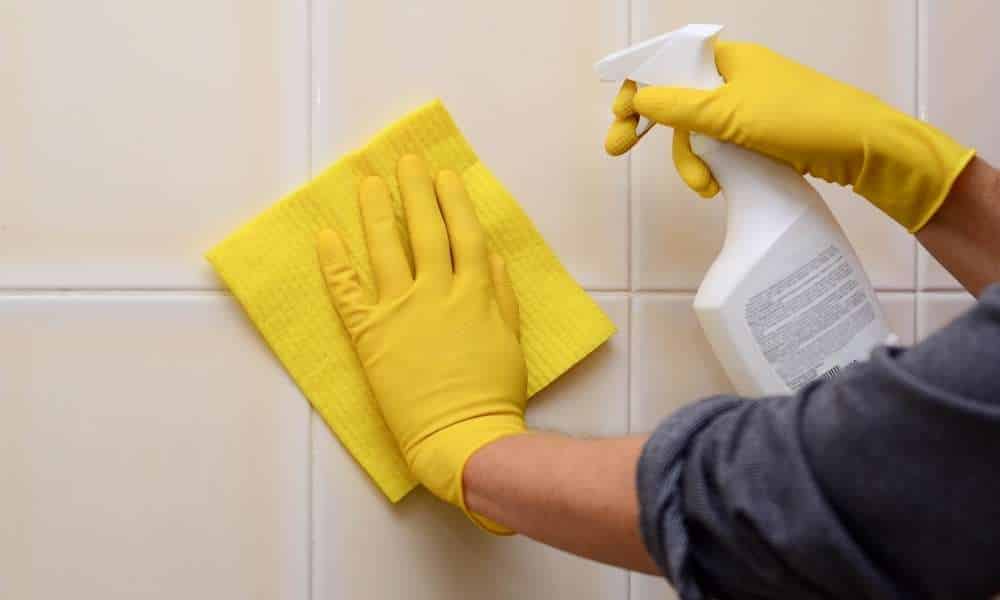
13. Clean and Dry the Shower
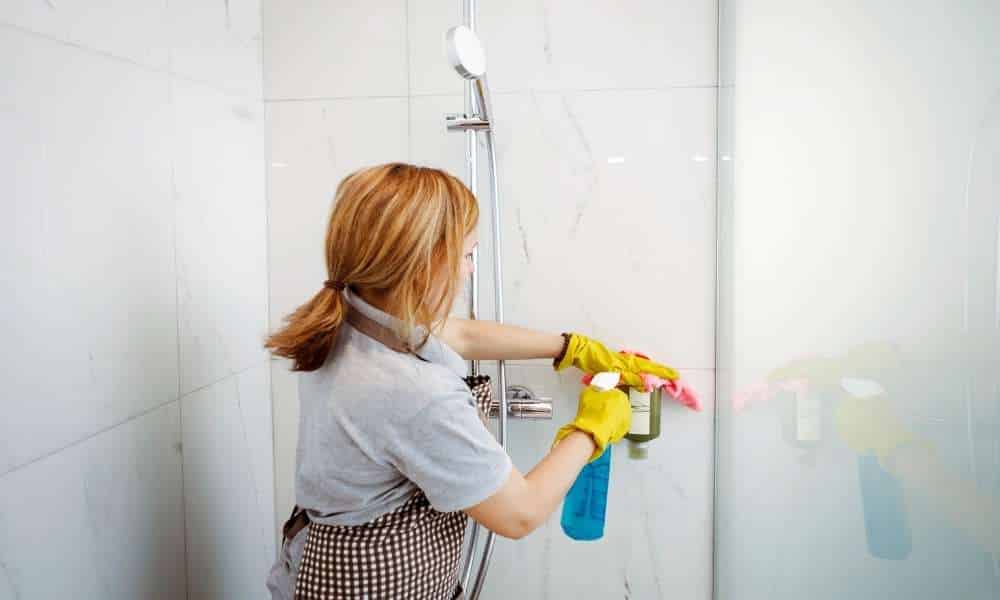
One of the quickest and easiest ways to improve the look of your bathroom is to lay vinyl tiles on the wall behind the shower. This can be done in a few hours, and with a little bit of care, the results will be stunning.
The first step is to clean and dry the surface behind the shower. If there is any grease or dirt on the surface, it will prevent the tiles from adhering properly. Next, measure and cut the vinyl tiles to size. Be sure to leave a ¼-inch gap between each tile for grout.
Apply adhesive to the back of each tile, then press them firmly against the wall. Use a level to ensure that they are straight. Let the adhesive dry for 24 hours before using the shower.
14. Apply the Tiles
Installing vinyl tiles is a simple process that can be completed in a few hours. The first step is to measure the space and purchase the appropriate amount of tiles. Vinyl tiles can be installed over most surfaces, but it is important to make sure the surface is clean and free of dust and debris. The next step is to mix the adhesive according to the instructions on the package.
The adhesive should be spread evenly across the surface using a trowel. The tiles can then be placed in the desired location and pressed into the adhesive. Be sure to apply pressure evenly to avoid air bubbles. If any bubbles do appear, they can be popped with a needle or pin. The installation process is complete once all of the tiles have been installed and the adhesive has had time to dry.
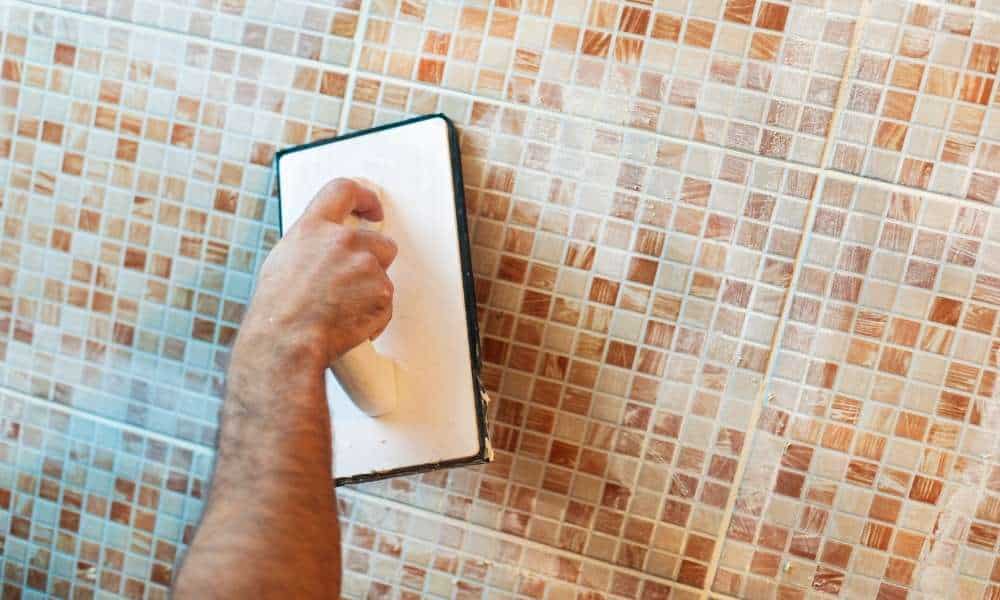
15. Match Patterns and Cut Tiles
Match patterns and cut tiles before starting to lay vinyl tiles on a bathroom wall. It is easier to do this on the floor than on the wall. To begin, determine the center of the wall and snap a chalk line. Next, find the midpoint of the first row and make a small mark with a pencil. Snap another chalk line from that mark to the center of the wall. This will create your first tile row. From there, measure and make small marks for each subsequent row until you reach the bottom of the wall.
To cut tiles, use a straight edge and utility knife. Score the tile along the straight edge with light pressure and then snap it into two pieces. Be sure to wear safety goggles when cutting tiles.
16. Finish With a Tile Roller
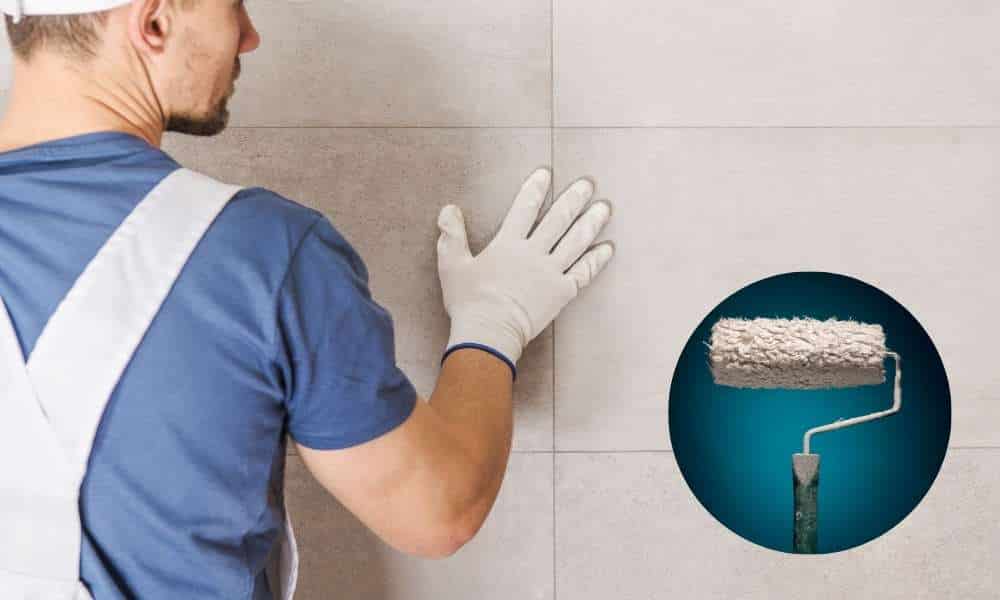
One of the easiest ways to finish a vinyl tile installation is to use a tile roller. This will help to ensure that the tiles adhere to the wall and that there are no air bubbles. Here is how to use a tile roller:
1. After you have installed all of the vinyl tiles, go over them with a roller. Make sure that you roll in all directions, not just back and forth.
2. Start at one end of the wall and roll the tiles down towards the floor. Then move over to the next section and do the same thing.
3. Keep rolling until you reach the other end of the wall. Make sure you get into all corners and around any fixtures.
4. If there are any air bubbles, use a pin to pop them and then re-roll the area where they were located.
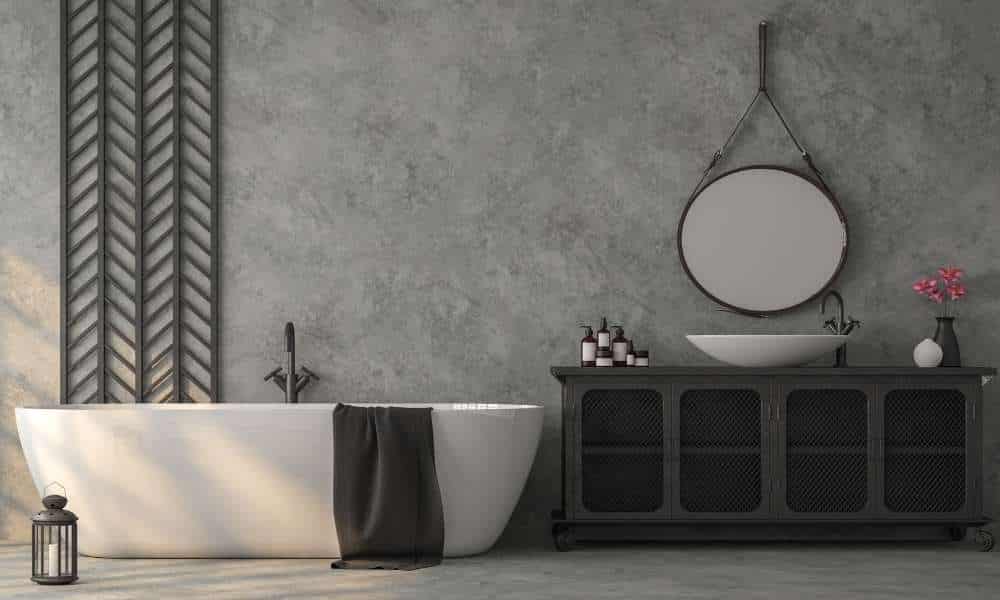
Conclusion
Vinyl tiles are a great way to update your bathroom without spending a lot of money. They are easy to install and come in various colors and styles. If you are considering installing vinyl tiles in your bathroom, be sure to follow these steps to ensure a smooth and professional-looking installation.