
Replace A Shower Tub Combo would possibly appear to be an intimidating challenge, however, with the right tools, education, and steerage, it’s an achievable project that can transform the look and functionality of your bathroom. Whether your modern-day shower tub combination is outdated, broken, or simply no longer suits your style, mastering the way to replace it will provide you with an experience of accomplishment and a refreshed space experience. This guide will stroll you through each step of the method, making sure you sense confidence from beginning to completion.
1. Understanding The Basics
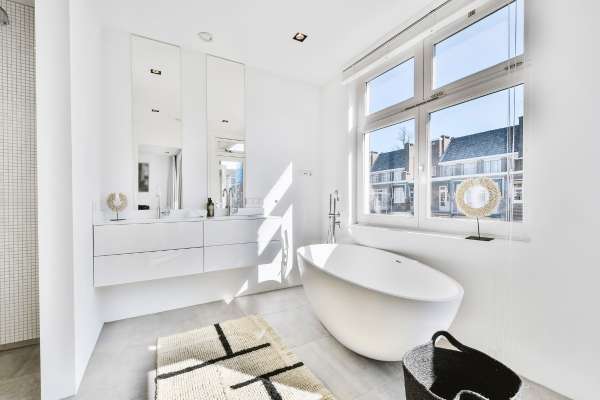
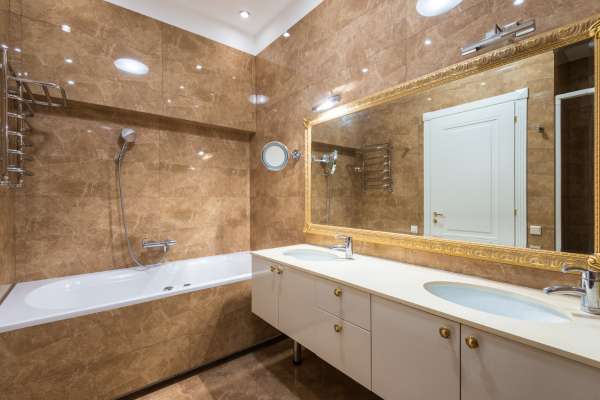
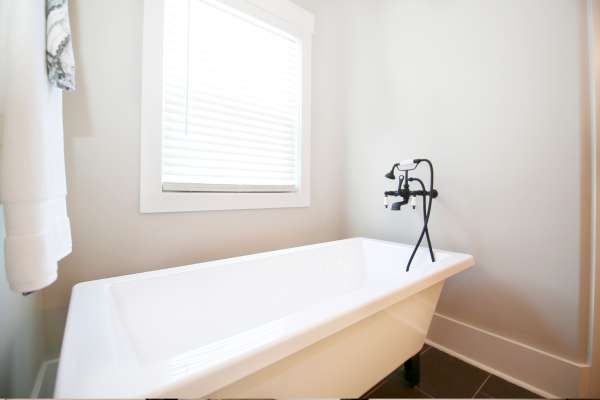
A shower-bath combination is a versatile lavatory function that mixes a bathtub and a shower in a single unit, allowing customers to both bathe or bathe as favored. This setup is common in homes with confined space, presenting a practical and efficient solution for maximizing lavatory capability. Replacing a shower-tub blend can not best improve the cultured attraction of your toilet however additionally address issues including leaks, mold increase, or inefficient water utilization. Understanding the components of this unit is crucial earlier than diving into the replacement manner.
2. Tools And Materials You’ll Need
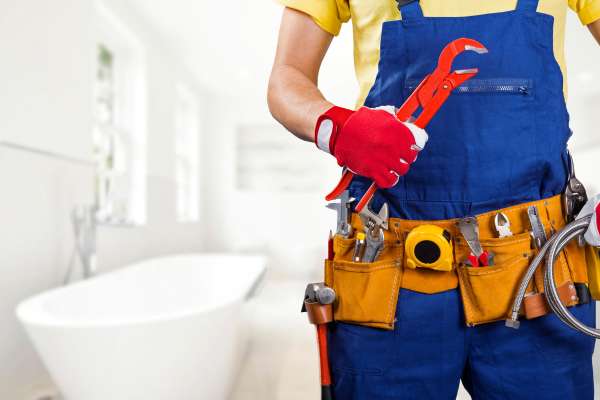
Before beginning the replacement, gathering all important tools and substances will save you time and frustration. Essential gear encompasses a software knife, adjustable wrench, pipe wrench, screwdrivers, and a caulk gun. Depending on your specific project, you may also need a reciprocating saw to reduce through cussed materials or a pry bar to help with removal. For substances, you’ll need a new shower tub combination, plumber’s tape, caulk, sealant, and new furniture if preferred. Having the whole thing reachable will streamline the manner, stopping needless trips to the hardware shop.
3. Preparing For The Project

Preparation is prime to a smooth replacement technique. Start with the aid of measuring your present-day shower tub combination to make sure your new unit will match perfectly. Consider the form of replacement unit you want: fiberglass, acrylic, or forged iron, every offering distinct benefits in phrases of sturdiness, weight, and look. Turn off the water supply to keep away from flooding the toilet once you start eliminating the antique unit. This step also includes clearing out the bathroom space, laying down drop cloths to shield the flooring, and getting rid of something that can impede your work.
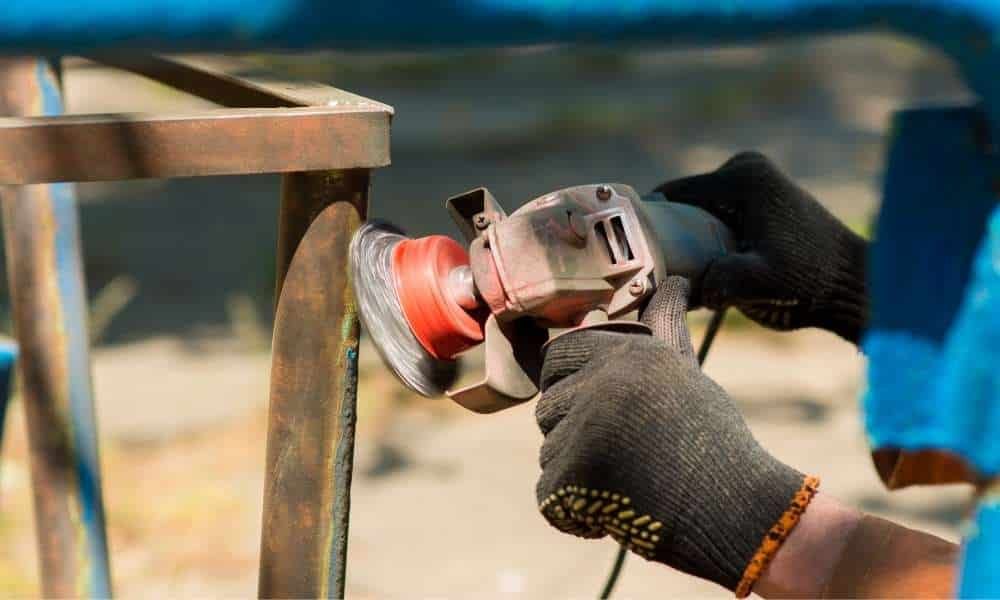
4. Removing The Old
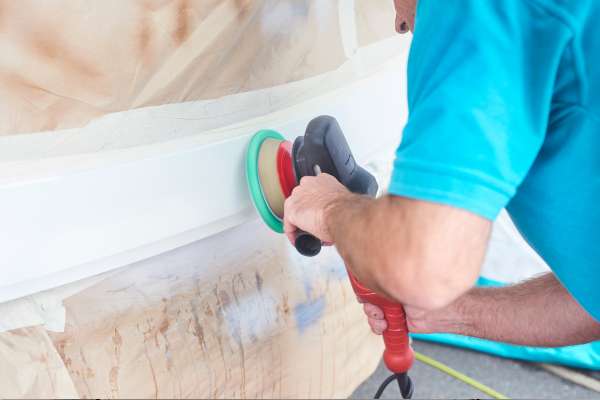
With your preparations complete, it’s time to remove the old shower tub combo. Start by turning off the water supply and disconnecting the plumbing fixtures, including the drain and the faucet. You’ll likely need to remove the surrounding walls or tile to access the unit, which can be done with a utility knife or saw. Carefully pry the tub away from the wall, being mindful of the surrounding structure. This step requires patience, as you’ll want to avoid damaging the plumbing or the subfloor beneath the tub. Dispose of the old unit properly by taking it to a recycling center or arranging for waste disposal.
5. Inspecting The Area After Removal
Once the vintage bathtub blend has been removed, take time to investigate the location for any underlying problems. Look for signs and symptoms of water damage, mildew, or rot, which can compromise the integrity of your restroom’s structure. Address any issues earlier than shifting forward with the installation. If the subfloor is damaged, replace or repair it to make certain a sturdy foundation for the brand-new unit. Additionally, check the partitions for any signs of dampness or insulation issues, fixing them earlier than proceeding.
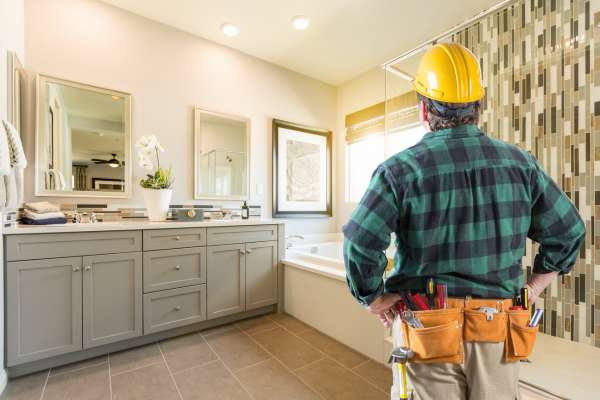
6. Preparing The Space For Installation
With the area inspected and repaired, it’s time to prep for the installation. Clean the subfloor and walls thoroughly to ensure a solid surface for your new shower tub combo. If necessary, install new support studs or reinforce the existing ones to securely anchor the new unit. Make sure the floor is level, as an uneven surface can lead to improper drainage and instability. Dry-fit the new and confirm that it fits perfectly within the space, making any final adjustments before installation.
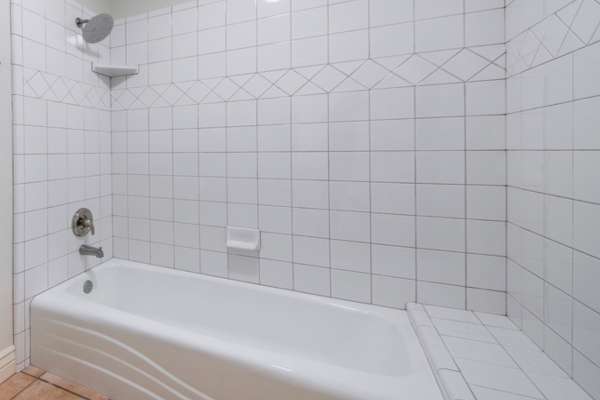
7. Installing The New
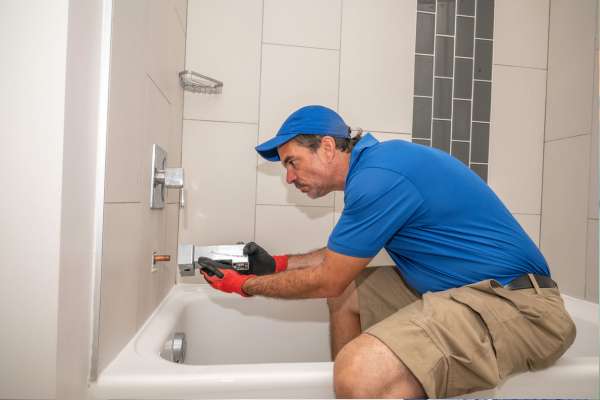
Position the new shower tub combo carefully in place, ensuring it aligns with the plumbing fixtures and drain. Secure the tub to the wall studs using appropriate fasteners, following the manufacturer’s instructions for spacing and placement. Next, attach the shower and tub fixtures, such as the faucet, handles, and showerhead. Ensure everything is tightly fitted but not overly torqued to prevent damage. At this stage, you should also install any wall panels or tile around the tub, making sure everything is watertight and level.
8. Connecting The Plumbing
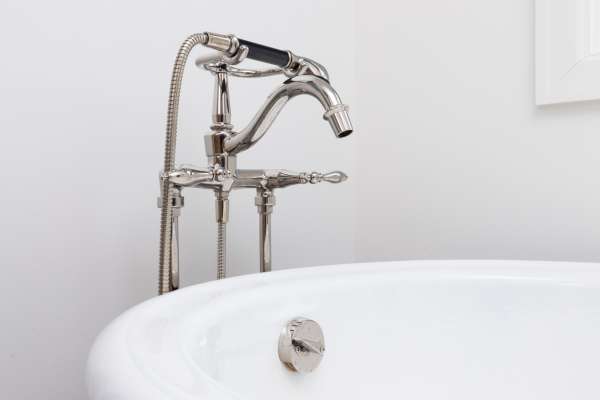
With the tub securely hooked up, it’s time to reconnect the plumbing. Attach the drain and overflow pipe, making sure to apply the plumber’s tape or putty to create a decent seal. Reconnect the water deliver traces to the tap and showerhead, and take a look at the connections for leaks. Once all plumbing is securely related, turn the water delivery returned on and check both the tub and shower to make certain the right water goes with the flow and drainage. This is a crucial step, as any missed leaks may want to reason long-term water harm.
9. Sealing And Finishing Touches
After confirming that the plumbing is functioning correctly, it’s time to seal the edges around the bath to save your water from seeping at the back of the partitions. Use a terrific, waterproof caulk to seal the distance between the tub and the encircling wall or tiles. Apply the caulk easily and frivolously, allowing it to dry in keeping with the producer’s instructions. Once the caulking is whole, upload any finishing touches, including bathe curtains, doors, or shelving, to customize your new shower bath combo.
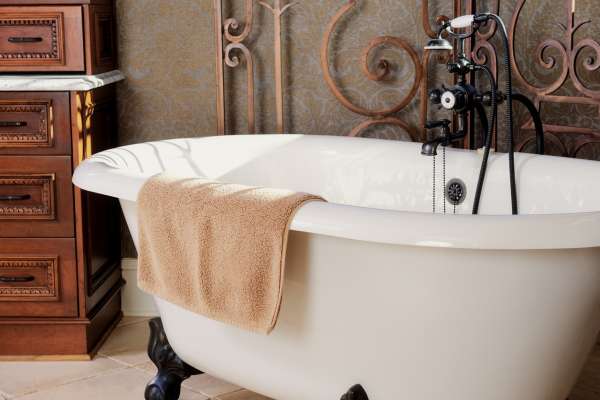
10. How To Add A Stylish Touch With Fixtures
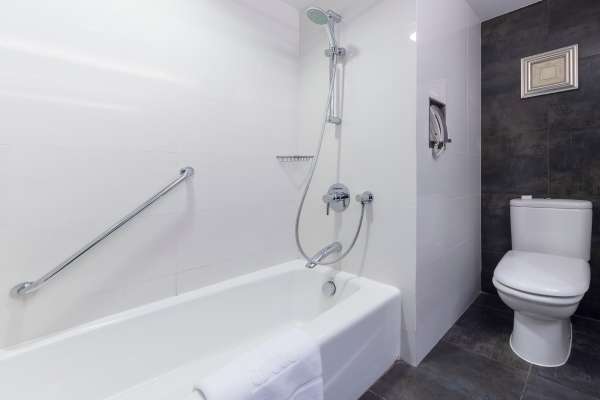
Upgrading the furniture in your shower tub combination can dramatically raise its look. Consider putting in a cutting-edge showerhead, like a rain shower or hand-held version, for added luxury. Swapping out vintage taps for smooth, modern-day designs can also refresh the overall appearance. If safety is a subject, installing seize bars or anti-slip mats adds capability without sacrificing style. These small updates make a huge distinction, offering both aesthetic enchantment and sensible blessings.
11. Cleaning Up After Installation

Once the installation is complete, it’s vital to ease up the workplace. Remove any particles, antique substances, and equipment from the toilet. Wipe down the new bath and bathe to do away with any dust or residue left from the installation technique. Proper disposal of the vintage bathe-bath mixture is vital; test together with your neighborhood waste control offerings to peer in the event that they provide recycling or disposal options for huge bathroom furnishings.
12. Testing Your New

Before celebrating your successful installation, thoroughly take a look at your new shower tub mixture. Run water via both the showerhead and bath tap, checking for any leaks or issues with water pressure. Make sure the drain is working correctly and that there aren’t any slow drains or blockages. Additionally, take a look at the temperature management to ensure the new and bloodless water is well balanced. Address any problems right away to avoid destiny complications.
13. Maintenance Tips
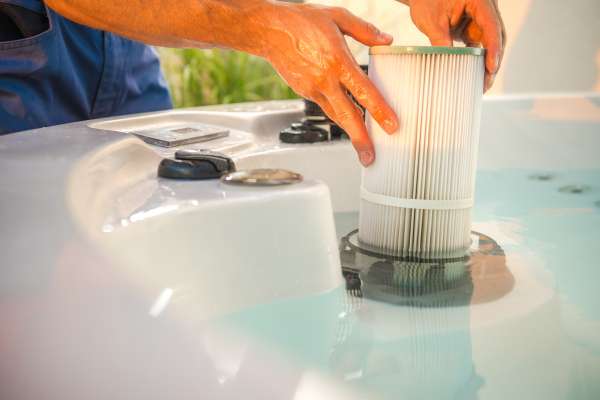
Maintaining your new bathe bathtub combination is prime to making sure its toughness. Regular cleaning is crucial to prevent mold, mold, and soap scum buildup. Use gentle, non-abrasive cleaners to keep the surfaces looking clean without out unfavourable finish. Periodically investigate the caulking for any cracks or gaps and reapply as important to maintain a watertight seal. Checking the fixtures and plumbing connections for leaks can also prevent essential problems down the road.
14. Wrapping Up Your Shower Tub Combo Replacement
Replacing a bath mixture may additionally look like a difficult mission, but with careful plans and execution, it could be a profitable DIY mission that adds value to your private home. By following each step, from getting rid of the antique unit to installing the new one, you’ll gain a renewed sense of delight in your area. Not only will your restroom appearance be refreshed, but, it’ll additionally characteristic greater correctly, supplying you years of consolation and comfort.
15. Additional Resources For DIY Bathroom Projects
Replace A Shower Tub Combo For those seeking to similarly beautify their DIY capabilities, there are various resources available. Online tutorials, domestic improvement boards, and academic motion pictures can offer extra guidance for extra complex tasks. Local home improvement stores frequently provide workshops that manual house owners through installations and maintenance. Whether you’re a seasoned DIY fanatic or simply starting out, persevering to analyze and extend your skills will make future projects even more successful.
See More: How To Clean A Shower Tub
Conclusion
Replace A Shower Tub Combo combination may look like a daunting assignment, however, with the proper steerage and preparation, it’s a DIY task that could completely transform your lavatory. From expertise in the basics and amassing critical equipment to getting rid of the vintage unit and installing a brand new one, following a clean step-by-step approach ensures achievement. A new bathtub blend now not simplest complements the aesthetic attraction of your space but also improves functionality and water efficiency. Whether you’re upgrading for style or necessity, this assignment can upload lasting value to your home. By taking the time to finish the setup efficiently, you’ll experience a refreshed, cutting-edge restroom for years to come.
For extra DIY restroom pointers and publications, keep exploring resources to extend your skills and address destiny home improvement projects with self-belief. Replace A Shower Tub Combo.