How To Replace Subfloor In Bathroom. If your bathroom floor is in need of a replacement, there are a few different steps you can take to get the job done. Depending on the type of flooring you choose, you may have to remove the old subflooring and install the new one yourself or hire a professional crew to do the work for you. Once the new floor is in place, clean up any remaining debris and re-tighten any screws or bolts that were loosened during installation.
Table Of Content
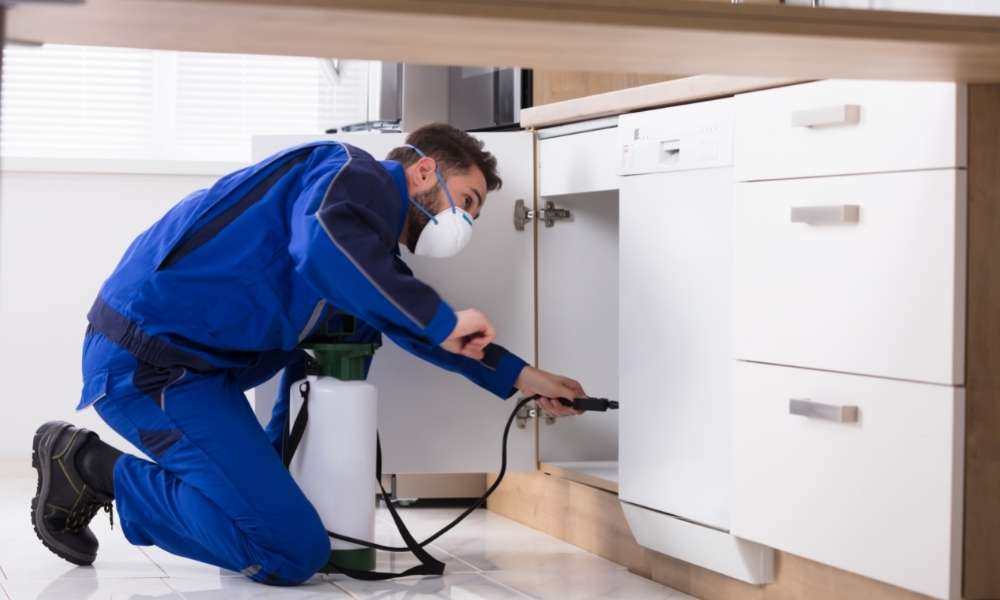
1. Remove The Cabinets
Replacing the subfloor in a bathroom is a moderately difficult task that can be completed on a weekend. The first step is to remove the cabinets so that you have more working space. Once the cabinets are removed, use a saw to cut out the old subfloor. Make sure to wear safety goggles and a dust mask when doing this. Next, use a hammer and chisel to remove any nails or staples from the plywood. Cut the new piece of plywood to size and attach it using construction adhesive and nails or screws. Finally, replace the cabinets and enjoy your new bathroom floor!
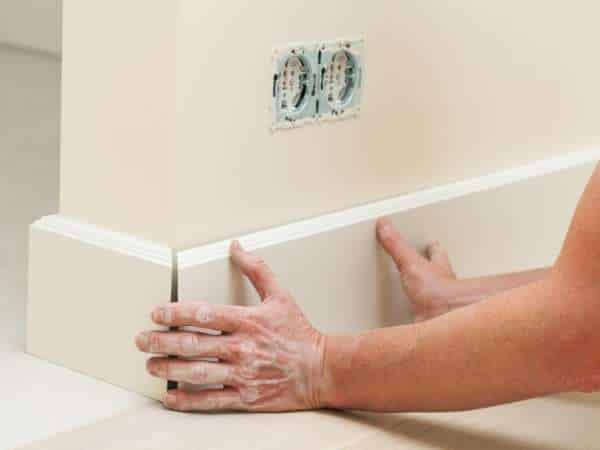
2. Remove The Baseboards
Replacing the subfloor in your bathroom is a necessary repair that can be done by most do-it-yourselfers. The project will require some basic tools and materials, and it’s important to follow the correct steps to ensure a successful outcome. Here’s what you need to know:
- Start by removing the baseboards and trim around the room. This will give you easier access to the flooring.
- Next, remove the existing flooring. You may need to use a pry bar to get started, and then use a hammer and chisel to completely remove it.
- Now, it’s time to replace the subfloor. Begin by cutting new pieces of subfloor to fit, using a saw or circular saw. Make sure the edges are flush with each other and with the walls of the room.
3. Find The Nearest Joists
If your bathroom floor is sagging, you may need to replace the subfloor. The first step is to find the nearest joists. These are the beams that support the floor. To do this, use a stud finder or a hammer and a screwdriver. If you’re using a hammer and screwdriver, tap on the floor in different places until you hear a difference in sound. The spot where the sound is louder is likely over a joist.
Once you’ve found the nearest joists, you’ll need to remove the boards that are covering them. Use a pry bar to remove them, being careful not to damage the joists. If there are nails or screws holding them in place, use a crowbar or pliers to remove them.
4. Remove The Fasteners
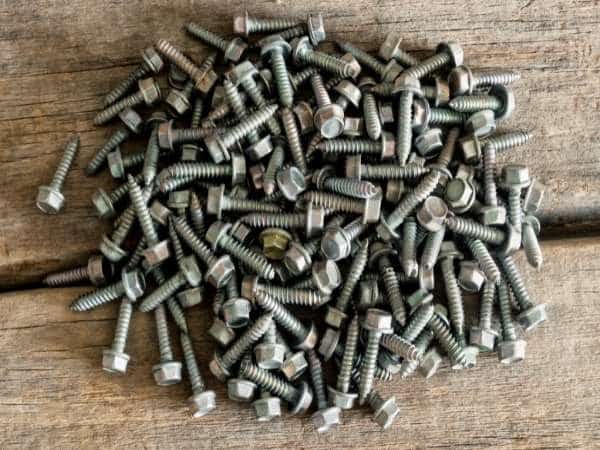
Replacing the subfloor in a bathroom is a messy, but necessary, job. The first step is to remove the fasteners that hold the subfloor in place. These fasteners can be screws, nails, or staples. Be sure to use plenty of nails or screws, especially around the edges, to ensure that the subfloor is secure. If there is any damage to the joists beneath the bathroom floor, they will need to be repaired before installing the new subfloor. Once this is done, you can install your new flooring and enjoy your updated bathroom!
5. Cut Around The Flange

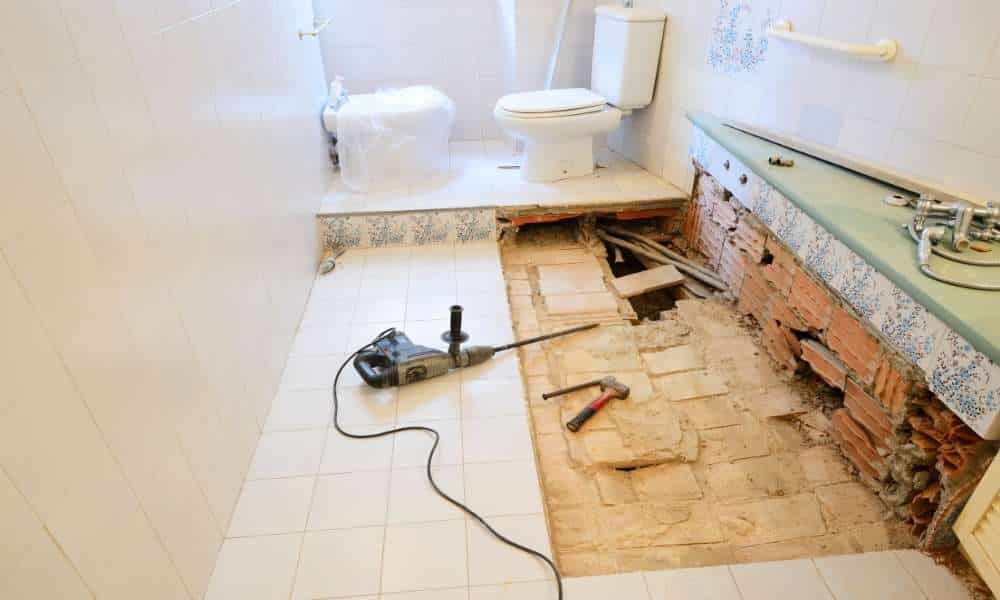
Replacing the subfloor in your bathroom is a big job, but it’s one that you can do yourself with a few simple tools and some patience. The first step is to cut around the flange of the toilet. This will give you enough space to remove the old subfloor and replace it with new material. Use a circular saw to make the cuts, being careful not to damage the flange. If you’re not comfortable using a saw, you can have a professional do this for you.
Be sure to account for any expansion or contraction that may occur with changes in temperature. Nail or screw the new subfloor in place, making sure that it’s level and flush with the surrounding flooring. Then reinstall the toilet and test for leaks.
6. Inspect The Joists
Replacing the subfloor in your bathroom is a big job, but it’s one that you can do yourself with a little bit of know-how. Here are the steps you’ll need to take:
- Inspect the joists. Make sure that they’re in good condition and can support the weight of a new subfloor. If any of them are damaged, you’ll need to replace them before proceeding.
- Cut out the old subflooring. Use a circular saw or reciprocating saw to cut through the existing subflooring and remove it completely.
- Install the new subflooring. If you’re using plywood, make sure to use waterproof glue to attach it to the joists.
7. Cover The Rotted Part

Replacing the subfloor in your bathroom is a big job, but it’s one that you can do yourself with a few simple tools and some patience. The first step is to remove the old flooring. This may be as simple as pulling up the tiles or as difficult as removing the adhesive that was used to install them. Once the old flooring is removed, you’ll need to assess the damage to the subfloor. If it’s rotted, you’ll need to replace it before you can install new flooring. These kits are available at most home improvement stores, and they include everything you need to make a quick repair. How To Replace Subfloor In Bathroom.
8. Take Your Measurements

If you’re like most people, your bathroom is one of the most-used rooms in your home. And, if you’re like many people, you may find that your bathroom could use some improvement. Whatever the reason, if you’re thinking about remodeling your bathroom, one of the first things you’ll need to do is take some measurements.
To replace the subfloor in a bathroom, you’ll need to know the width and length of the room, as well as the height of the ceiling. You’ll also need to know the thickness and type of subflooring that’s currently in place. If there’s existing tile or linoleum on the floor, you’ll need to measure that as well.
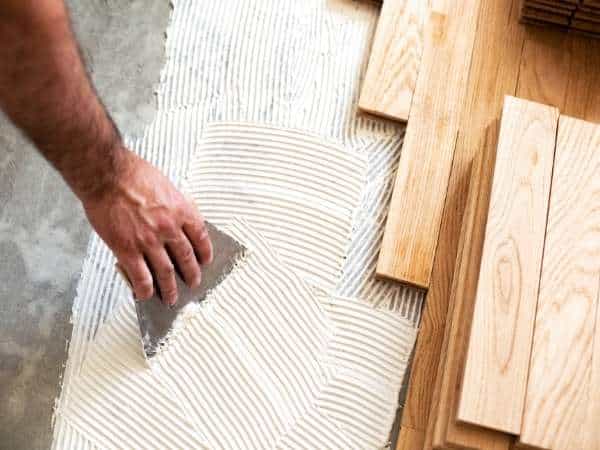
9. Apply Construction Adhesive
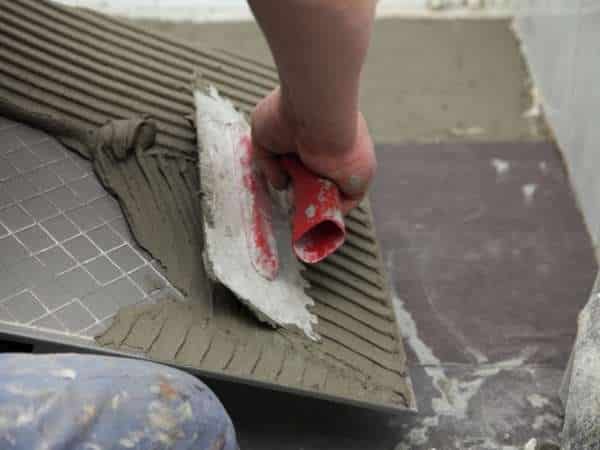
Replacing a subfloor is a daunting task, but with the proper tools and knowledge, it can be done relatively easily. The first step is to remove the old subfloor. This can be done with a pry bar or chisel. Once the old subfloor has been removed, make sure the surface is smooth and free of debris before applying construction adhesive. Apply a thin layer of adhesive to the surface, then place the new subfloor in place. Use a hammer to tap it into place, making sure it is flush with the surrounding floor. Allow the adhesive to dry before walking on it.
10. Causes and Symptoms Of Subfloor Damage
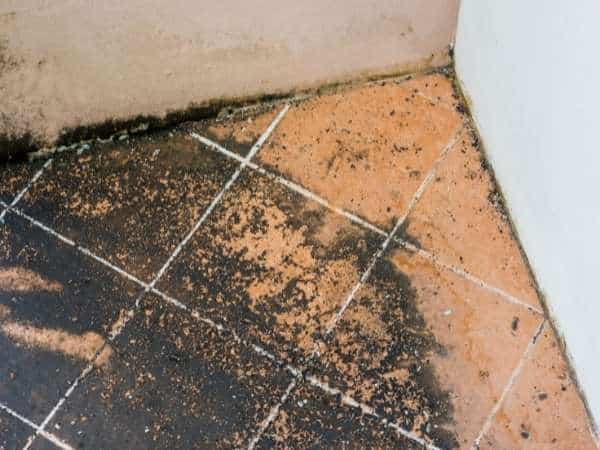
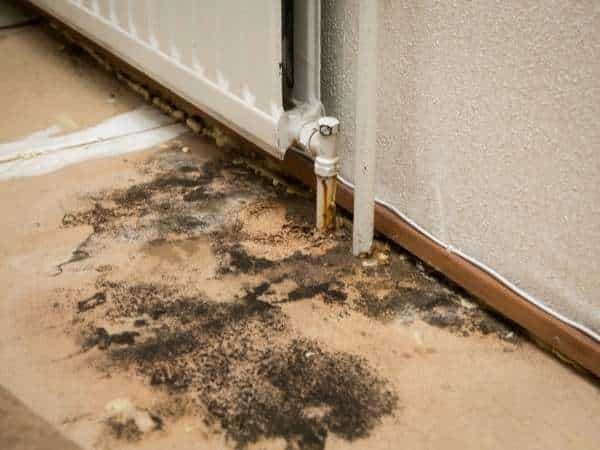
When you are remodeling your home, it is important to know the different causes and symptoms of subfloor damage so that you can address them accordingly. One of the most common causes of subfloor damage is water infiltration, which can be caused by a number of things, such as a leaky roof or plumbing, rainwater seeping in through the foundation, or even a wet basement. If left untreated, water infiltration can lead to rot and mold growth, which can cause extensive damage to your home’s structure.
Another common cause of subfloor damage is inadequate insulation, which can lead to moisture accumulation and rot. Improper ventilation can also cause moisture build-up and subsequent rot and decay.
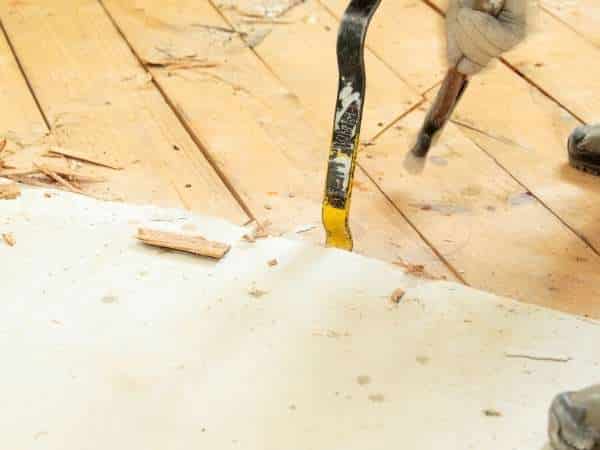
11. Remove Subfloor & Joists
Replacing the subfloor in your bathroom is a big job, but it’s one that you can do yourself with some basic carpentry skills. The first step is to remove the old subfloor and joists. Use a saw to cut through the nails that hold the subfloor and joists in place, then use a crowbar to pry them up. Cut the new boards to size and nail them in place. Be sure to use plenty of nails or screws to secure them tightly in place. How To Replace Subfloor In Bathroom.
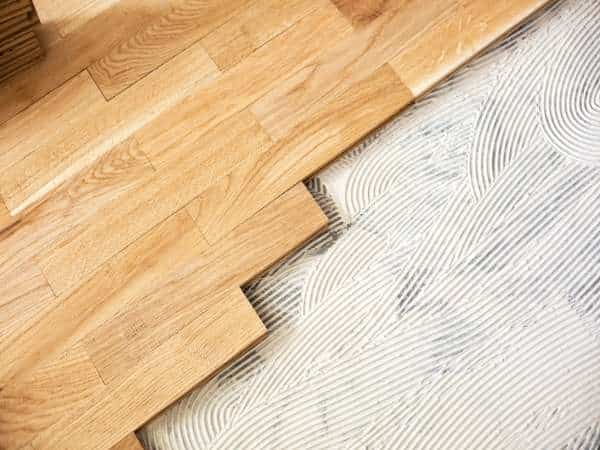
12. Remove Flooring
Replacing a bathroom’s subfloor is a job that can be done by most do-it-yourselfers. The biggest challenge is usually getting the old flooring up and out of the way. Once that’s done, it’s a matter of cutting the new subfloor to size and securing it in place. Here are the steps you’ll need to follow:
1. Remove the old flooring. This may require pulling up tiles or prying up vinyl strips. If there’s any adhesive left on the surface of the subfloor, use a scraper or putty knife to remove it.
2. Cut the new subfloor to size using a circular saw or jigsaw. Make sure to cut it slightly larger than the area you’re replacing so you have some room to work with.
13. Install The Subfloor
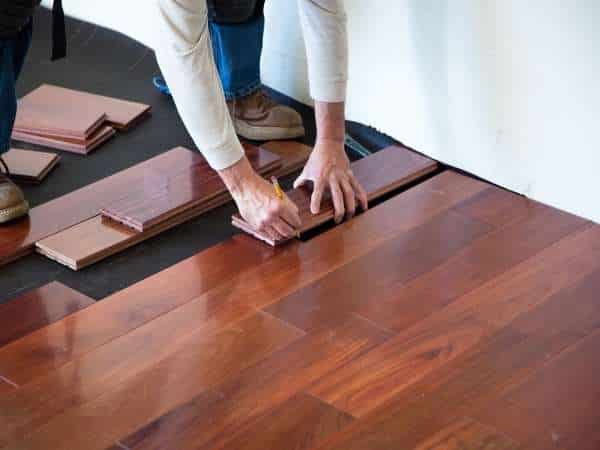
If you’re noticing water damage on your bathroom floor, the problem might be that your subfloor is rotten. A subfloor is a wooden board that is installed beneath your flooring. If it’s damaged, water can easily seep through and cause problems. In this article, we’ll show you how to replace a subfloor in a bathroom.
The first step is to remove the old subfloor. This can be done with a pry bar or a hammer and chisel. Once it’s removed, you’ll need to clean up the area to make sure there are no nails or other debris that could cause problems later on.
Next, you’ll need to install new subflooring. We recommend using tongue-and-groove boards, as they’re easy to work with and provide a strong foundation.
14. Investigating The Extent Of Subfloor Damage
If you have noticed water damage on your subfloor, it is important to investigate the extent of the damage and take steps to replace the subfloor as soon as possible. The first step is to identify the source of the water. Once you have identified and fixed the source of the water, you can begin to remove the damaged subfloor. If there is extensive water damage, you may need to remove all of the subflooring and replace it with a new layer. In some cases, you may only need to repair certain areas of the subfloor. Replacing or repairing your subfloor is an important step in preventing further water damage and restoring your bathroom to its original condition.
15. Partial Subfloor Replacement
Replacing a partial subfloor is a relatively easy task that can be completed in a few hours. The most important part of the process is ensuring that the new subfloor is level and secure before installing flooring. Here are the steps to replace a partial subfloor:
- Remove any existing flooring and debris from the area where the new subfloor will be installed.
- Cut the new subfloor to size using a circular saw or jigsaw. Make sure to leave an overhang of at least 1″ on all sides.
- Secure the new subfloor to the existing framing using screws or nails. Make sure to drive screws or nails into every stud for maximum support.
- Install flooring over the new subfloor using your preferred method (nailing, stapling, or gluing).
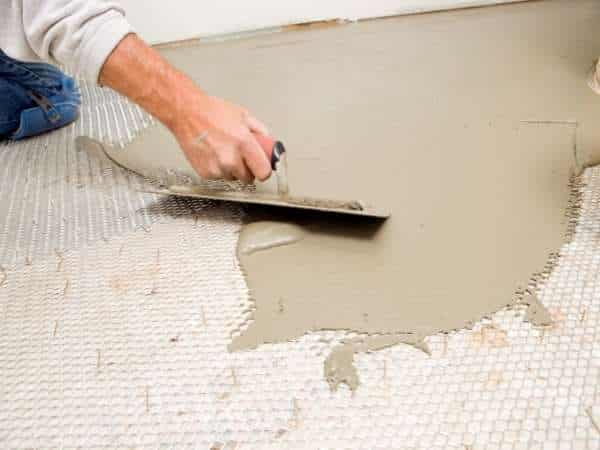
16. Apply Leveling Compound
If your bathroom floor is starting to sag, it might be time to apply some leveling compound. This will create a flat surface for your new flooring. Here’s how to do it:
- Remove the old flooring and subfloor.
- Clean the surface of the joists and make sure they are level.
- Measure and cut the leveling compound to size, using a trowel to spread it evenly over the surface of the joists.
- Let the leveling compound dry completely before installing your new flooring.
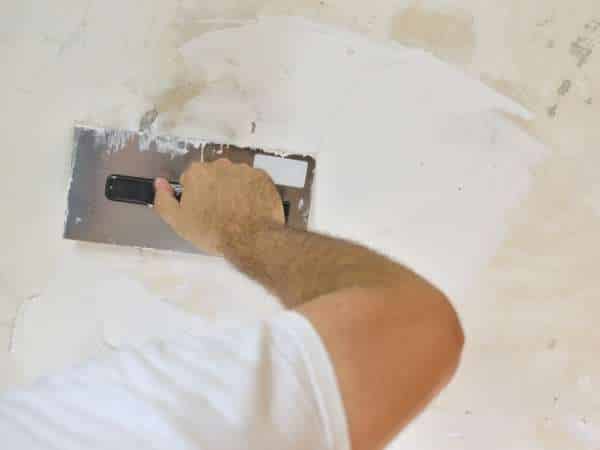
17. Professional Help With Subfloors

Most people don’t give much thought to their bathroom subfloor until there is a problem. If you are experiencing water damage, it’s time to replace the subfloor. The process isn’t difficult, but it can be daunting if you’ve never done it before. Here are a few tips to help you get started:
- Remove the old flooring.
- Inspect the joists and make sure they are in good condition. If not, repair or replace them before installing the new subfloor.
- Cut the new subfloor to size and fit it into place. Nail or screw it in place using construction adhesive for extra stability.
- Seal all seams and edges with caulk or sealant to prevent moisture damage.
Conclusion
If you are experiencing water damage or other problems with your bathroom subfloor, take the necessary steps to replace it. By doing so, you can avoid further damage to your home and keep your bathroom looking and functioning at its best.