
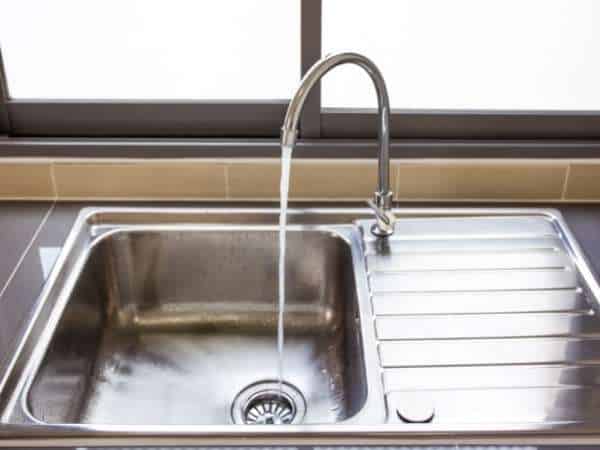
Kitchen sinks are one of the most vital portions of furniture in a domestic. They offer a place to wash your fingers, pour your espresso, and positioned away your dishes. However, many human beings do not understand a way to get rid of a kitchen sink and replace it with a new one. Remove A Kitchen Sink is an clean way to smooth your sink and get it lower back in working condition fast.
1. How To Fit A New Kitchen Sink
If you’ve never removed a kitchen sink before, ask a friend or family member to help. It can be daunting, but with some practice and a little luck, it will become second nature. Here are three tips to help you succeed:
- Start by measuring the space available and finding the correct size for your sink. Make sure you have enough room to fit your faucet, toilet paper dispenser, and other appliances without crowding them too much.
- Remove the old kitchen sink using two hands or an equivalent tool. Be careful not to damage the underside of the new sink. Once it’s removed, place the old one in the desired spot and cover it with plastic wrap or tarps if necessary.
- Install the new kitchen sink using the provided installed card or screws provided by your installer.
2. How To Remove A Drop-In Sink
There are many motives to put off a drop-in sink out of your kitchen, however the maximum crucial one is that it saves area. A traditional sink takes up valuable counter area and can make a small kitchen appearance cluttered. A unmarried sink also can absorb extra room in a toilet than conventional sinks mixed, that could result in greater crowded lavatories.
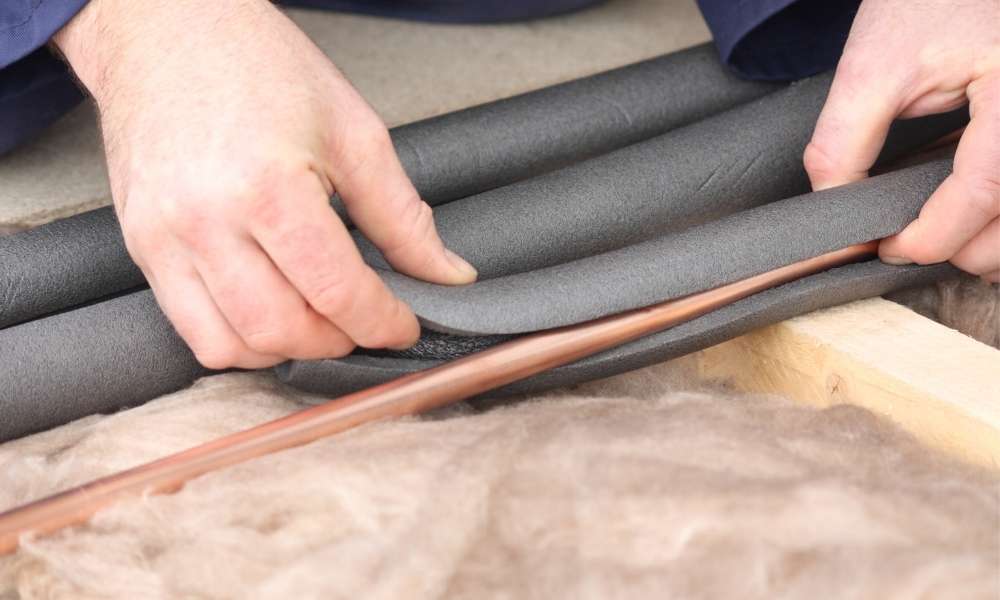
3. Disconnect The Faucet

When you’re cooking or doing other tasks in the kitchen, you may notice water dripping from your faucet. It’s common to connect the faucet to your home’s water supply with a garden hose. But sometimes it’s convenient to disconnect the faucet and use an unplugged hose for drinking, gardening, making compost, or other purposes. If you’re disconnected from the faucet for any reason, water will flow freely through your taps and sink but food will not cook because heat is lost when water travels through metal lines.
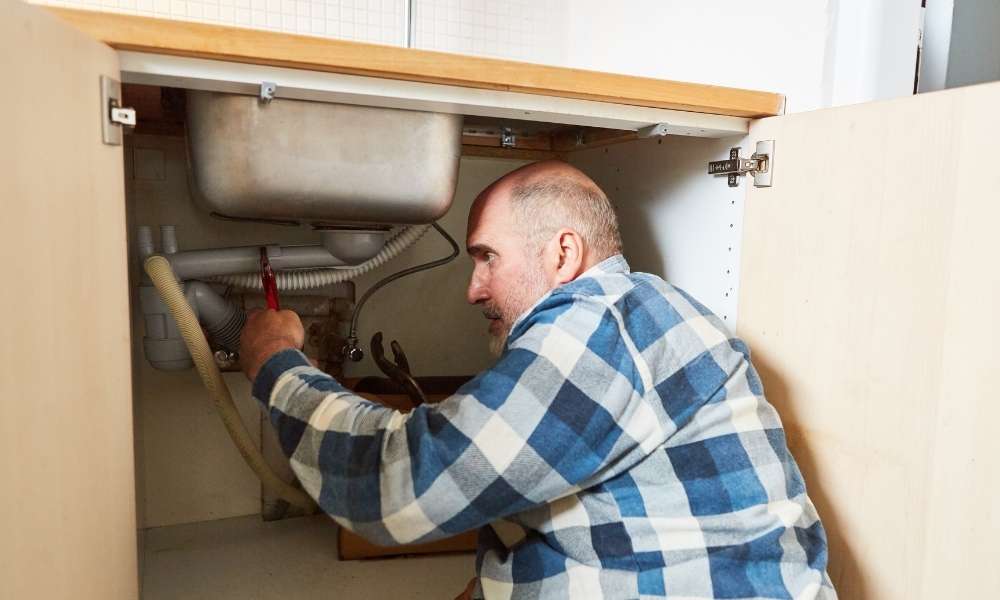
4. Disconnect The Drain
If you’re faced with a situation in which the water coming out of your sink isn’t draining properly, it might be time to replace the water pump. A kitchen sink typically has two pumps – one on the bottom and one on the top. If one of these pumps is defective, it could cause flooding in your home. To remove the existing pump, first, identify which one is responsible for draining the water from your sink. If that pump is missing or not working properly, then remove the entire drain by unscrewing it and removing all of its screws. Once all of the screws have been removed, you can gently pull out the old pump by pushing and pulling it towards the trash can at its side.
5. Remove The Garbage Disposal
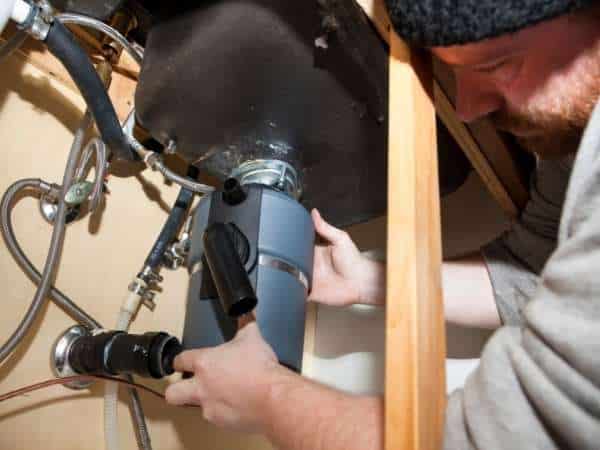
Remove the rubbish disposal out of your kitchen sink, and you will be capable of revel in a extra litter-loose lifestyles. There are several exclusive types of garbage disposals in the marketplace these days, so it is critical to choose one so one can work excellent for your needs. By putting off the rubbish disposal, you’ll be capable of improve your kitchen’s cleanliness and business enterprise.
6. Loosen The Sink Clips
When you are seeking to renovate your kitchen, it is vital to loosen the sink clips. This will help to make the protection technique more efficient and less difficult. Before starting any renovation project, it’s an excellent idea to take a look at the additives of your kitchen. By loosening the sink clips, you can make certain that the entirety is going smoothly and without any system defects.
7. Cut Through The Caulk
Removing caulking from a kitchen sink is an easy and powerful manner to keep your sink easy and searching new. The caulk can also withstand rust and put on, making it a valuable asset in any kitchen. Here are 3 hints to dispose of caulking from a kitchen sink:
- Start by using the use of a twine brush to take away any extra caulk. This will help loose the sink of its Built-In Sink Protector protecting, which can be risky if left in location.
- Use a hairdryer on low heat to dry the caulk off absolutely. This will assist lessen the probabilities of it becoming moist once more later on.
- Use a plunger to push out all of the liquid caulking from around the rims of the sink place.
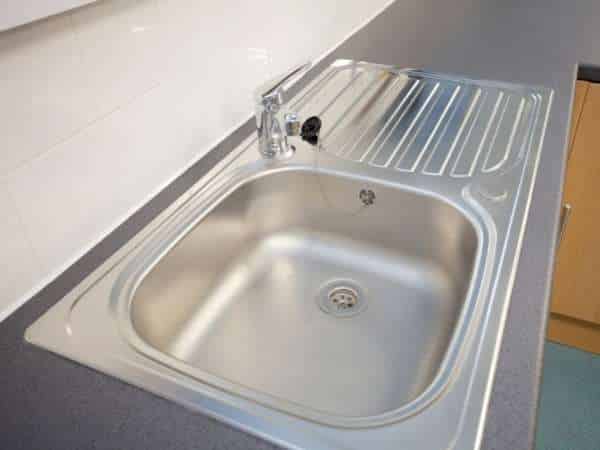
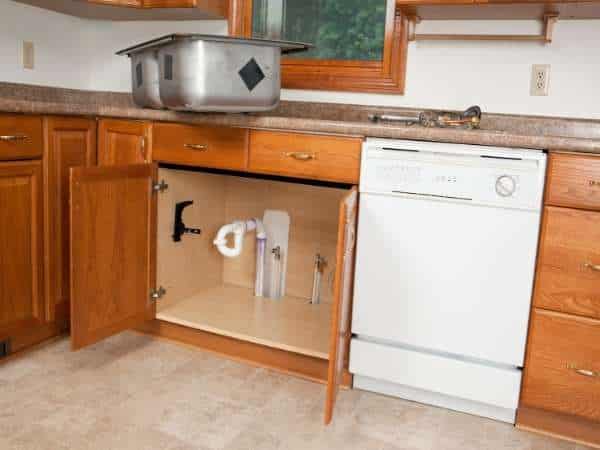
8. Remove The Sink
In maximum kitchens, a sink is an crucial a part of the plumbing gadget. The sink serves as an area to pour water and smooth dishes, as well as to hold food while cooking. However, in some instances, the sink can become clogged up with food and water. This can result in quite a few noise and frustration inside the kitchen, so it’s critical to cast off the sink quickly if it becomes intricate.
9. Don’t Forget To Clean Up

If you’re a cooking or cleansing fanatic, then it’s vital to preserve your kitchen sink easy. A dirty kitchen sink can effect the advent and function of your appliance, making it difficult to hold your cleanliness. Here are some recommendations on how to clean your kitchen sink:
- Rinse off any excess grease and micro organism after every use with cool water.
- Use a plunger to suction onto the lowest of the toilet and pull until all the liquid is emptied out.
- Rinse off any grimy dishes the usage of warm water and cleaning soap before setting them within the dishwasher.
- Scrub down the sink with a deep-cleaning cloth before rinsing it off with clean water and soap if vital.
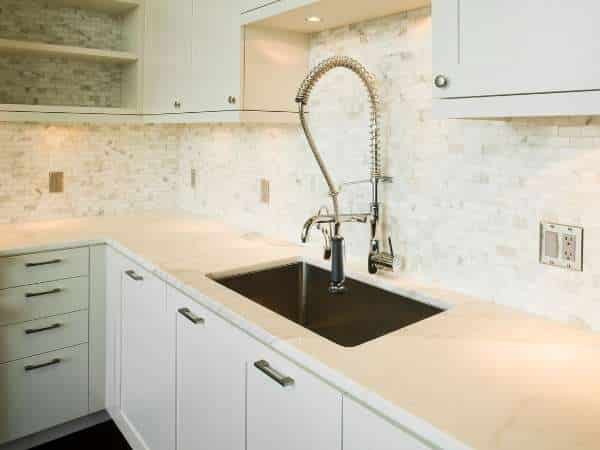
10. How To Remove Your Glued Sink And Install A New One
If you’re feeling frustrated with your outdated kitchen sink and aren’t sure how to remove it and install a new one, read this article for tips. You can remove a kitchen sink at either stage. In the first step, remove the old sink using a plunger or an awl. Then use a Dremel tool to cut away any adhesive residue on the sides of the new sink.
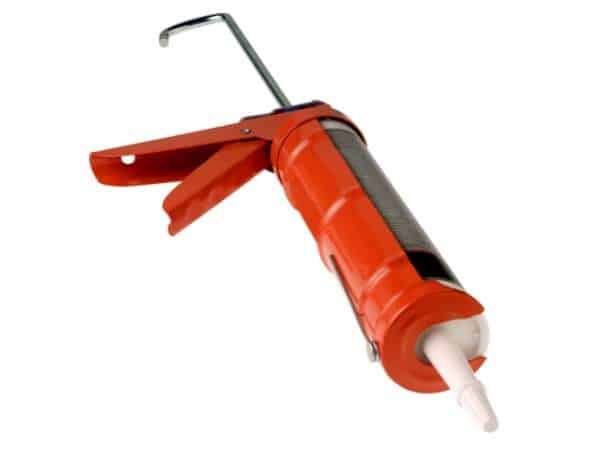
11. The Tools You’ll Need To Remove A Kitchen Sink

If you’ve got a kitchen sink this is starting to look a bit old or stained, it might be time to get it cleaned and updated. A kitchen sink cleaning can help eliminate all the dust, grease, and meals debris that can have built up through the years. Additionally, a new sink can assist to refresh and modernize your kitchen appearance. So what are you looking ahead to? Wikitravel has an intensive guide on a way to remove a Kitchen Sink. So take the time to read through it and get began!
FAQ To Remove A Kitchen Sink
How do I remove a kitchen sink?
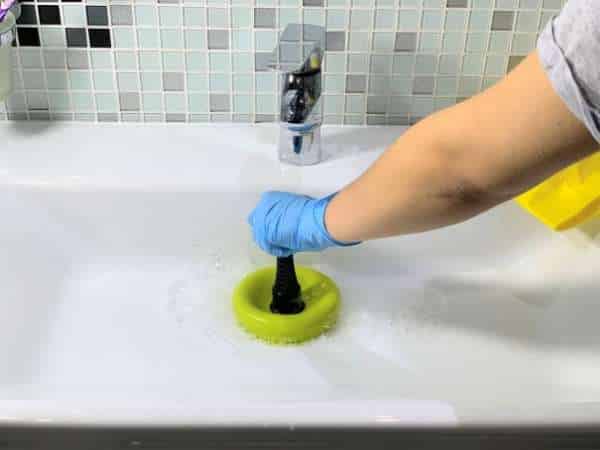
There are a few ways to remove a kitchen sink:
- Use a plunger: Reach up and push the plunger down into the hole on the side of the sink. Push and pull until the plunger pops out.
- Use a vacuum cleaner and bucket: Put the vacuum cleaner tube over the hole on the side of the sink, turn it on, and wait for the suction to build up.
How do I know if my kitchen sink is leaking?
One way to tell if your kitchen sink is leaking is if water is coming out the faucet slowly and steadily, rather than in spurts. Additionally, the water should be coming out of the sink in a steady stream, not dribbling or gushing.
How do I fix a leaking kitchen sink?
There are a few things you can do to fix a leaking kitchen sink. First, clean the area where the leak is happening. This can include using a plunger to push and pull the water out of the sink, rinsing it with cold water, and putting baking soda in it. If the problem is caused by an accumulation of grease or food debris, you may need to use a plunger and bucket to clean it out.
What Are The Best Techniques For Removing A Kitchen Sink?
There are a few different ways to remove a kitchen sink. One way is to use a plunger. Put the plunger over the top of the sink and push and pull until the water drains from the sink. Another way is to use a vacuum cleaner with a hose attachment. Turn on the vacuum cleaner and wait until the water drains from the sink.
Conclusion
It is important to remove any kitchen sinks that may be in your home as this will help to improve the appearance of your bathroom. By doing this, you will not have to worry about someone stepping on your sink or something falling down and taking all of your valuable cleaning supplies with it.